Page 1 of 1
sanding, paper template
Posted: Mon Mar 16, 2009 5:53 am
by Fiddled
After I cut out my paper spray mounted mdf template and then go to the finial sand to get perfection, the paper tends to roll back a bit instead of sanded off. I’ve tried spraying the paper with polyurethane in an attempt to make it sand better but that was a total disaster, don’t try. Any tricks to help the paper sand off with the mdf?
The best way I have found is to take the time and trim to the paper ink line with an exacto first.
I’m using a bandsaw then a drum/spindle sander mounted to my drill press followed by hand sanding with a 90’ jig block.
Posted: Mon Mar 16, 2009 7:38 am
by SRP
Fiddled, I'm with you. I first trim the entire paper template to the ink line with an exacto knife, then cut with my bandsaw and sand to the line. I would be interested to hear if anyone is doing it different as well. All the sanding on the mold and ski templates has me eyeing an oscillating spindle sander.
Posted: Mon Mar 16, 2009 5:17 pm
by SHIF
I make MDF templates using glued-on paper patterns too.
After sawing close to the trim line with the jig saw, I shape to the final line using a mini belt sander. The sand paper cuts across the edge of the template perpendicular to the face. The paper is sanded off perfectly and equally as the MDF.
A drum sander would cut parallel to the edge and make a mess of the paper.
This little power tool has so many uses:
Porter Cable #371 compact belt sander 2.5" x 14".

Posted: Tue Mar 17, 2009 1:41 am
by chrismp
i trim the paper to the line with an exacto knife as well, but i don't glue it to my mdf boards since they're too thick to get a proper surface.
i glue it to a thin plywood board that i cut and sand to shape and then use it as a template for my ball bearing router bit.
i've found that it's easier to get a proper template by using a thinner board.
Posted: Thu Mar 26, 2009 4:32 pm
by Craig
I used to do this by finishing by hand, with a sanding block. I'd cut it as close as possible to the line with a band saw (maybe get a little closer with whatever mechanical sander I had close by), then fine tune it with a small, slightly flexible rubber sanding block. To deal with the paper wanting to peel band, I would just sand from the top (the side the paper was on) to the bottom, at a slight diagonal. I would only sand in this direction, it kept the paper from peeling up. As soon as I took off some of the inked line, that section was done. I moved slowly down the length of the ski. Not the fastest way, but having your hand on it lets you get a feel for a true curve. This ended up being surprisingly accurate (I think so anyway, from flipping and comparing base to template later on as I applied edges. But its tough to really tell. Making a template from a printout can have accuracy compromised in so many ways)
Posted: Thu Mar 26, 2009 10:11 pm
by mattman
I'm with chrismp. Using thinner template material makes all the difference. I use 1/8" or 3/16" hardboard sheets (depending on how many times I plan to use the template). The stuff is cheap, cuts great, and is consistantly hard for a bearing guide (basically HDF).
Posted: Sun Jul 05, 2009 2:18 pm
by sammer
I've built a handful of templates now and here's my latest method.
First I tape it all together a piece of thread, strung taut, from one end of my bench to the other keeps the center line straight.
Then trim to the line w/ exacto knife
Spray glue to a thin piece of plywood (hardboard)
(I have lots of left over paneling from 50's 60's 70's from last years reno)
trim this close to the line with a jig saw
then its on to the sanding
I usually pick the side I like the best
(as the first template (pattern) is never symmetrical)
this gets sanded right to the line with the drum on the drill
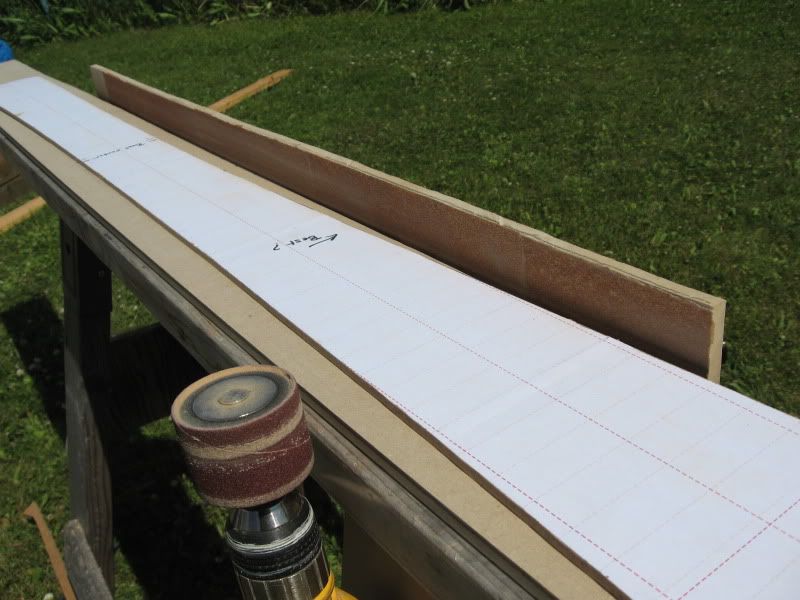
Then I'll sand with the baton. this is just a piece of 3/8 mdf with 100 grit sand paper spray glued on.
it's attached to the saw horse with 2 screws 1inch apart in the middle so it can flex to the shape of the template
it stays in place and the template gets moved back and forth giving a perfectly smooth edged pattern.
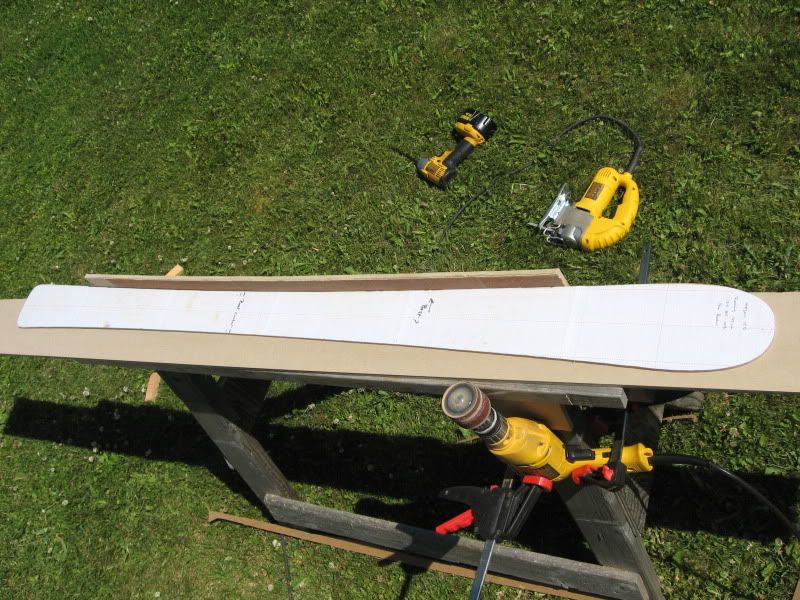
next I'll screw this to a piece of 1/2 or 3/4 MDF thats been roughly cut to shape and trace the nice side with the router
flip the pattern over, screw in the same holes and trace the other side.
now you have an almost perfectly symmetrical template to bend edges to and cut bases with.
(wow that was a lot of typing) hope you kept up and found this helpful !
sam
Posted: Sun Jul 05, 2009 7:06 pm
by twizzstyle
How are you doing your spray glue? Are you spraying it, then sticking the paper on immediately? If so, there's your problem.
If you want a damn good bond, spray both the wood and the paper pretty well, and let them air dry until they're almost completely dry to the touch. THEN stick them together, it won't budge or peel up ever.