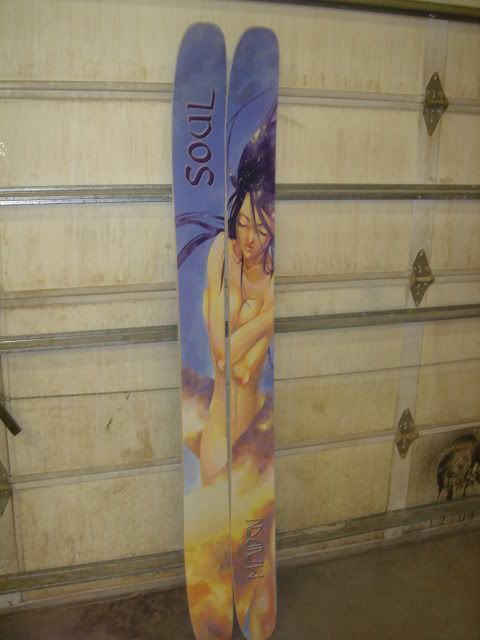
what did they print those graphics on? directly on the topsheet? if not did you add a topsheet?
btw, doesn't look like you're all that bad with photoshop

Moderators: Head Monkey, kelvin, bigKam, skidesmond, chrismp
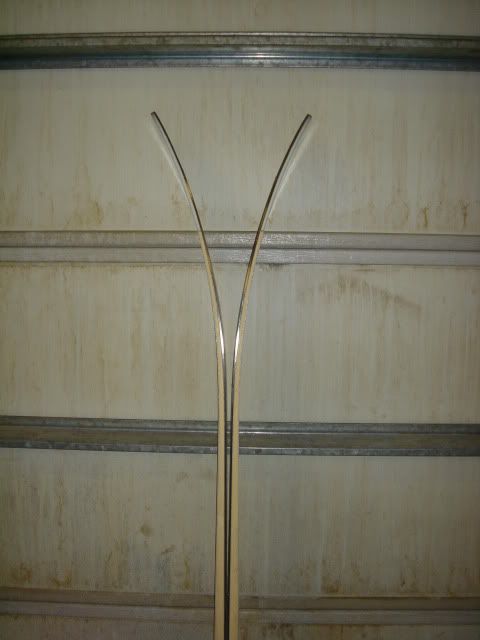
I realize everyone has their own definition of what they think "rocker" is, and to not start that conversation over again.......I my view almost all powder skis on the market use "bent-ski" rocker. K2 and Volkl come to mind right off the bat. They basically start with a ski with normal tip rise and bend the ski up someplace between the binding toe piece and the tip. I've seen so many normal skis end up looking like that after they get skied hard. I think that's why most freeriders don't want metal in their skis. Your design on the other hand (and mine) uses a constant radius for the tip. I've felt all along this makes a huge difference on how the ski performs. It provides a much more consistent feel.Dr. Delam wrote: I am not sure what you mean by "bent ski" rocker. I keep thinking of Surface skis but they are the only ones that I see like that. My tip mold has a constant 104 cm radius, my sidecut portion of the ski has a flat mold, and the tail mold radius is 147 cm. I think what you are seeing is the slight constant reverse camber throughout the whole ski that is the result of top heat pressing. It seems more obvious in the tail picture since I have the tips pushed together more than the tails. I like my pow skis to have a little reverse camber under foot for easy slarvability.
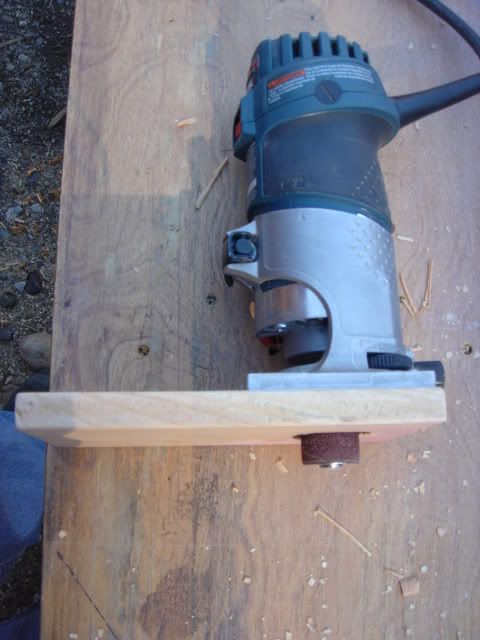
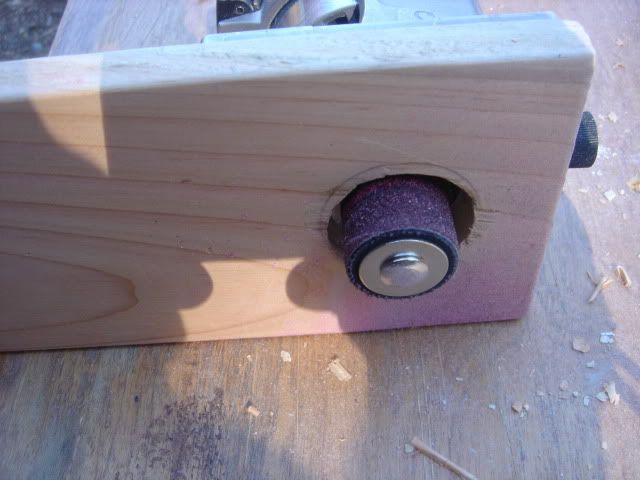
Could you post some pictures of your drum sander/router set up?Dr. Delam wrote:
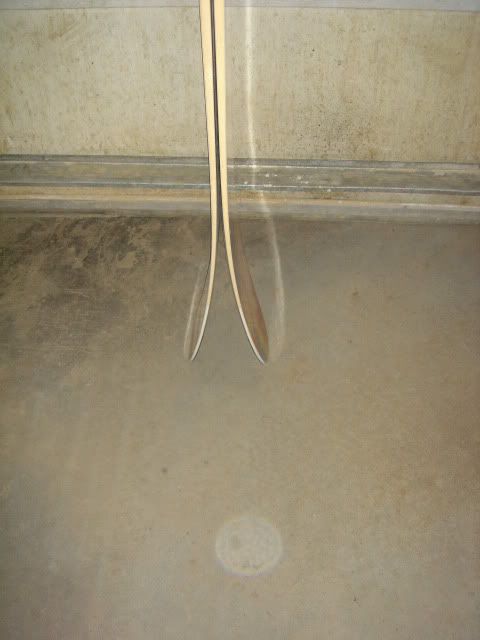
I am really digging using my drum sander/router setup for doing final finishing of the sidewalls and tip and tail areas. It leaves a perfect finish all the way around.
Now we just need some more snow for her to try these out. If feels like May here.
So you let her choose?Dr. Delam wrote:Everything was ready a month ago except for the graphics. She wanted her friend to design them while I wanted to do them myself. In the end she chose mine so I am glad that I put all the effort into learning Photoshop and Illustrator.