
Getting started!
Moderators: Head Monkey, kelvin, bigKam, skidesmond, chrismp
-
knightsofnii
- Posts: 1148
- Joined: Tue Jan 08, 2008 6:02 am
- Location: NJ USA
- Contact:

In the picture I posted the press is actually upside down. All the upright sections are bolted to the cross spars with 1/2 inch bolts and nylock nuts, except for the 4 on the far side at the bottom in the picture (out of sight in the picture). The shear joint for these uprights is completed there with a 1/2 inch bolt with just a normal nut. They will swing down to allow side loading then swing back up and I will reinsert the 4 bolts and do up the nuts. If I get tired of using the nuts I have found some half inch pins I can use instead that will just slide through the holes into place. I also have an idea of welding a piece of flat bar across the top of all those uprights so it swings up like a gate then pass a long half inch rod through all the joints at once.
The way I figure it though is I will be making a pair of skis every now and then rather than on a production line so the time taken to undo and do up 4 nuts is not going to be a major issue for me.
We are moving the press to its new 'home' on friday (unfortunately a much smaller space than its current place) so I will post a few more pictures once I have it painted and a few of the bits and pieces installed.
Don't wait up, I'm off to kill Summer....
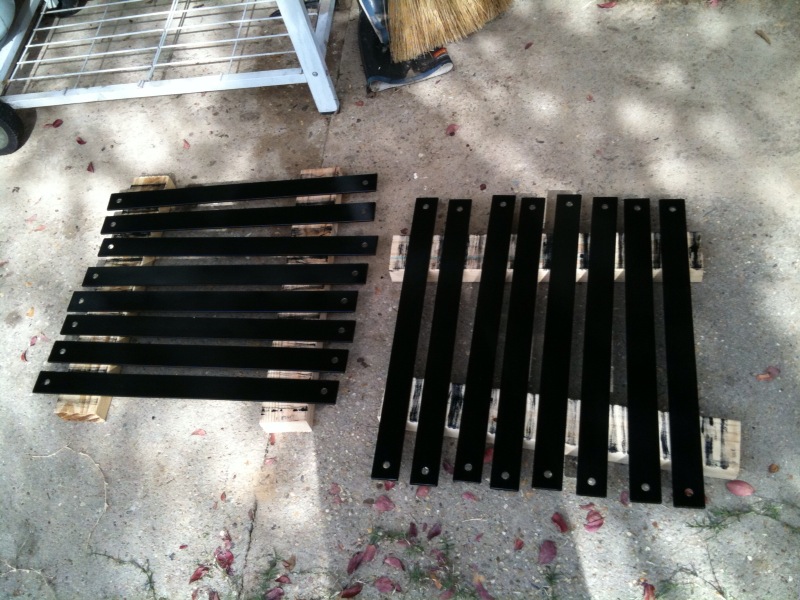
painting vertical supports. Looks like a giant xylophone
painting

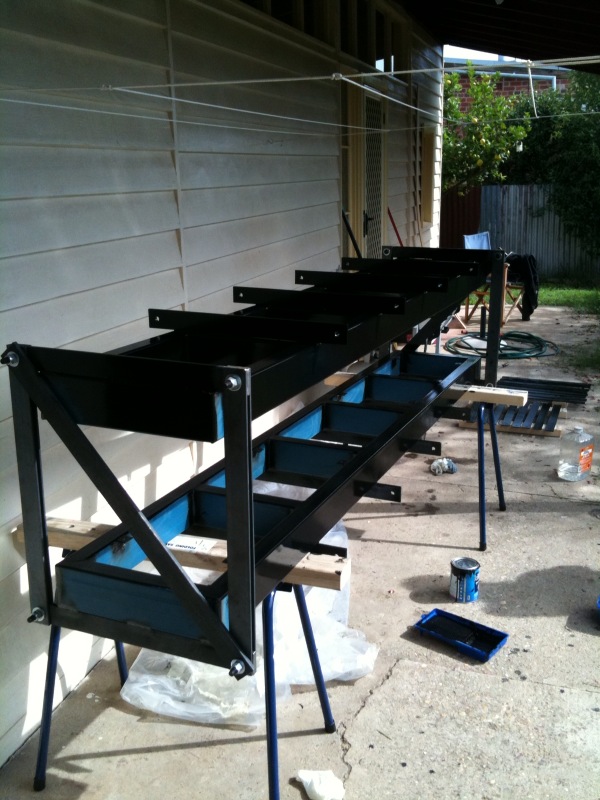
finished painting. Threw the molds in to just get a bit of stoke that pressing is coming soon!
cat track. deburred all the holes and threaded bungee cord. Will see how this goes. May have to end up using metal rope, but it looks like the springs on the end are a bit clumsy. I also used a die grinder to smooth over the corners on each end to help prevent any sharp areas of pressure.
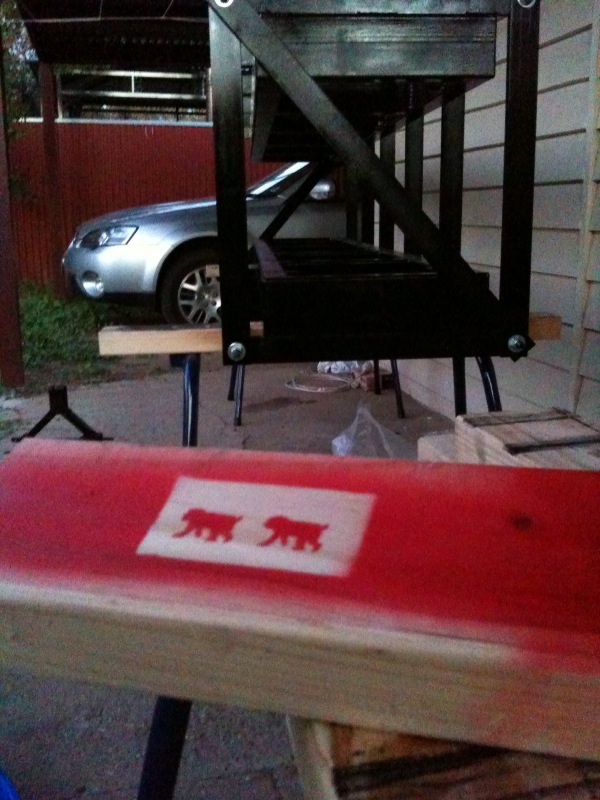
Have been mucking around with a spray can and a die cutter shaped like a japanese macaque (the monkeys that keep warm in winter by sitting in the volcanic hotsprings) making stencils. A few logo ideas
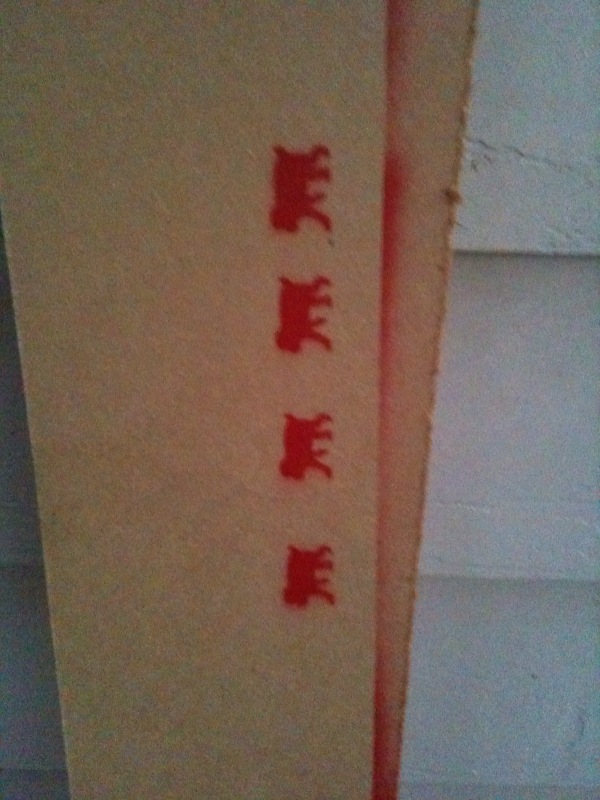
These guys are turning up everywhere!
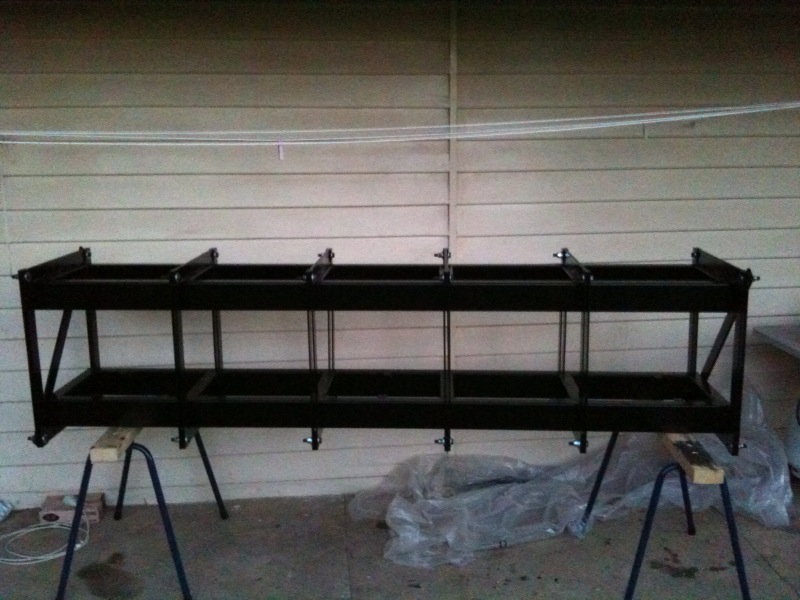
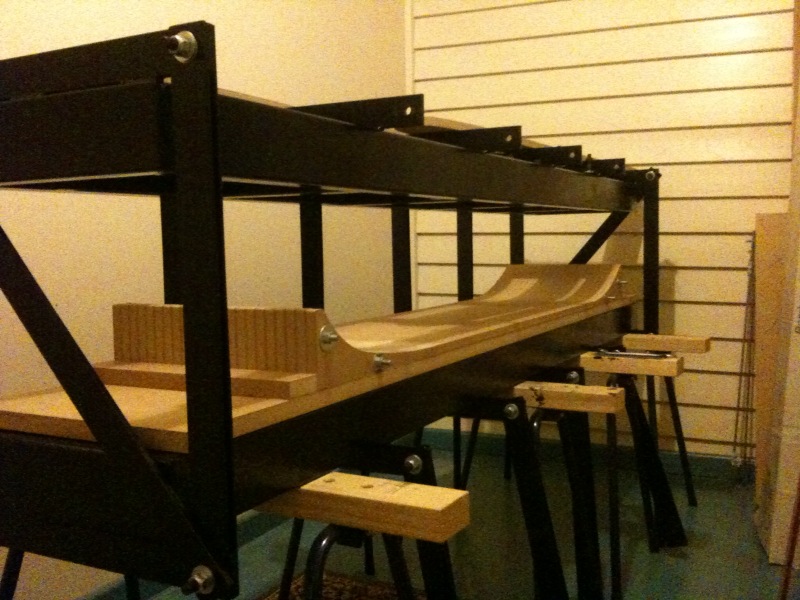
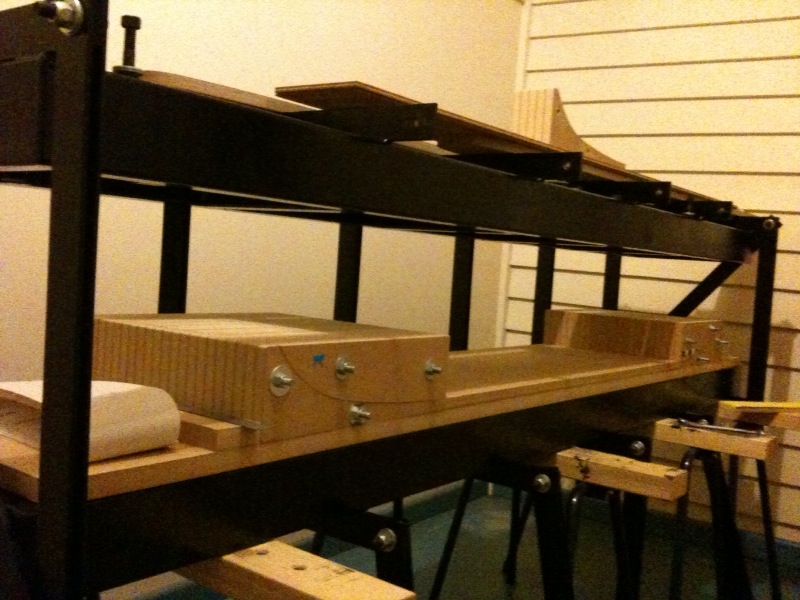
finished painting. movable vertical supports in the 'up/closed' position
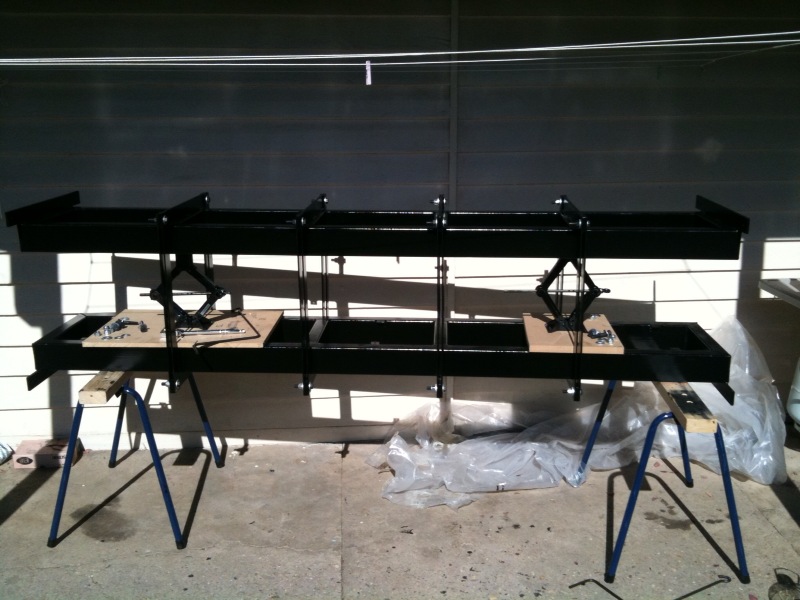
painting the ends of the press. I bet they had no idea that those jacks would be doing this job when they left the subaru factory in japan.
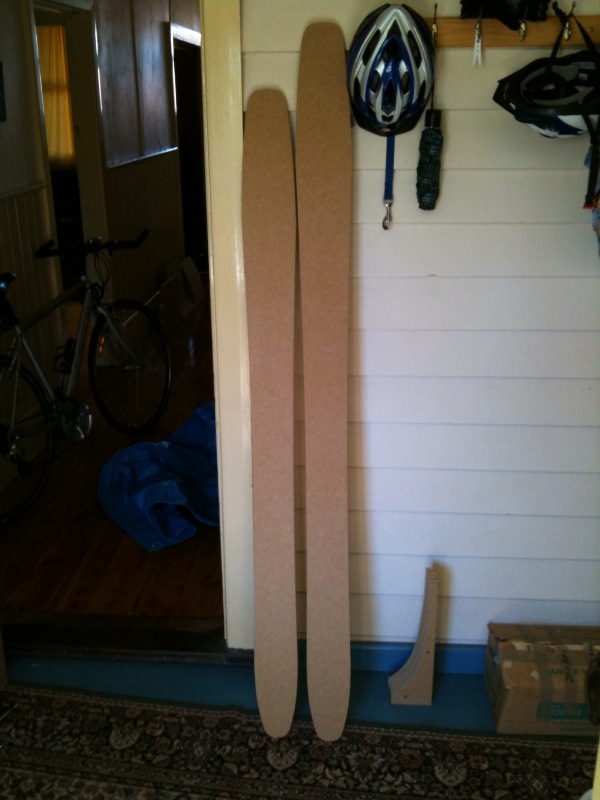
170 and 185 skis. Got these CNC'd yesterday to use for edge bending template and then attaching the edges. The first thing my CNC guy said when I got there was how hungover he was! Just what you want when you are looking for someone to drive the precision cutter!
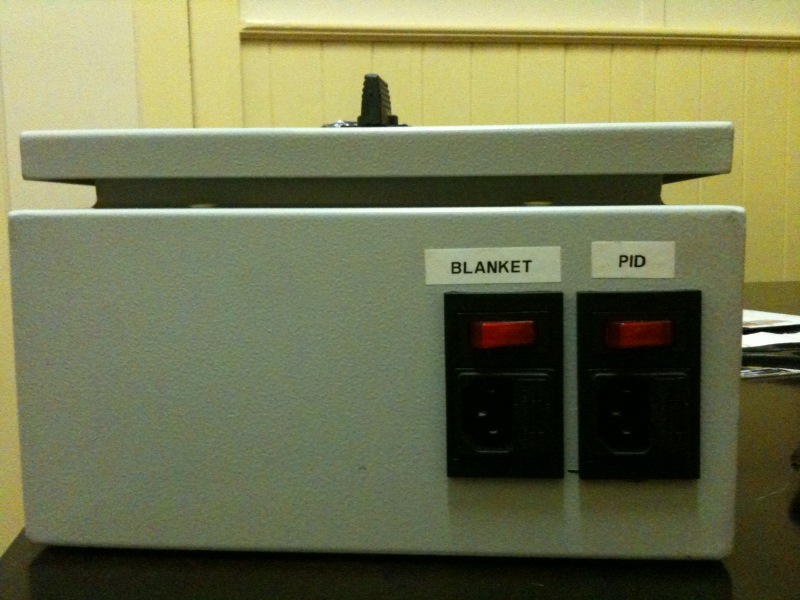
PID control box. Finished wiring. Made a few idiot proofing labels. Now need to decipher the algorithms to program the heating profile.
Am hopefully getting some wheels cut on the lathe tomorrow to make an edge bender like the skevik one (and someone else's too, can't remember their username, sorry).
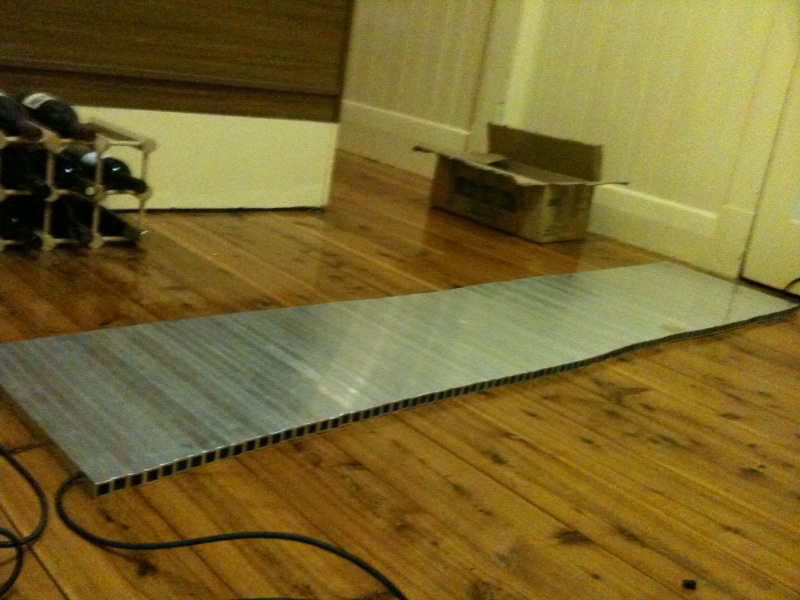
Waiting on some 1 inch plywood to line the top and bottom of the press. Then need to just assemble and put everything in place.
Getting there slowly but surely.
I got some epoxy this week - West System. Will see how it goes. If its not that good my dad is building a wooden boat so I'm sure he will be a welcome recipient. Hopefully we will be able to get some QCM epoxy through a distributor in Melbourne soon.
Learning experience this week? Painting outside sucks! Dust and bugs in the beautiful paint on all the nice metal.
One question if anyone can help.
I am trying to avoid coating my entire expensive molds and press with epoxy squeeze out on its first outing. Is there a recognised way to determine how much epoxy you need to wet out a given surface area of a specific weight of fibreglass. Thanks if anyone helps out.
We did some fibreglass cutting too this week. Taking a leaf out of the ON3P book and getting a little bag of materials ready for a set of skis.
We used a rolling disc cutter like they do and it worked great! Highly recommend it.
That's it for now.
Don't wait up, I'm off to kill Summer....
-
feldybikes
- Posts: 41
- Joined: Sun May 10, 2009 5:23 pm
Man, those labels are seriously askew. I don't know how well your skis are going to turn out.
PID control box. Finished wiring. Made a few idiot proofing labels. Now need to decipher the algorithms to program the heating profile.
In all seriousness, I just finished reading through this whole thing and am very impressed. Am anticipating seeing what skis come out of this project. Just couldn't resist the comment above after looking at how ridiculously nice all the tooling looks.
Most people cover the mold/press with a thin PE sheet - like the stuff painters use.falls wrote: One question if anyone can help.
I am trying to avoid coating my entire expensive molds and press with epoxy squeeze out on its first outing. Is there a recognised way to determine how much epoxy you need to wet out a given surface area of a specific weight of fibreglass. Thanks if anyone helps out.
You can roughly calculate how much resin you need based on the fiber/resin ratio desired. Depending on what PSI you're working with, the %fiber should be in the 60-70% range. So if you use 1kg of fiber x .3, you'll need at least .3kg of resin.
Another rule of thumb: Make sure you have enough(that can be any number or percentage, but you know it when you see it!) resin so it will wet thru the fiber! Otherwise you will be "smoked". As said before, you probably need something to protect your equipment. Something that soaks the squeezed epoxy.
This is why vacuum bagging is good, you don't have to think about that! Everything stays in the bag.
This is why vacuum bagging is good, you don't have to think about that!
Yeah its funny that I have gone to all the trouble of building an elaborate press etc. and expense when vacuum bagging is likely much easier. I know absolutely npothing about vacuum bagging so completely went the other way without a second thought!
Have moved the press into a "clean room" ready for its work.
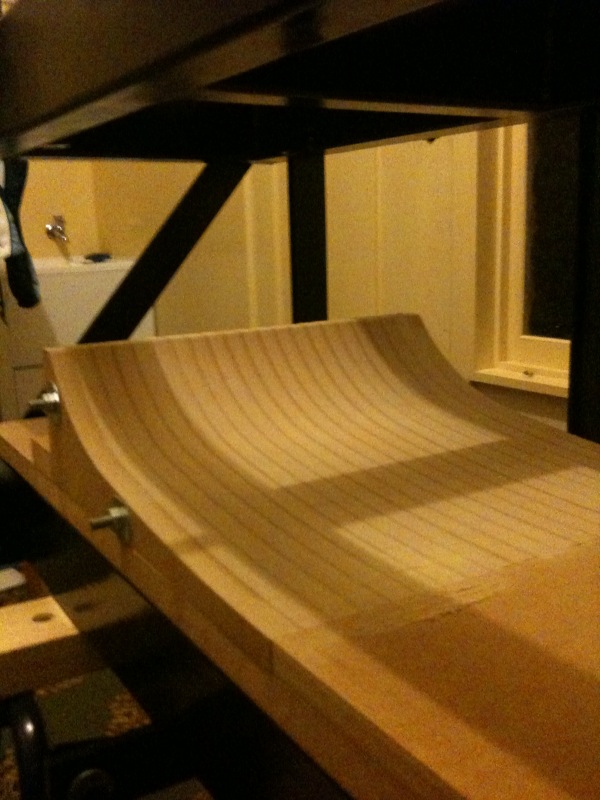
Bottom molds and corresponding top molds in MDF
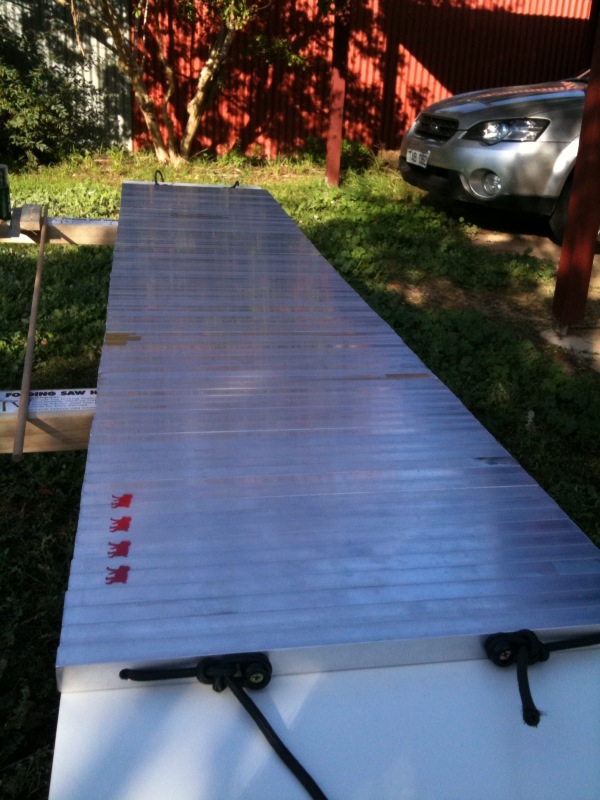
Cat Track. I screwed plastic lugs to each end (like ones used for bungee cords on the canvas cover on the back of a ute/pickup truck) and threaded the cat track with bungee cord (6mm solid rubber). I tied bowline knots in the ends and looped them over the lugs under some tension. Will see howthis goes. I was trying to avoid the metal springs that look like they can get in the way when pressing. Also I want to be able to easily add or remove cat track pieces to press differnt length skis.
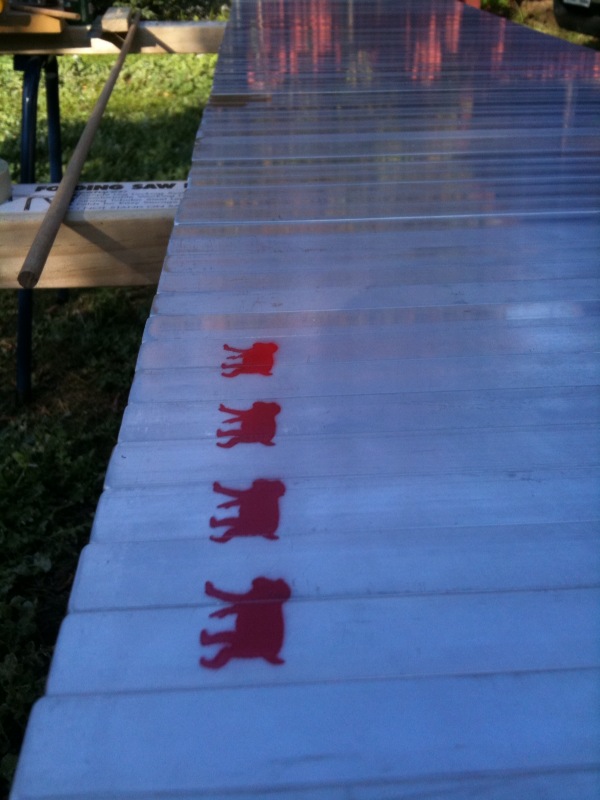
mascots
fibreglass cutting
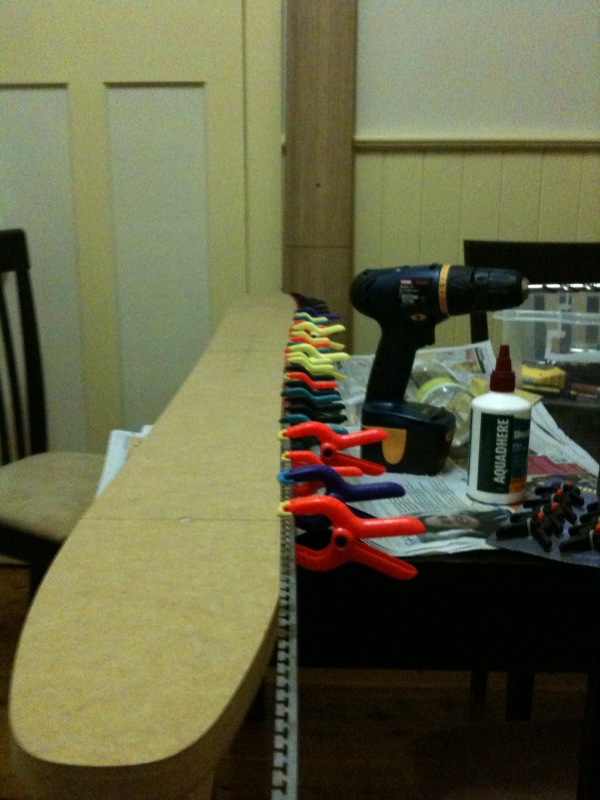
I have drilled holes in my base templates and cretaed a system of dowels to hold the template on a 4x2. It creates a free working edge to use template to bend edges to shape and then affix them to the base material. When I flip the template over it has two dowels pointing upward that let me fit the core on (pre drilled holes that will match the template dowels and later be used for core allignment dowels in the layup) and then use a router bit with offset bearing to cut the core to shape.
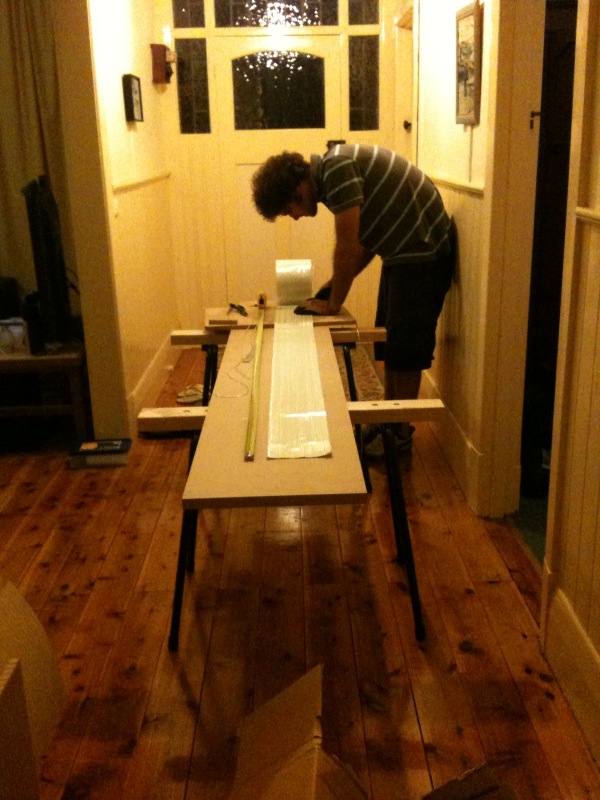
Oh yeah and flowers in tghe background to keep my girfriend on side when I do stuff like building skis on the kitchen table!!

Practice edge fitting. Maybe those edges aren't that scary after all!
More edge practice. Bamboo core in the background. You can see centre line marked and one of the holes drilled for core allignment
Have moved the press into a "clean room" ready for its work.
Bottom molds and corresponding top molds in MDF
Cat Track. I screwed plastic lugs to each end (like ones used for bungee cords on the canvas cover on the back of a ute/pickup truck) and threaded the cat track with bungee cord (6mm solid rubber). I tied bowline knots in the ends and looped them over the lugs under some tension. Will see howthis goes. I was trying to avoid the metal springs that look like they can get in the way when pressing. Also I want to be able to easily add or remove cat track pieces to press differnt length skis.
mascots
fibreglass cutting
I have drilled holes in my base templates and cretaed a system of dowels to hold the template on a 4x2. It creates a free working edge to use template to bend edges to shape and then affix them to the base material. When I flip the template over it has two dowels pointing upward that let me fit the core on (pre drilled holes that will match the template dowels and later be used for core allignment dowels in the layup) and then use a router bit with offset bearing to cut the core to shape.
Oh yeah and flowers in tghe background to keep my girfriend on side when I do stuff like building skis on the kitchen table!!
Practice edge fitting. Maybe those edges aren't that scary after all!
More edge practice. Bamboo core in the background. You can see centre line marked and one of the holes drilled for core allignment
Don't wait up, I'm off to kill Summer....