Page 1 of 2
The next one will be better...
Posted: Thu Feb 28, 2013 6:47 pm
by ProbsMagobs
I've been stalking the forums since around october with an occasional post and finally got around to finishing my mold and pressed this week. I'm a little more than disappointed with some things and think others came out better than planned.
The good- topsheet came out clean and the base only had a few spots of epoxy along some edges. My camber came out exactly like I designed.
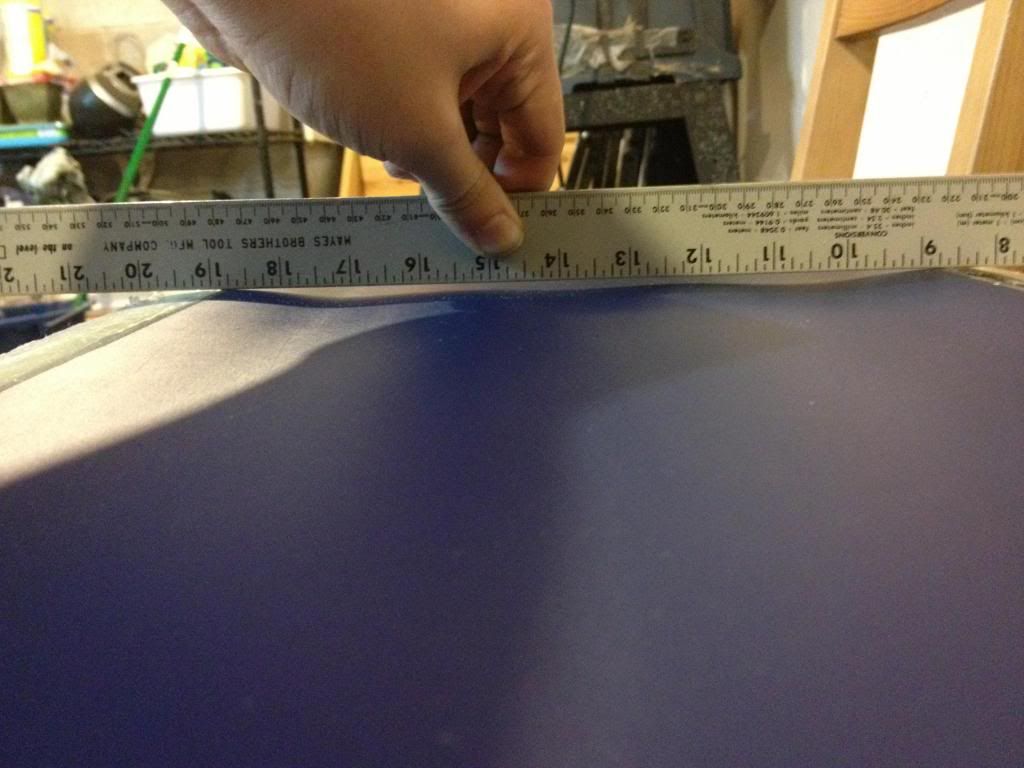
The bad- My being lazy and over excitedness made me make some rookie mistakes that I've seen a lot of on this site. My base did not come out flat. although my mold was flat, I only had 5 ribs in it because I was lazy and didnt feel like picking up another 4x8 sheet of mdf
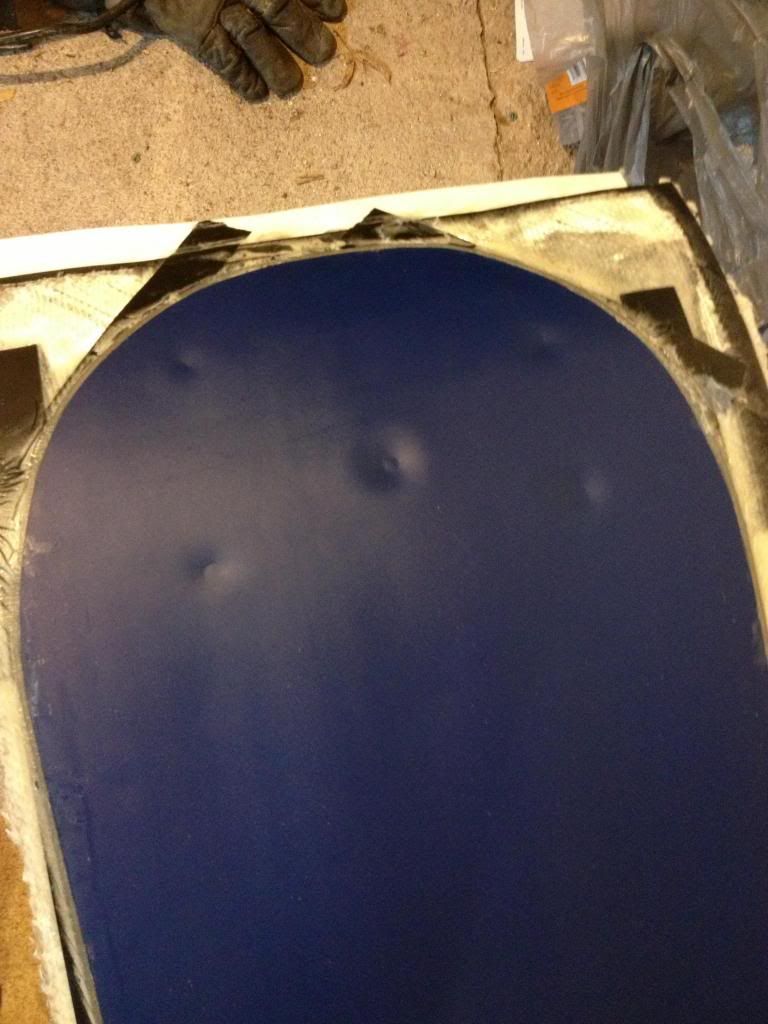
The ugly- Another lazy overlook. The screws i used that were flush at the time of making the mold pushed against my base and left some nice dents in the tips. Wont affect performance, but a solid mdf mold next time should fix the bad and the ugly.
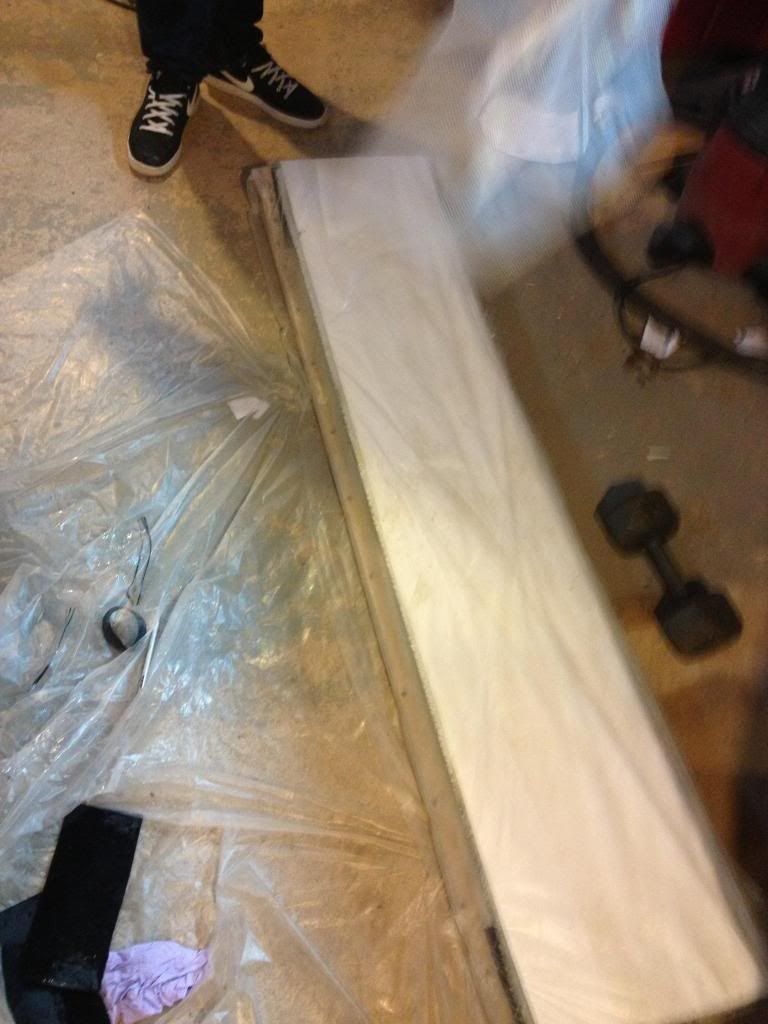
something i was really happy with was that the painters plastic i used to cover my mold barely stuck to the epoxy at all and held my base down with spray glue pretty well. Came out of the press really smoothly. Heres some pics
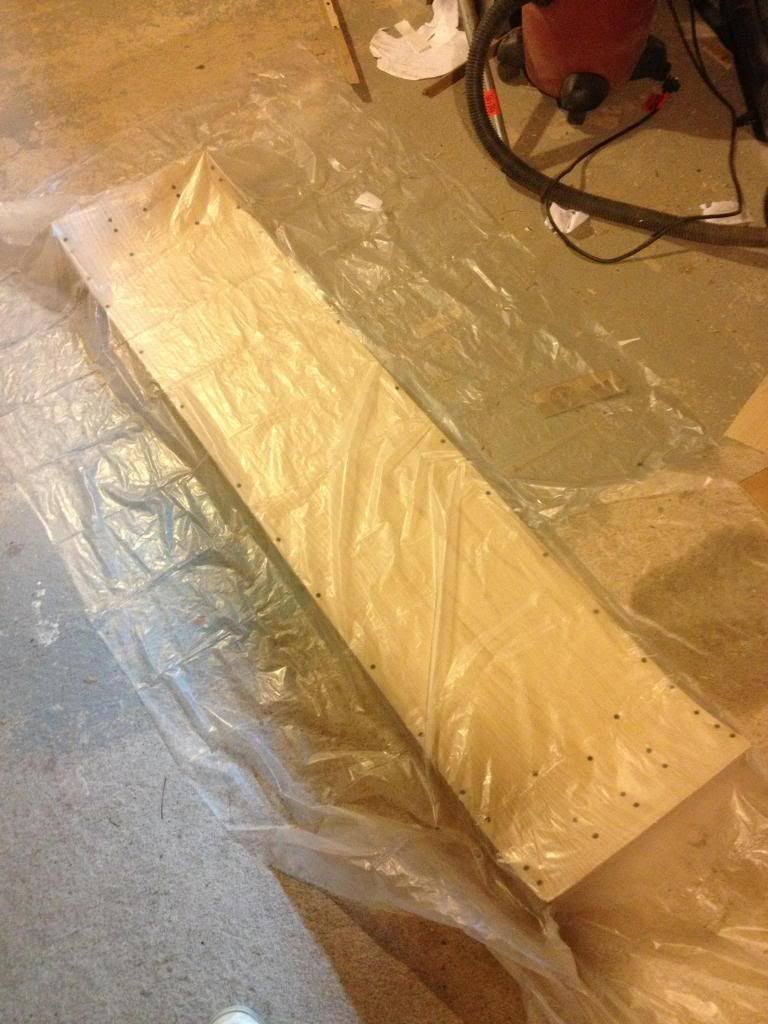
im sure anybody could notice the problems at a quick glance with this mold. the plastic was tacked to the sides then folded over the top after layup
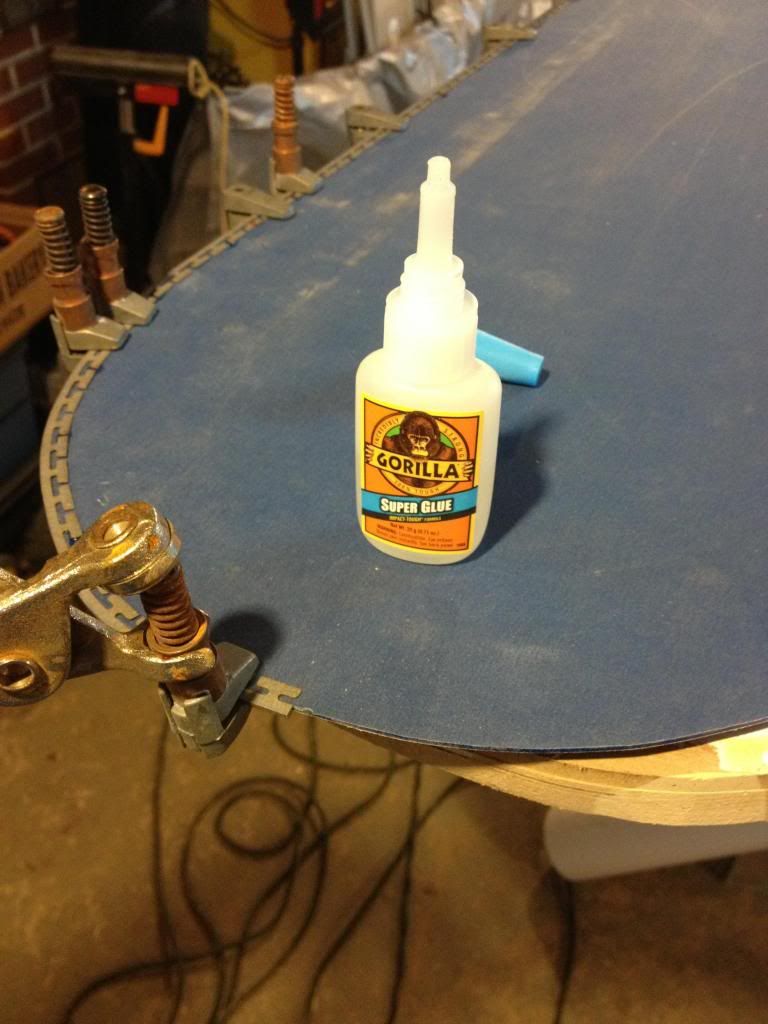
attaching edges. Clecos and gorilla glue are awesome!
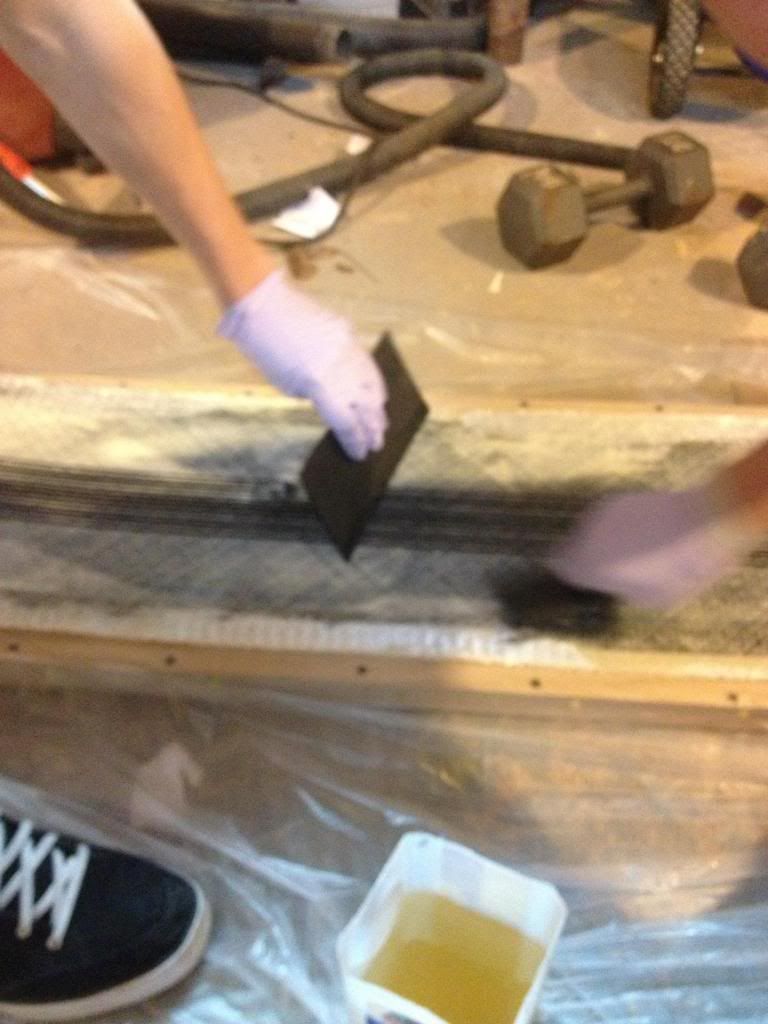
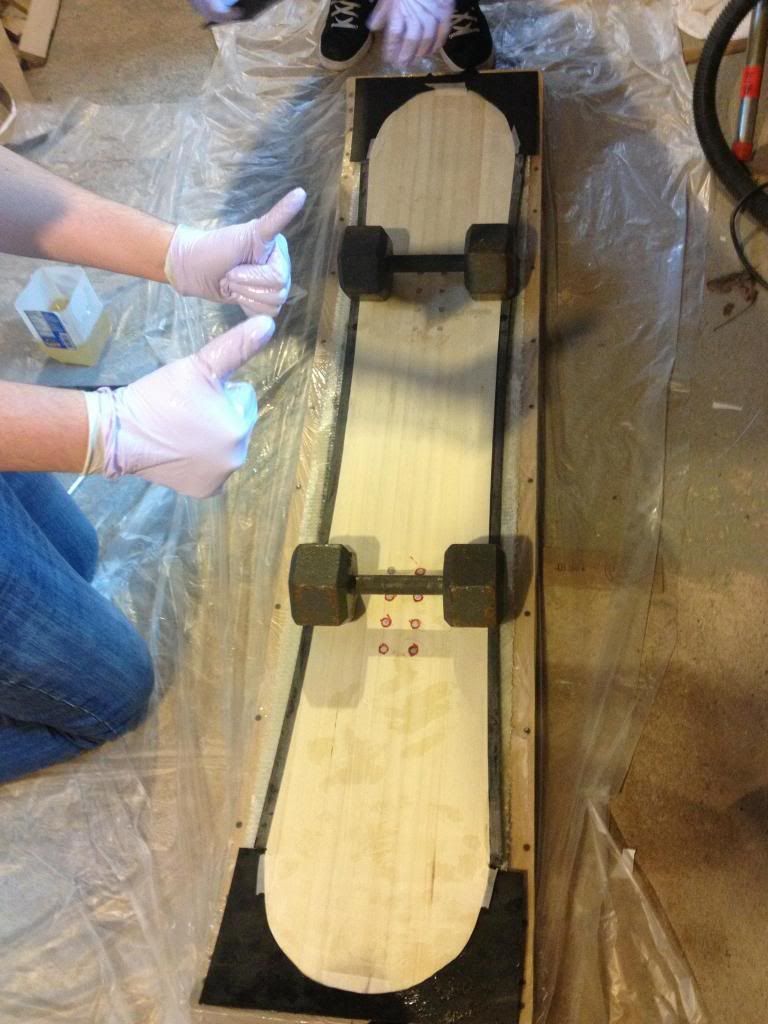
just some layup
ready for the press
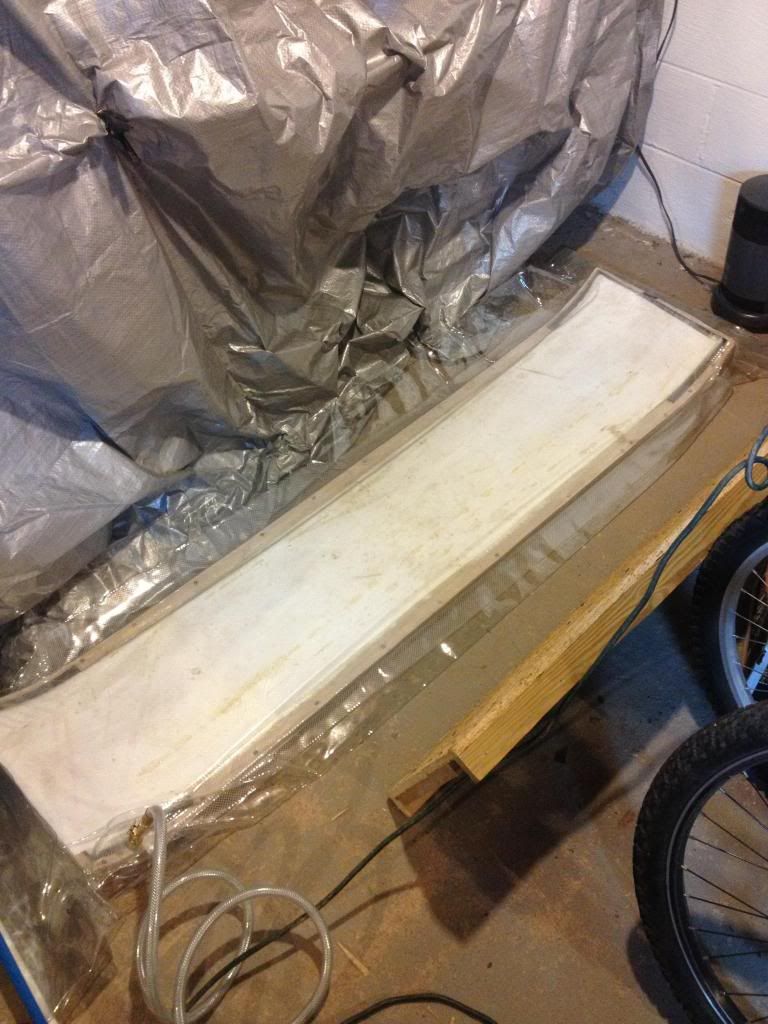
in the vacuum press. Reusable bag and reusable breather fabric are great. The painters plastic protected it 100%. It was in for 24 hours at slightly elevated room temp. overlooking how much 14psi was is how my flat mold made my board not flat
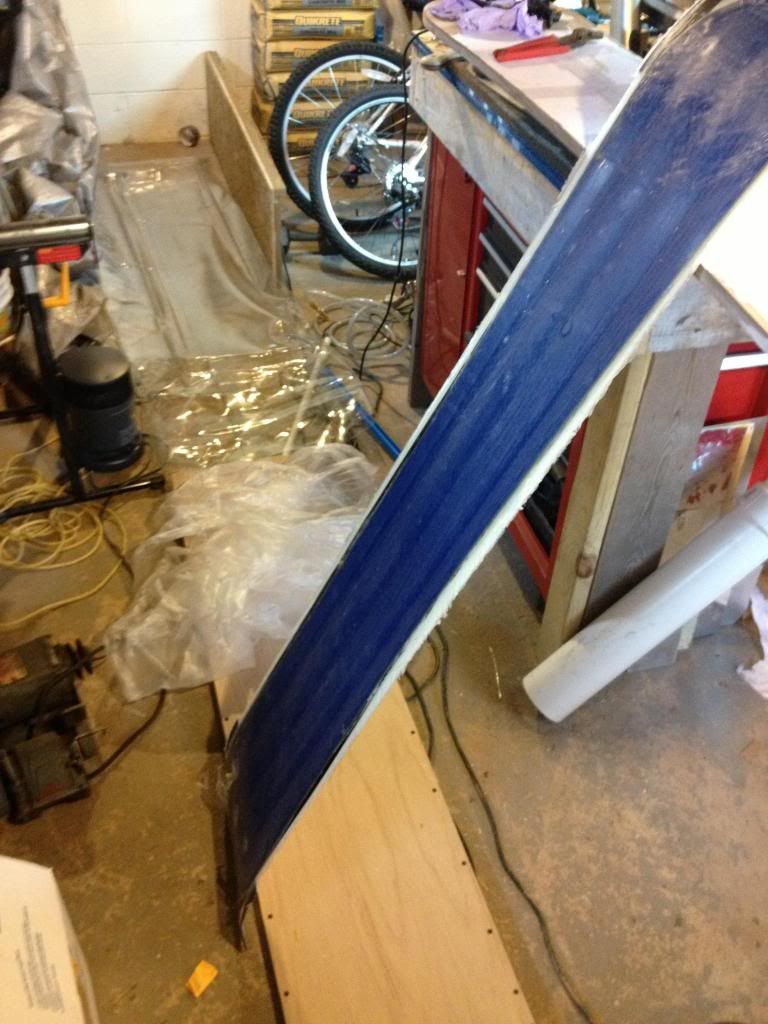
Out of the press with vinyl tape on the bottom. Worked great. Here comes the ugly
Posted: Thu Feb 28, 2013 9:12 pm
by sammer
People seem to underestimate the power of vacuum.
I think when you hear 14psi you think that's nothing, most guys are pressing at 35-40.
Sorry to see your base, this hobby definitely has some learning curve
Your mold would have been fine if you stuck your vacuum membrane to the top surface around your layup. I'm guessing the whole works went in a bag.
My vacuum press table top has been totally deformed and has actually broken from the pressure pushing it up into voids in my mold.
Sorry for your loss, but look at it as gaining a bit more knowledge and try again.
sam
Posted: Thu Feb 28, 2013 9:23 pm
by falls
On the plus side that concave will make a great wakeboard

Posted: Fri Mar 01, 2013 5:41 am
by knightsofnii
double concave will make it sick in powder!!!!
Congrats on your first build, those clamps are really neat!
Posted: Fri Mar 01, 2013 7:56 am
by twizzstyle
Hey, a first build is still a build, so you should still be pumped. Hang this one on the wall and start the next one!
Can I say we told you so about the lack of ribs? You knew this would happen
Laziness and this hobby do not mix, that's the quickest way to waste your money.
If you attach the vacuum bag directly to the mold surface, it won't push it down between the ribs (but I would still say you need more ribs just to keep it more rigid). How is the mold surface after the fact? Did it keep the warped shape so its toast now?
Posted: Fri Mar 01, 2013 8:39 am
by ProbsMagobs
Thanks for the feedback. Weird thing is the mold is still 100% flat
Posted: Sun Mar 03, 2013 8:10 pm
by knightsofnii
it probably rebounded back into shape when you released the vacuum... either that or those tips didn't get proper pressure.
chuck a piece of sheet metal over that thing...
better yet, just get a thick ass piece of steel or aluminum, something thick enough that it wont bend when forced. Take it to a metal shop and have them bend it to the tip and tail radius you want.. and just envelope bag in that one metal piece.
Posted: Mon Mar 04, 2013 12:14 pm
by skidesmond
That's a bummer. I'm sure you learned a lot. I have a corner in my basement full of mistakes. Learned something from each one them. Beef up the mold and make another.
Posted: Mon Mar 04, 2013 3:17 pm
by ProbsMagobs
its getting too warm for me to do anything about it this season but i intend to make a solid mdf mold over the summer. I need to come up with a new way to align my core also. Gluing inserts worked so-so and one pushed part of the core up. By the way, I cut out my board with a jig saw with a blade made for cutting thick metal and it worked great! it didnt slow down until the end.
Posted: Fri Mar 15, 2013 2:45 pm
by ProbsMagobs
just tested my board today for kicks and i was actually pleasantly surprised. The carbon fiber made it super stiff so it took more energy to use but more pop and solid turns came out of it. The concave base did not make a huge difference but i was in somewhat slushy conditions. No delams or edge pops. it did almost as well in the slush as my friends forum and k2 boards
Posted: Tue Mar 26, 2013 6:53 pm
by ProbsMagobs
Update: just getting all my shapes ready for the summer and am getting pretty excited. New tools, molds, materials, etc... Im good on all the snowboards but I had a friend ask me to make him a pair of skis. only problem is i dont know a thing about skis. He is about 5'11" 220lbs and wants an all mountain ski. Heres what I have so far, please critique my design.

it will be:
174cm length
126-82-111
sidecut radius of 15.3m
12mm camber setback 40mm
2-12-2 100% western red cedar core with inserts
uhmw sidewalls and tipspacer
isospeed 7500 black base
triax fiberglass top and bottom with a 1.5inch carbon fiber stringer in each ski
Zebra wood veneer topsheet
again, any help would be awesome
Posted: Wed Mar 27, 2013 1:32 pm
by artski
Sounds like a great frontside resort ski. I'd be interested to find out how it turns out.
I know a lot of people like that kind of ski.
Posted: Wed Mar 27, 2013 4:06 pm
by ben_mtl
A ski like that is on my to-do list for next year for an inbound/groomer use... it looks good to me !
Posted: Thu Mar 28, 2013 3:20 am
by skimann20
I'd go bigger in the length. 174 is short in my opinion. Your buddy is a fairly big dude. Your shape is good. its fairly close to my shape and my buddy (6'3" 240lb) absolutely loves them on the front side. i'd beef the tip and tail up slightly maybe just add 0.3 to all your numbers.
what weight Carbon?
Posted: Thu Mar 28, 2013 4:21 am
by skidesmond
I made a ski similar to that. You may want to go 2.5-3mm in the tip and tail since you're using a soft wood. What type of skier is he and what is he skiing on now? Aggressive, ski groomer who rips it up, old school, park...? Your buddy is about my size. I ski on 168cm up to 178cm and I like them all. If I'm teaching or skiing the local hill I'll ski on a soft 168cm. If I'm racing it's a 175cm firm ski, fresh snow or on a bigger mtn maybe my 178cm all mtn similar to what you designed.