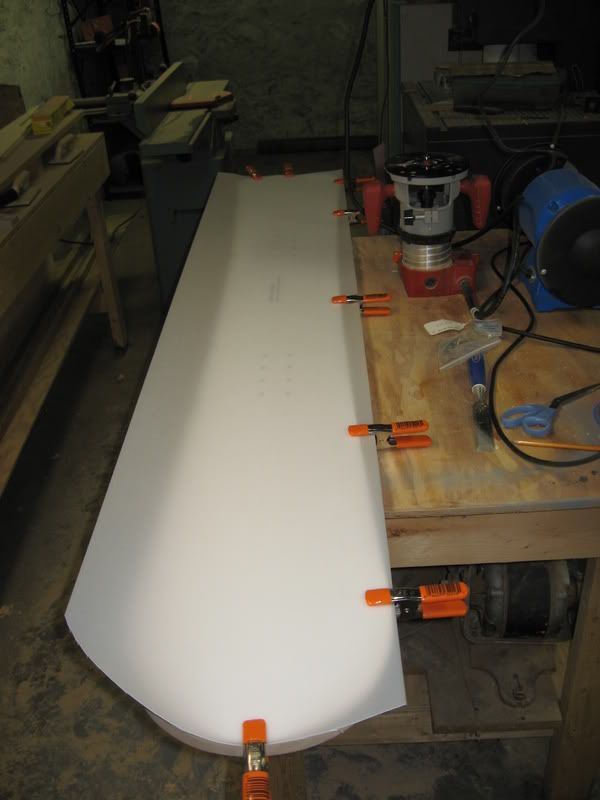
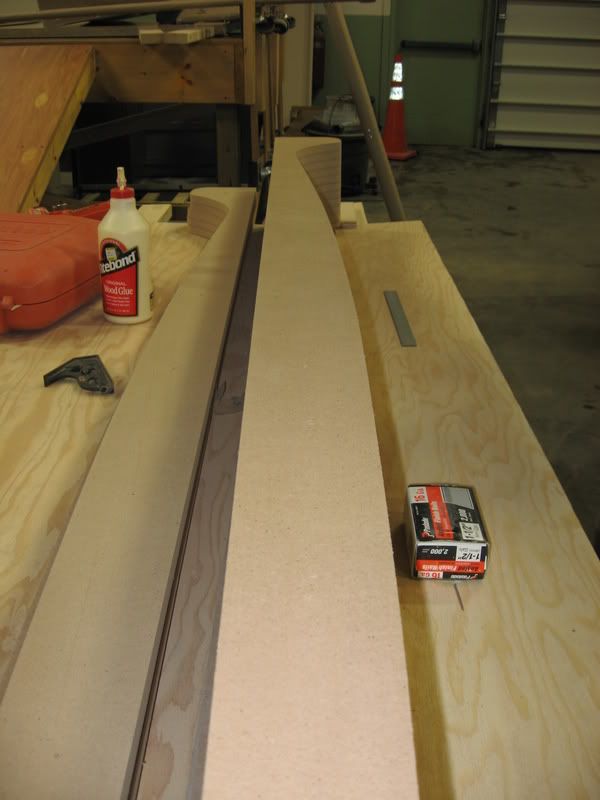
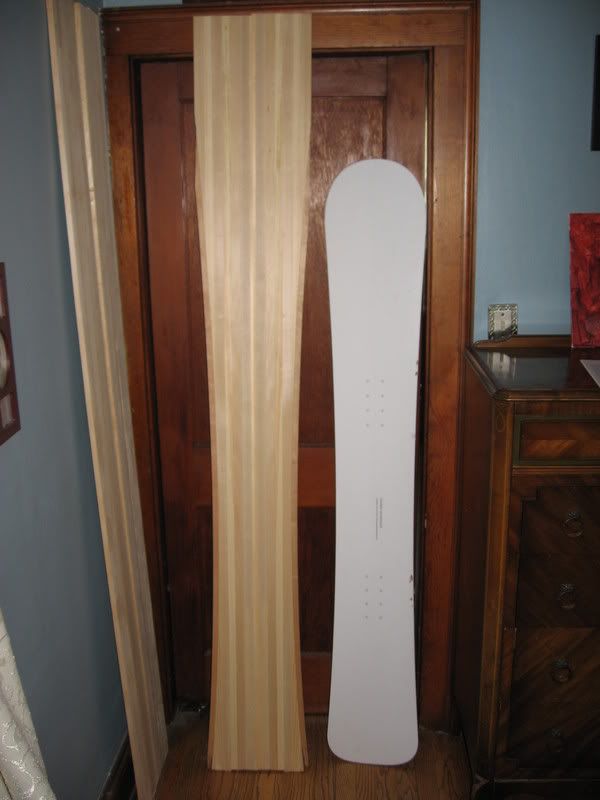
Finished up a little more on the core this week.
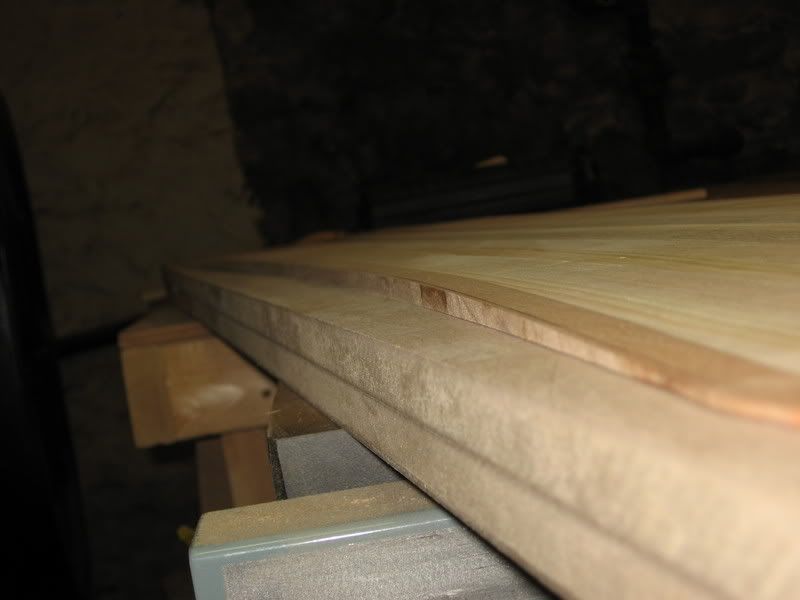
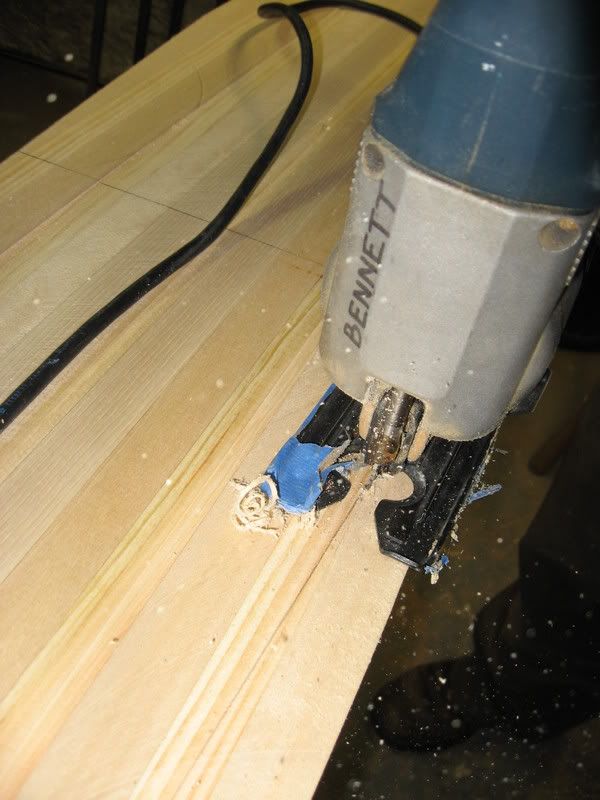
Epoxied the sidewalls on.
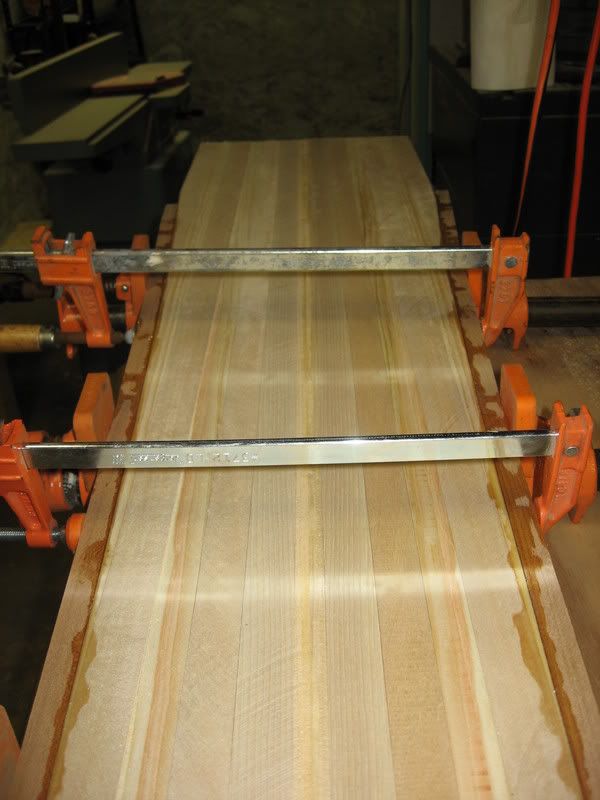
I'm using cherry, primarily so I don't have to worry about bonding issues on my first board.
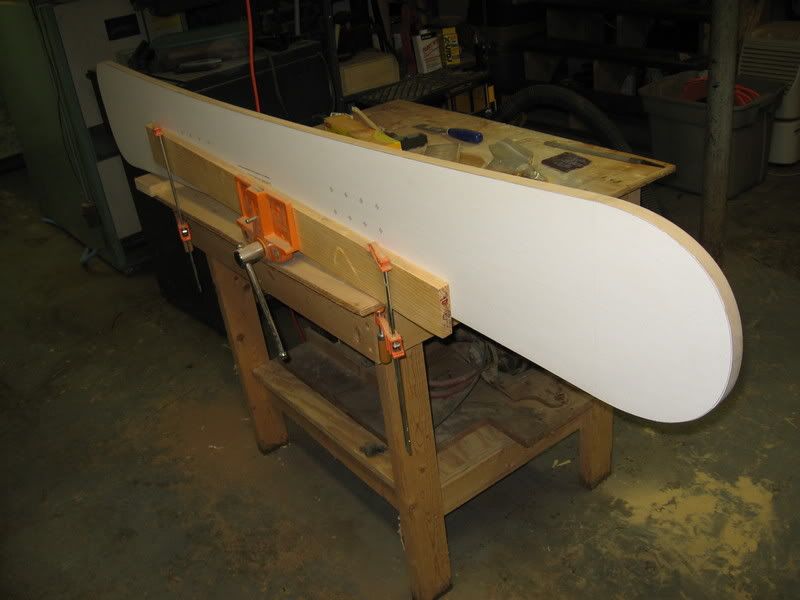
The core with side walls.
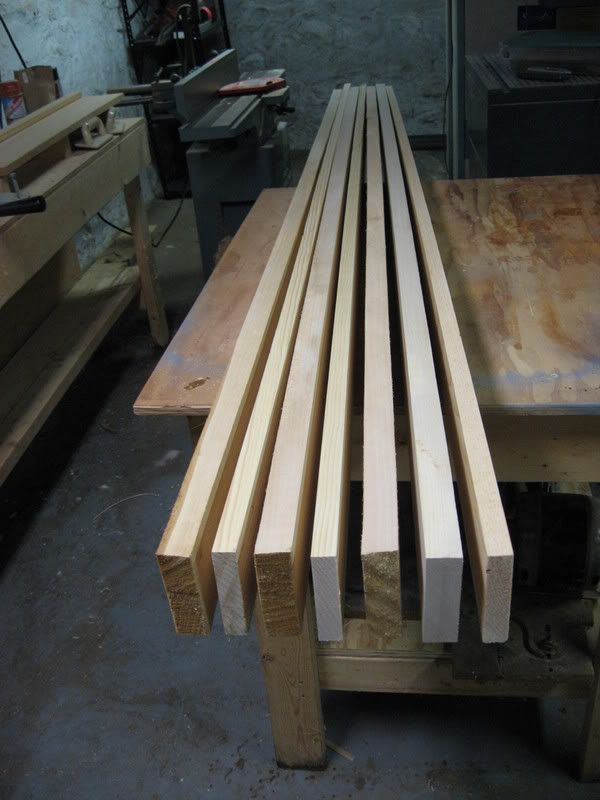
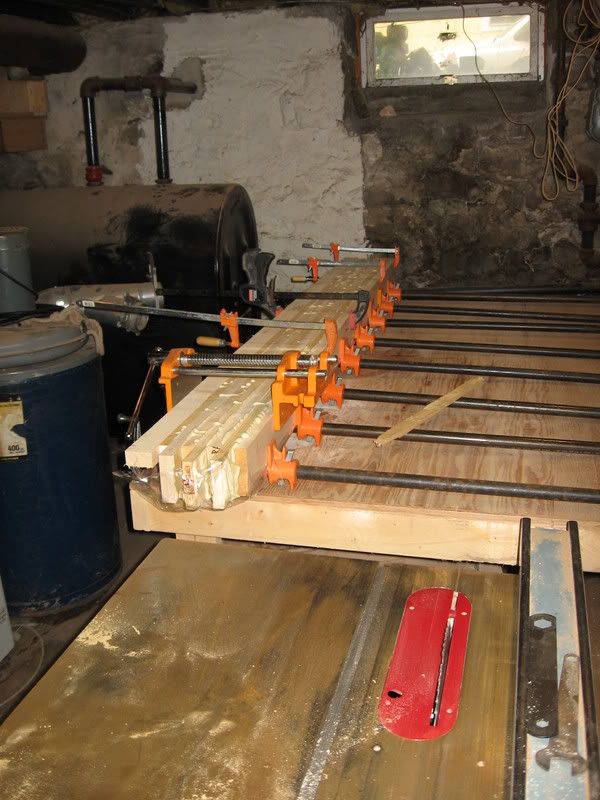
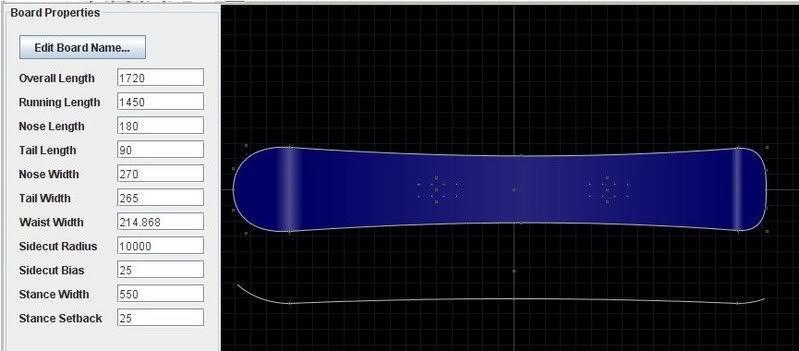
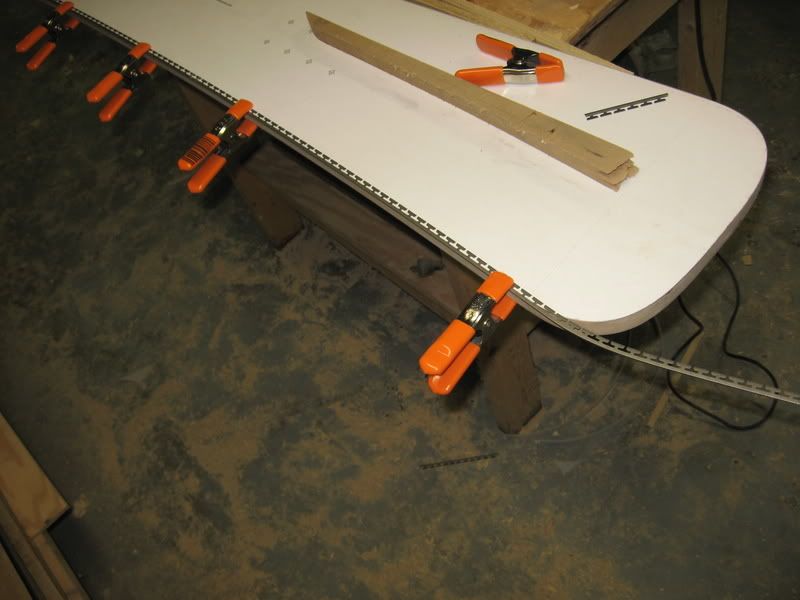
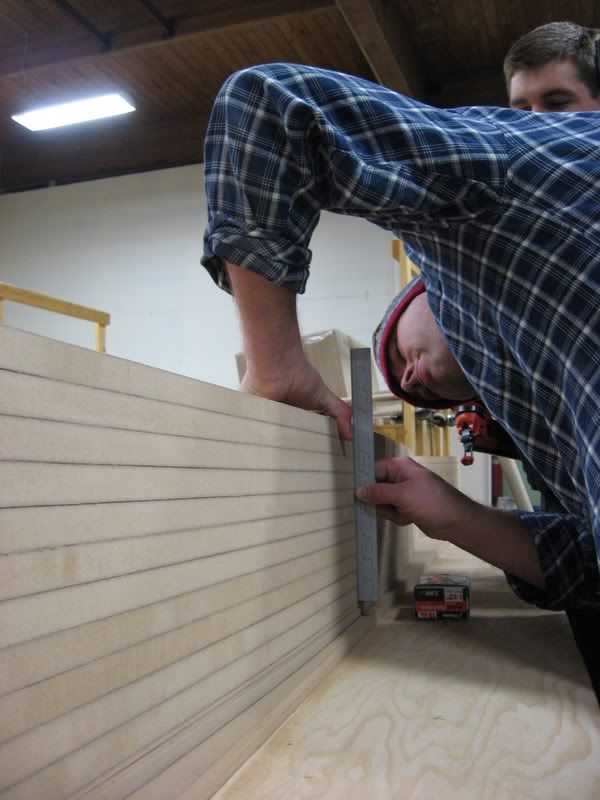
My profiling jig. As you can see, it's super complex.

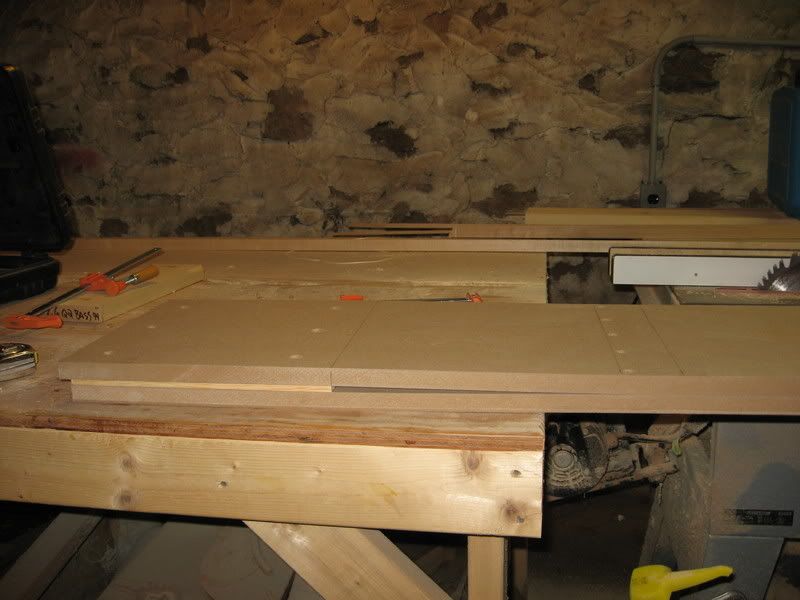
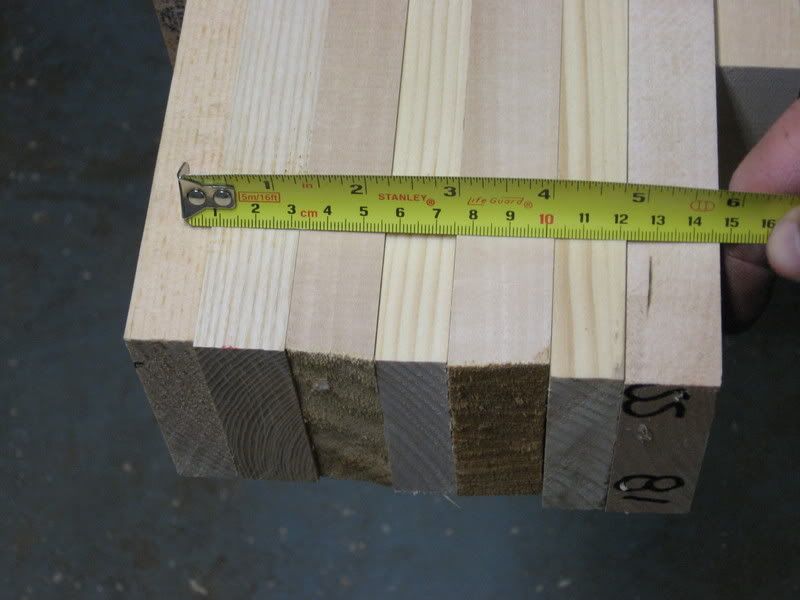
The one piece goes on top of the second piece, and that other piece goes inbetween.

The thickness of the inbetween piece is determined by subtracting the thickness of the tip or tail from the the under-foot thickness of the core. The length of the taper is determined by where the row of screws, shown to the right in the photo, are placed.
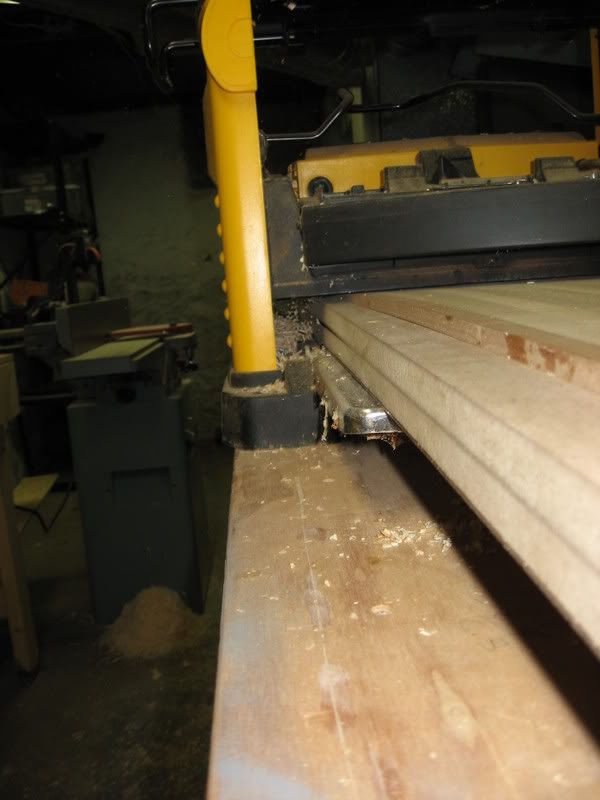
The core was held in place with some well counter-sunk screws in the exra bits beyond the tip or tail depending on which end was being worked.
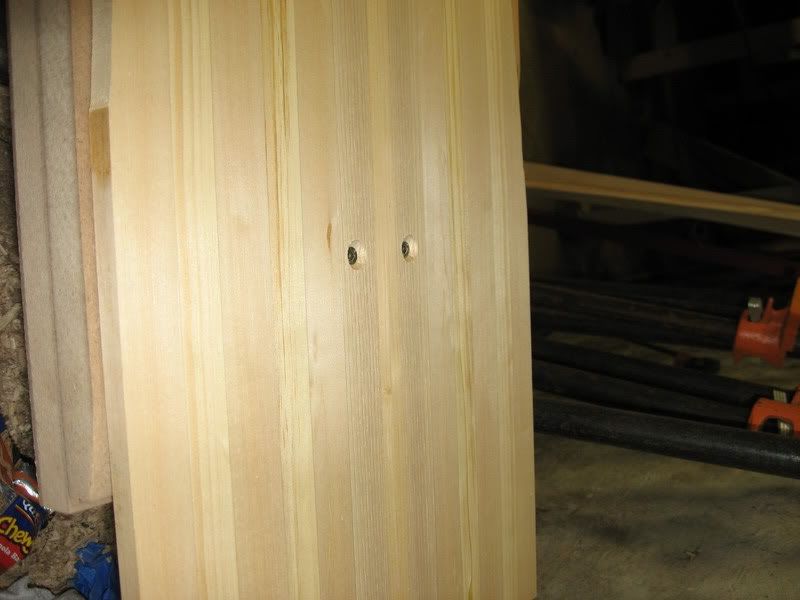
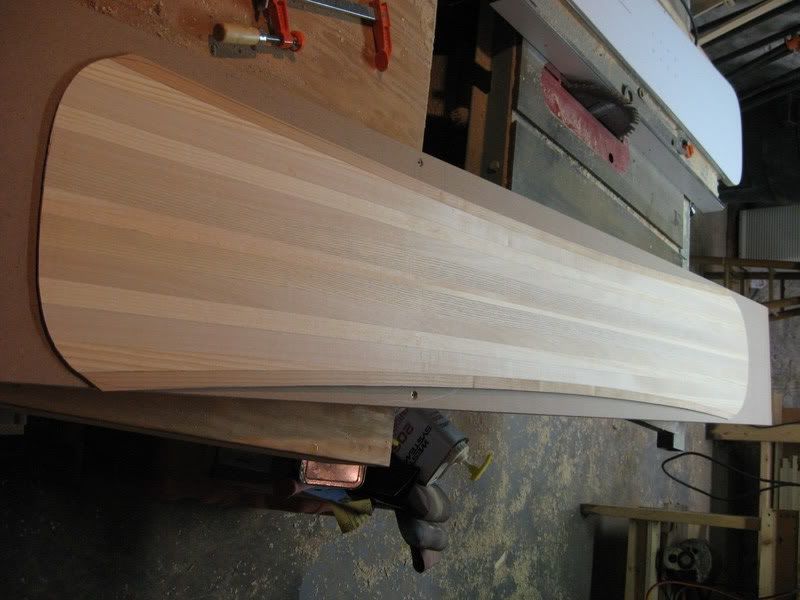
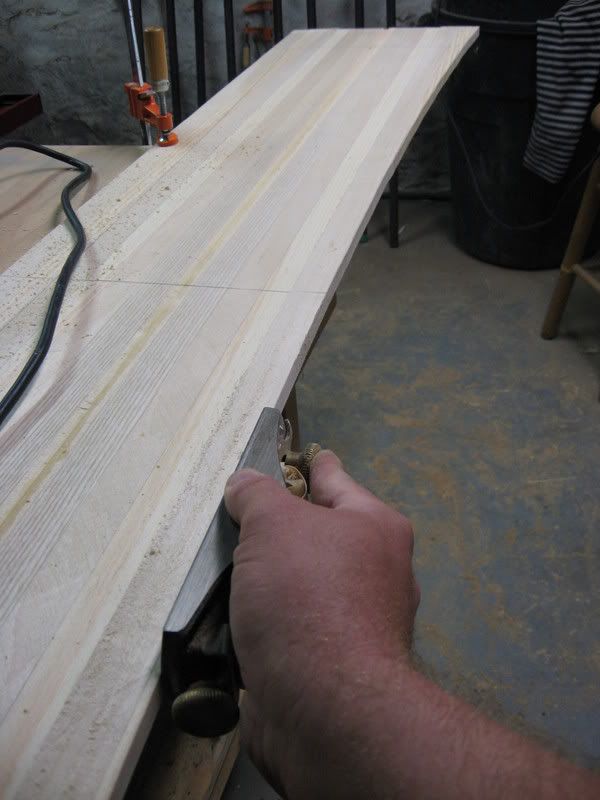
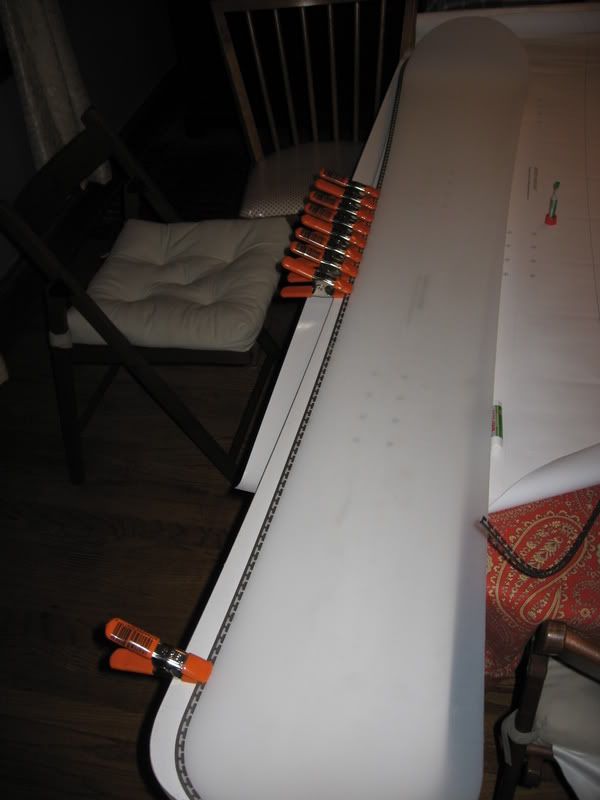
Running through the thickness planer. The 3/4" mdf held up fine for a 34cm taper. It produced a profile with a
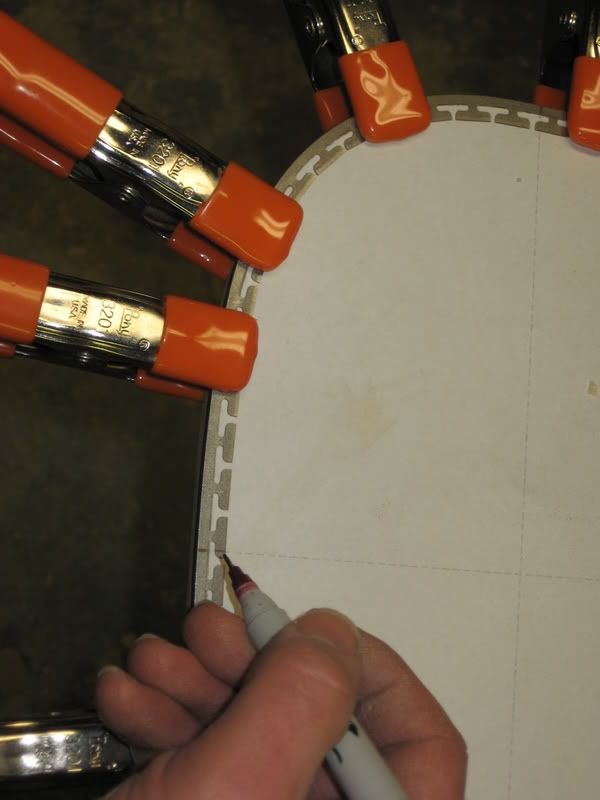
very slight wave to it. The core bridged a bit on the shorter tail taper (shown in photo). For this one I decided to leave the tail a bit thicker to compensate. In the future I'll try countersinking screws in the core at the start of the taper and filling the holes afterwards.
The tapered core.