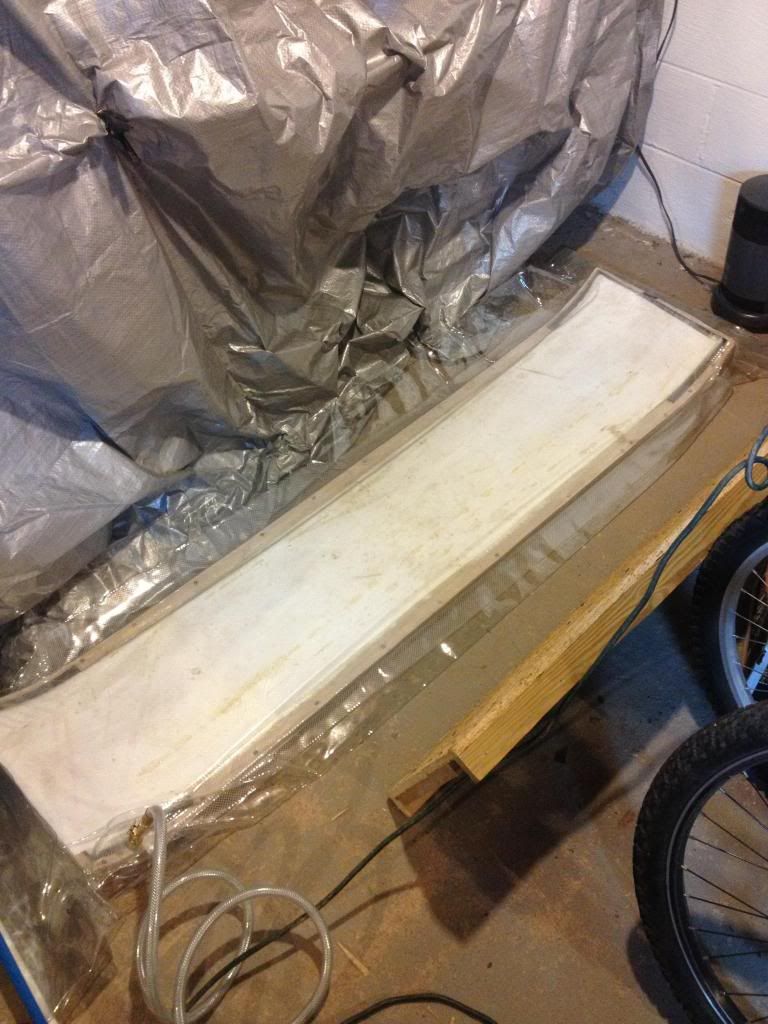
The good- topsheet came out clean and the base only had a few spots of epoxy along some edges. My camber came out exactly like I designed.
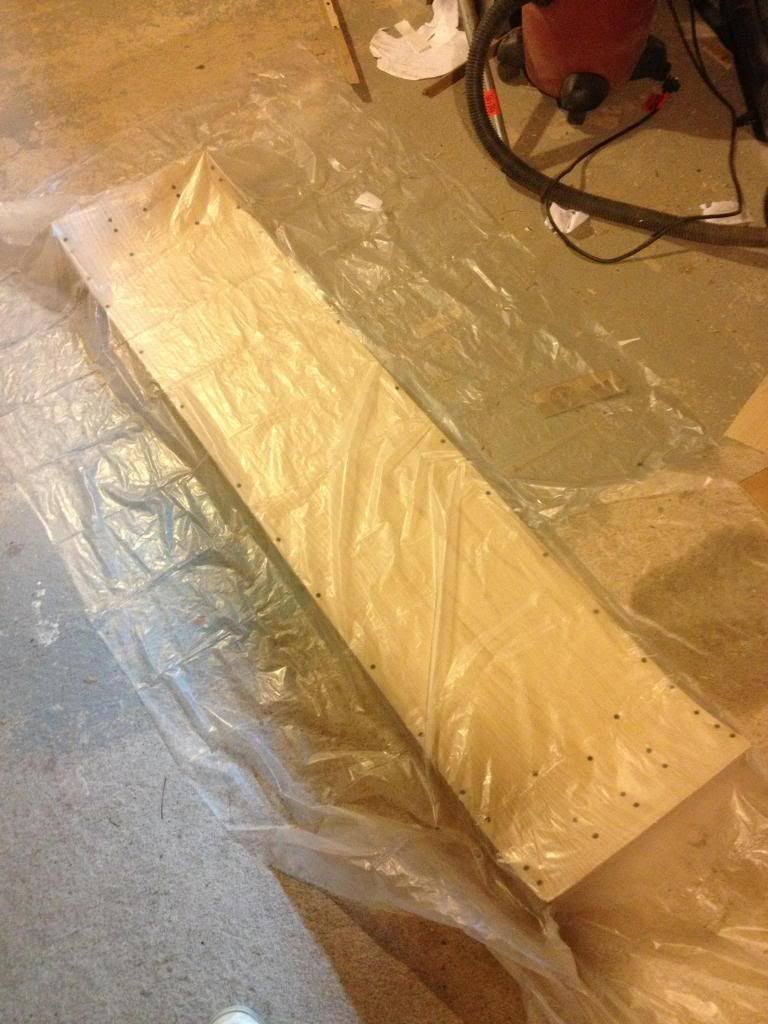
The bad- My being lazy and over excitedness made me make some rookie mistakes that I've seen a lot of on this site. My base did not come out flat. although my mold was flat, I only had 5 ribs in it because I was lazy and didnt feel like picking up another 4x8 sheet of mdf
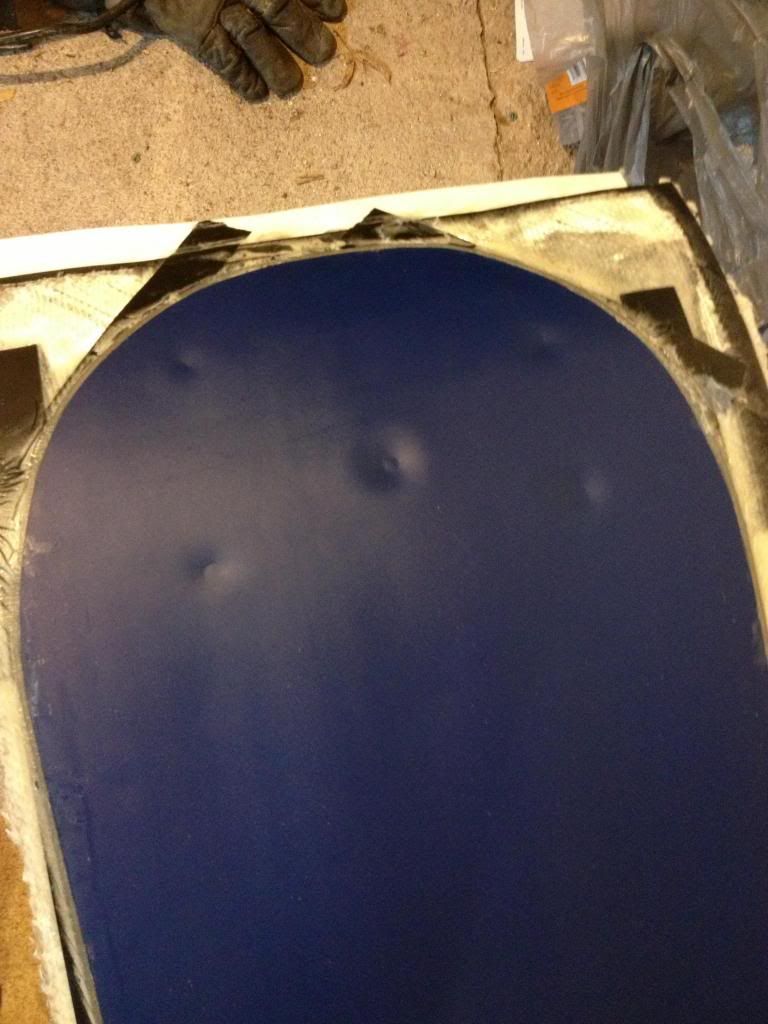
The ugly- Another lazy overlook. The screws i used that were flush at the time of making the mold pushed against my base and left some nice dents in the tips. Wont affect performance, but a solid mdf mold next time should fix the bad and the ugly.
something i was really happy with was that the painters plastic i used to cover my mold barely stuck to the epoxy at all and held my base down with spray glue pretty well. Came out of the press really smoothly. Heres some pics
im sure anybody could notice the problems at a quick glance with this mold. the plastic was tacked to the sides then folded over the top after layup
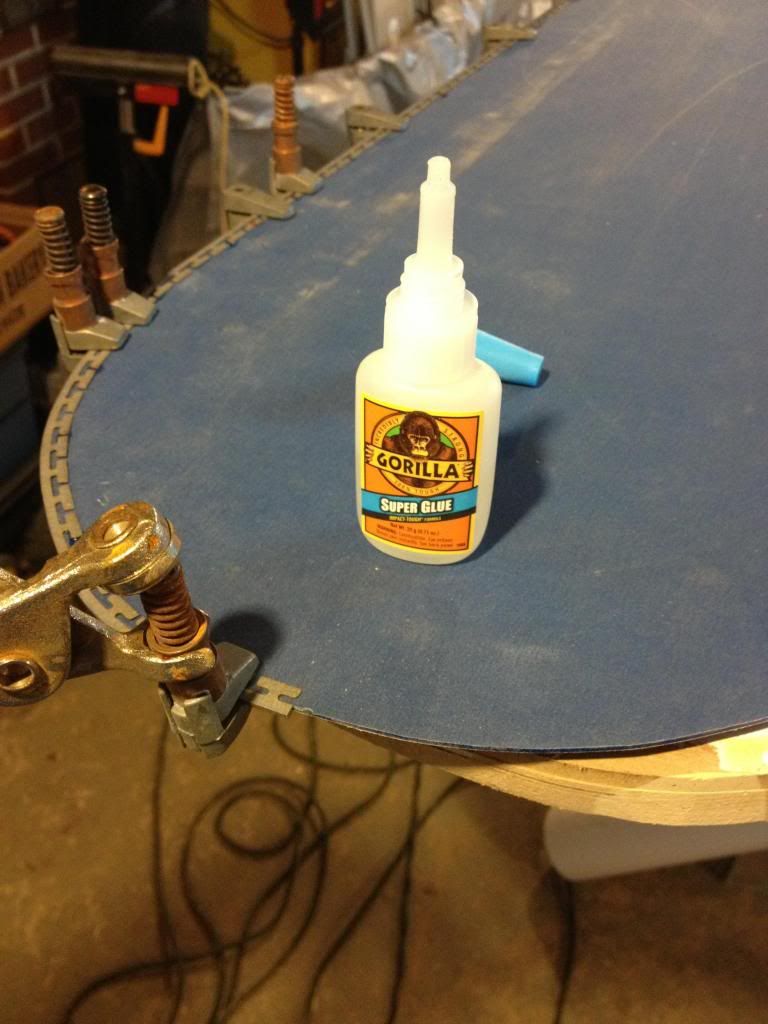
attaching edges. Clecos and gorilla glue are awesome!
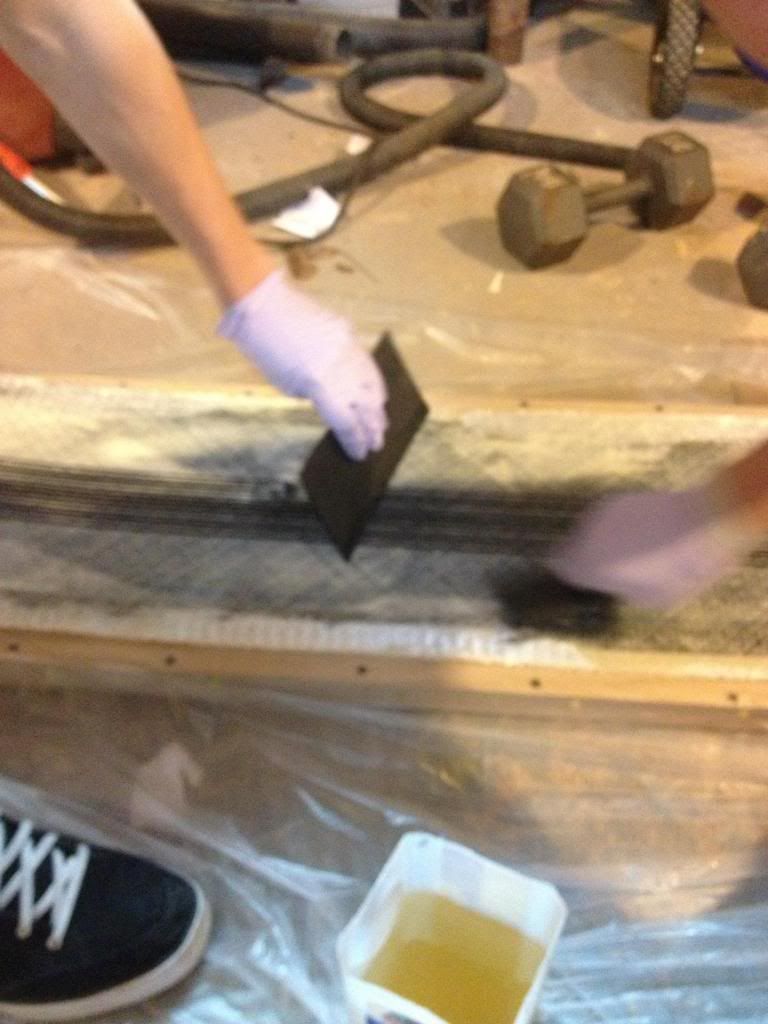
just some layup
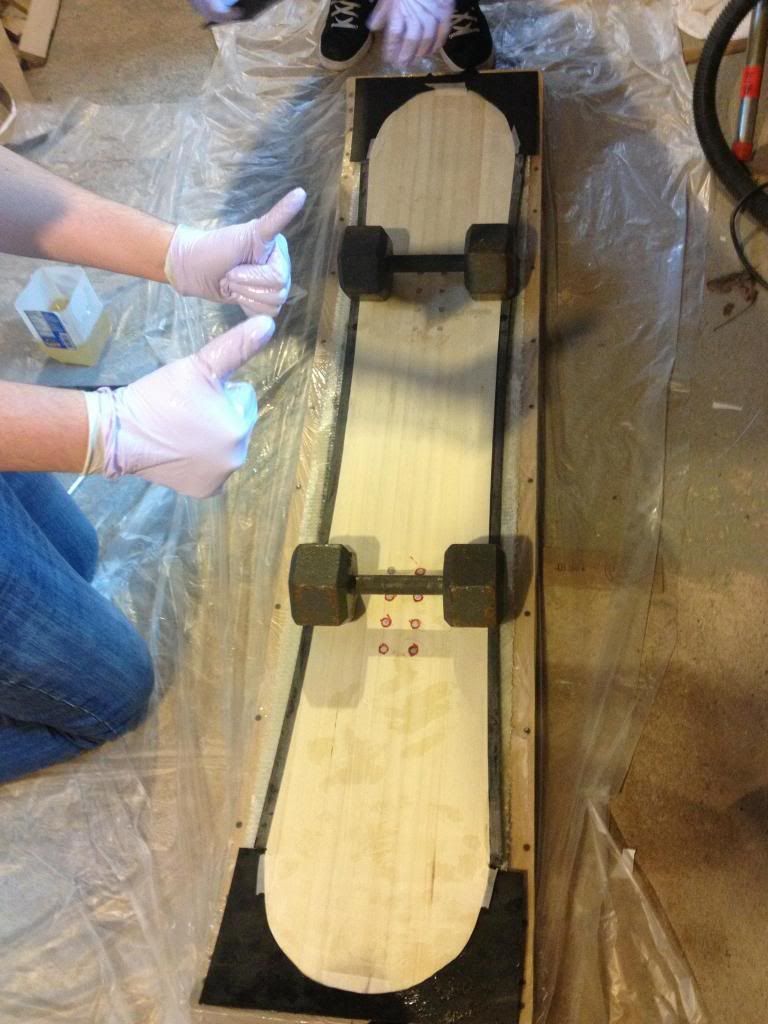
ready for the press
in the vacuum press. Reusable bag and reusable breather fabric are great. The painters plastic protected it 100%. It was in for 24 hours at slightly elevated room temp. overlooking how much 14psi was is how my flat mold made my board not flat
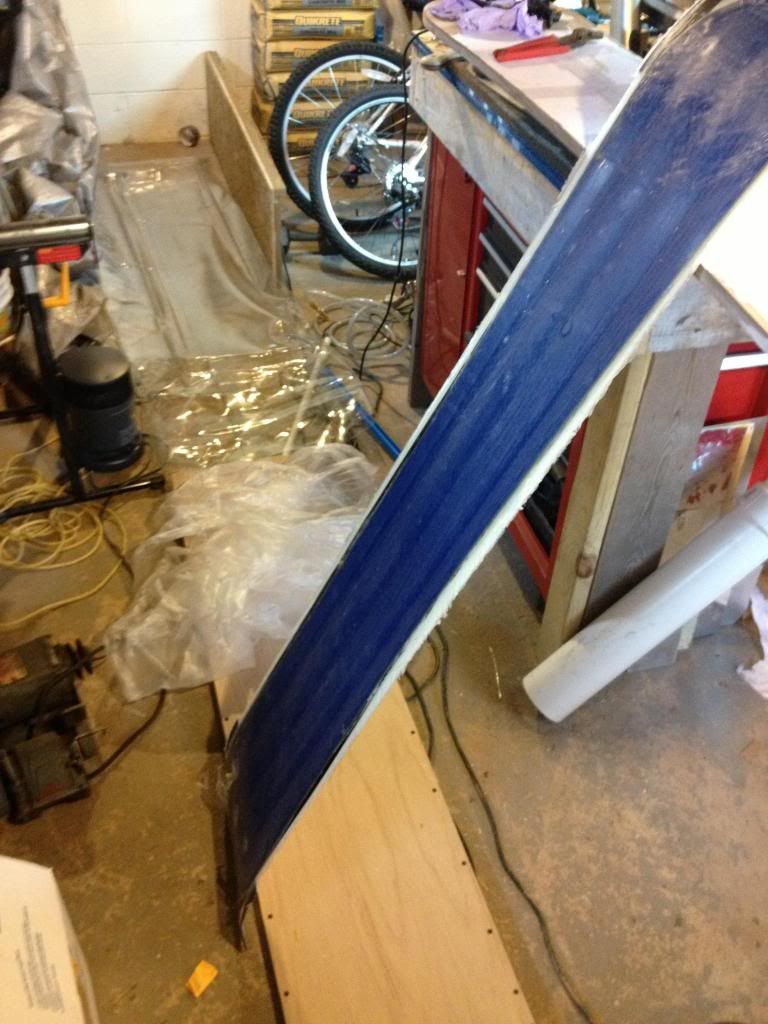
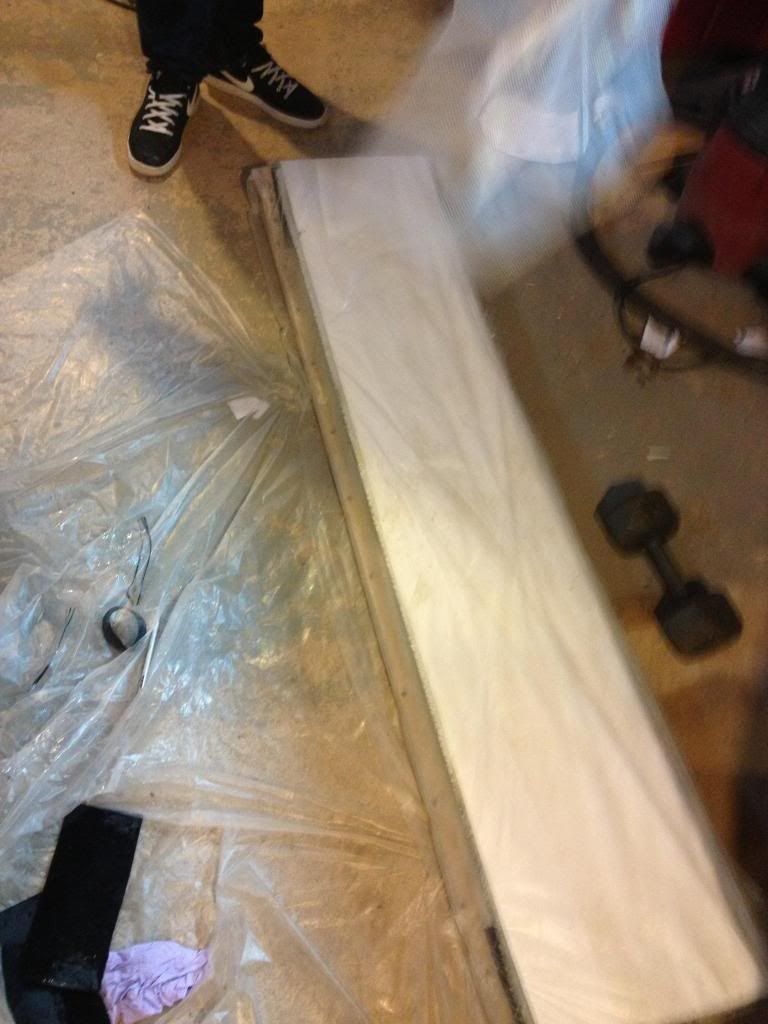
Out of the press with vinyl tape on the bottom. Worked great. Here comes the ugly