
Ya it is frustrating when a budget is concerned. Ive been pricing building one for about 4 months trying to maximize my spending.
I am really leaning to a joes 4x4 made into a cut area of 26"x80" but instead of the lead screws running the movement I am going with gear rack and pinion on the x and y. When you extend out the length out past 4' the lead screw will "whip".
The $100 for the plans and forum I have read is well worth the price and there are people on the forum who have modified it to 4x8 and changed over to R&P http://www.cnczone.com/forums/showthread.php?t=92913
Here is also a link to CncRouterParts, they make a Rack and Pinion drive to fit a joes http://www.cncrouterparts.com/product_i ... ucts_id=50
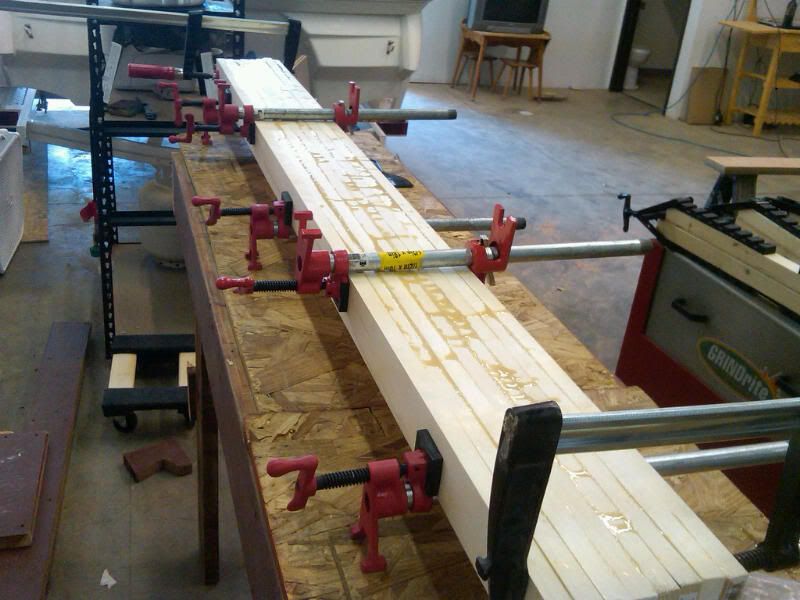
A new press is born
Moderators: Head Monkey, kelvin, bigKam, skidesmond, chrismp
Have you seen these parts for the Joes CNC?
http://www.castcnc.com/
I think you should be able to extend the rack and pinion version to 8'?
After checking some reviews I think I am on board with you. I am going to pay the $100 tonight and probably try to build this one as long as I can keep it under $3,000. Keep me posted if you decide to build one as well.[/url]
Hey CO,
Looking at your earlier post I see that you have added wood as a spacer below the mold. Is this because there are no materials (ski) in the press? If so never mind otherwise, I would use full sheets under the mold. Either plywood or MDF so the load is evenly spread out / supported. Sorry I did not see it earlier.
ra
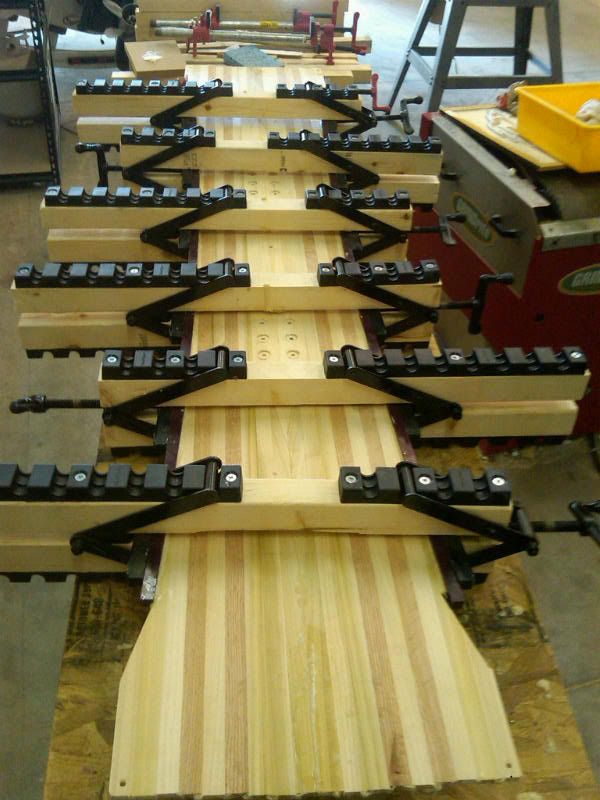
I decided not to weld the tubes together for additional support. I really need this press to be movable since I am renting my garage space and I don't have a forklift to move this as one unit. I beefed up the angle brackets to 3"x3"x5/8" and beefed up the all thread to 5/8". I added full length MDF boards per Rock's recommendation. With the new supports I pumped it up to 60 psi with no noticeable deflection. I think I am now ready to make some boards!
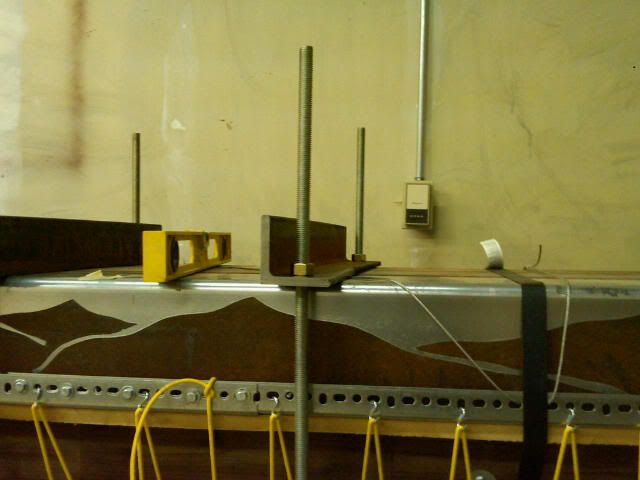
As for the convenience factor of unbolting the angle to access the press. I designed the stand to allow for the angle iron to slide to the side. It only took me 3.5 minutes to undo the 4 brackets and move them to the side.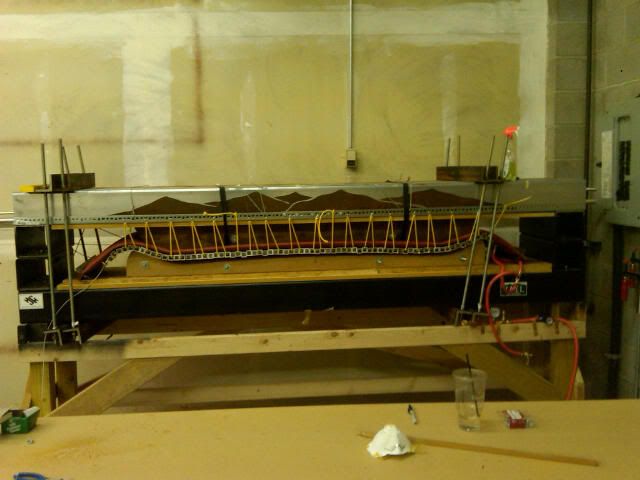
As for the convenience factor of unbolting the angle to access the press. I designed the stand to allow for the angle iron to slide to the side. It only took me 3.5 minutes to undo the 4 brackets and move them to the side.
-
twizzstyle
- Posts: 2204
- Joined: Tue Mar 07, 2006 8:25 pm
- Location: Kenmore, Wa USA
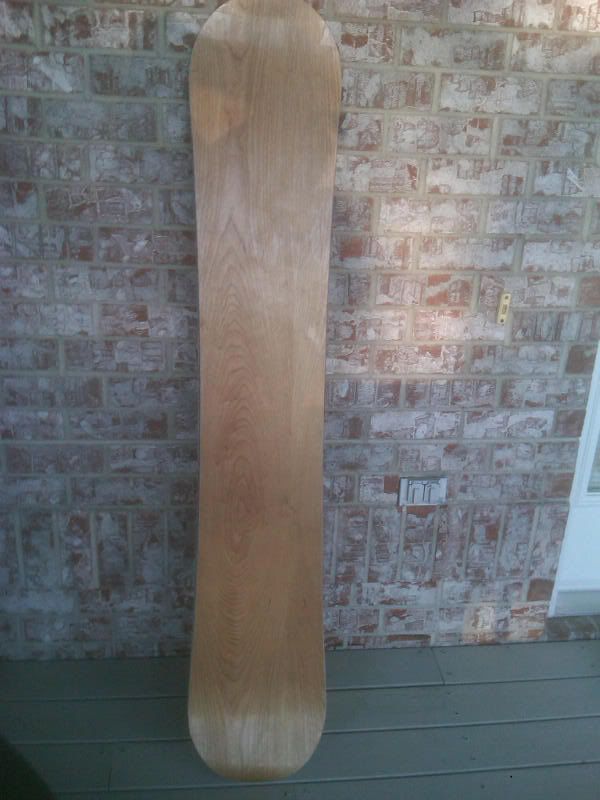
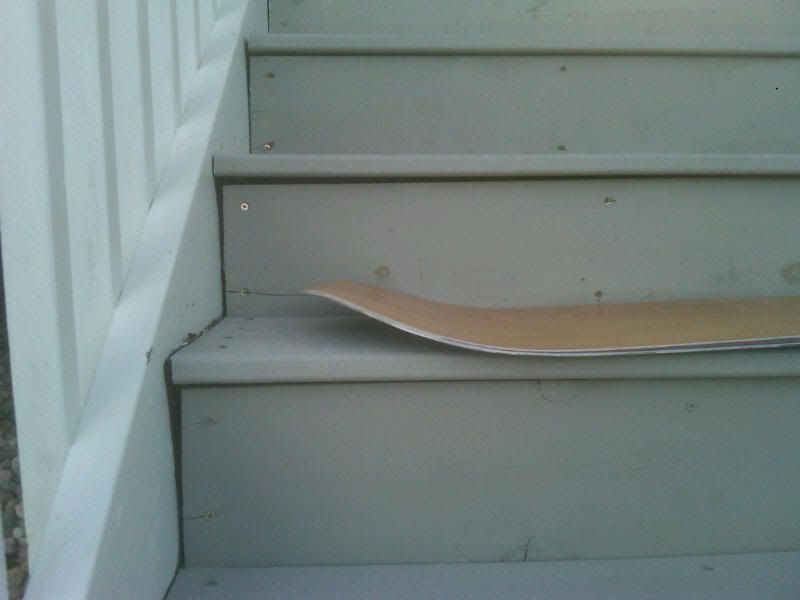
Its been a few months since I posted to my journal. I have been busy getting all my equipment set up and ready for pump'n out boards. I have completed 3 boards. The first came out OK. The second looked like sh#t. . The third came out pretty good, here it is:
Back
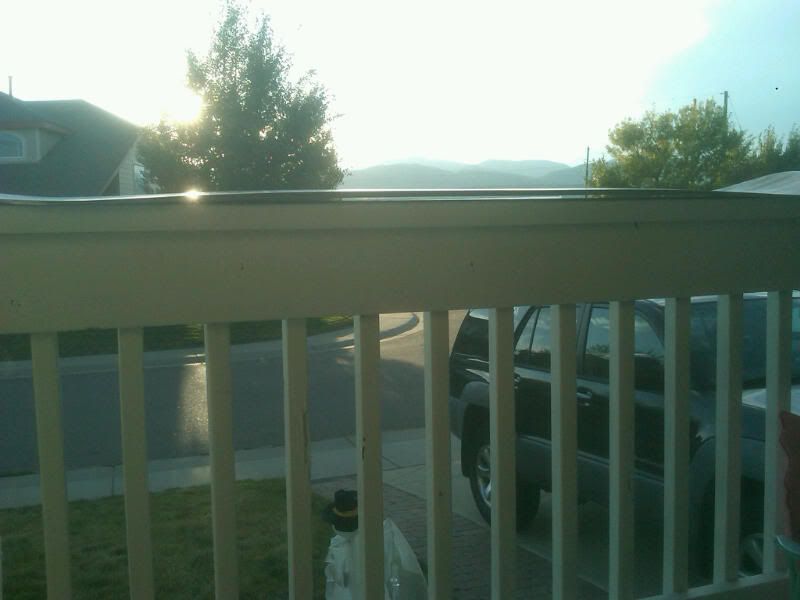
Back: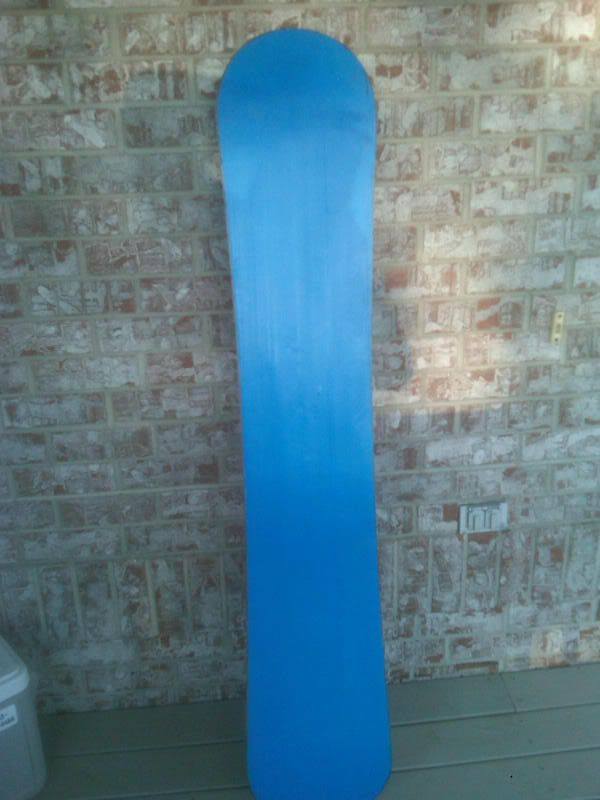
top
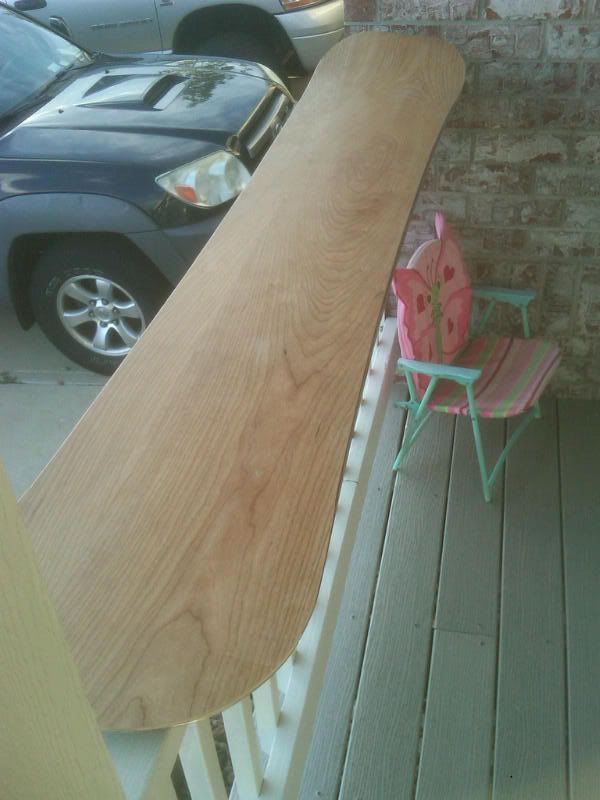
CAMBER
out of press
Cnc'd
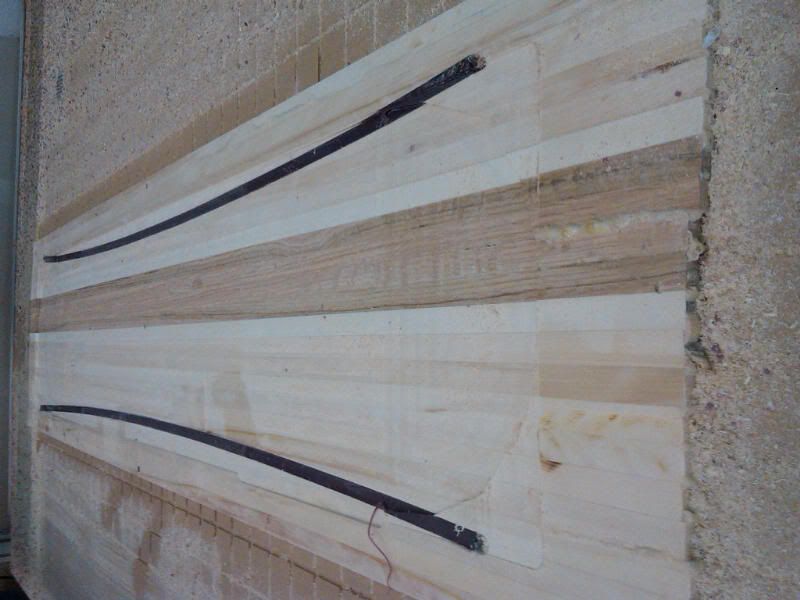
glue up
The only issue I had with this board was my alignment was off a few inches and pressed the tip to high. I will just call it a handle or maybe an ollie tip
Back
Back:
top
CAMBER
out of press
Cnc'd
glue up
The only issue I had with this board was my alignment was off a few inches and pressed the tip to high. I will just call it a handle or maybe an ollie tip
-
doughboyshredder
- Posts: 1354
- Joined: Mon Sep 17, 2007 7:37 pm
-
skidesmond
- Posts: 2337
- Joined: Tue Apr 07, 2009 3:26 pm
- Location: Western Mass, USA
- Contact:
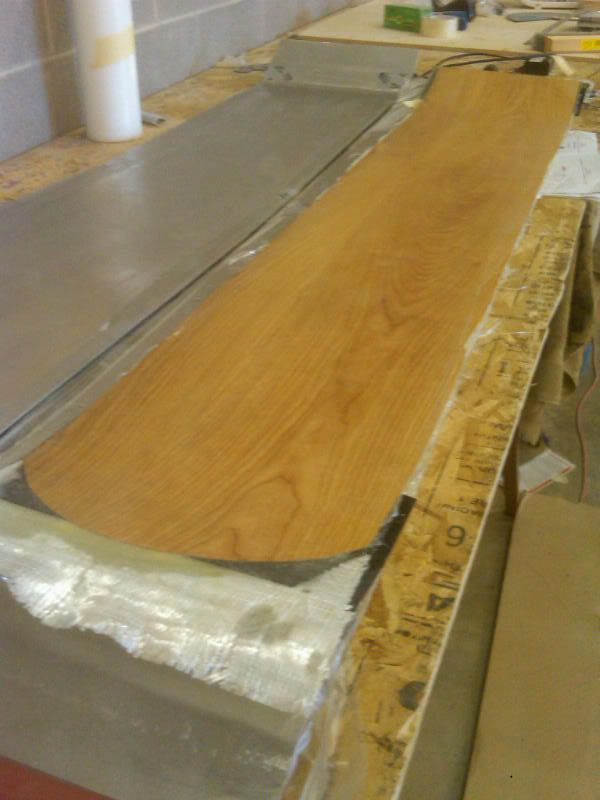
Thanks guys! I am pretty stoked this board actually came out looking like a real board. I may even hike up a glacier next week and give it a try. I used cherry veneer, no stain. It darkened from either the heat or the epoxy or both. What is really cool is the top is very smooth. I used high temp mold release and a .05" aluminum sheet above the board in the press. I only used 1 heat blanket and it worked great. 2 blankets seemed to generate a lot of heat that was difficult to control. Not to mention one of my Hi Heat blankets blew up in sparks during my last press. Nothing scarier then sparks and small explosions coming from your press when your back is turned. I think I might have sharted during the event. First snow in Colorado mountains yesterday!
-
skidesmond
- Posts: 2337
- Joined: Tue Apr 07, 2009 3:26 pm
- Location: Western Mass, USA
- Contact:
Son of a B! I just pulled another board out with some major issues. I melted my base!
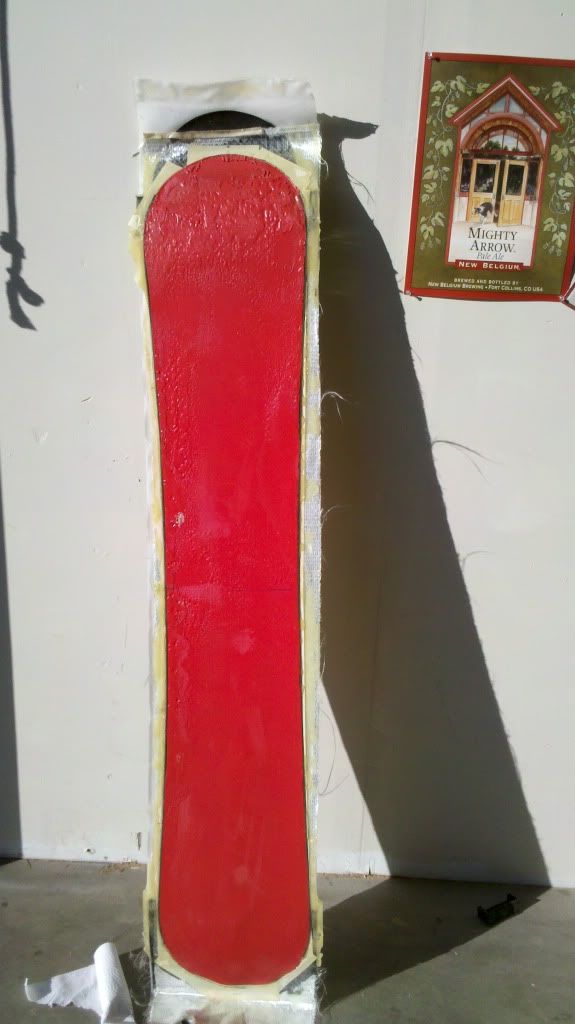
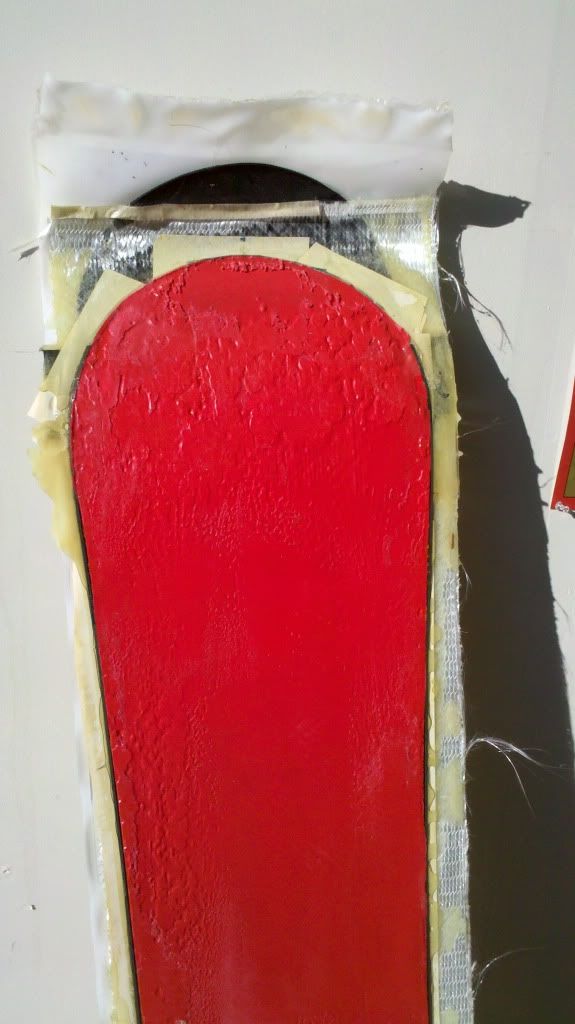
I also had a bubble in the top sheet. Arrrghghhhh!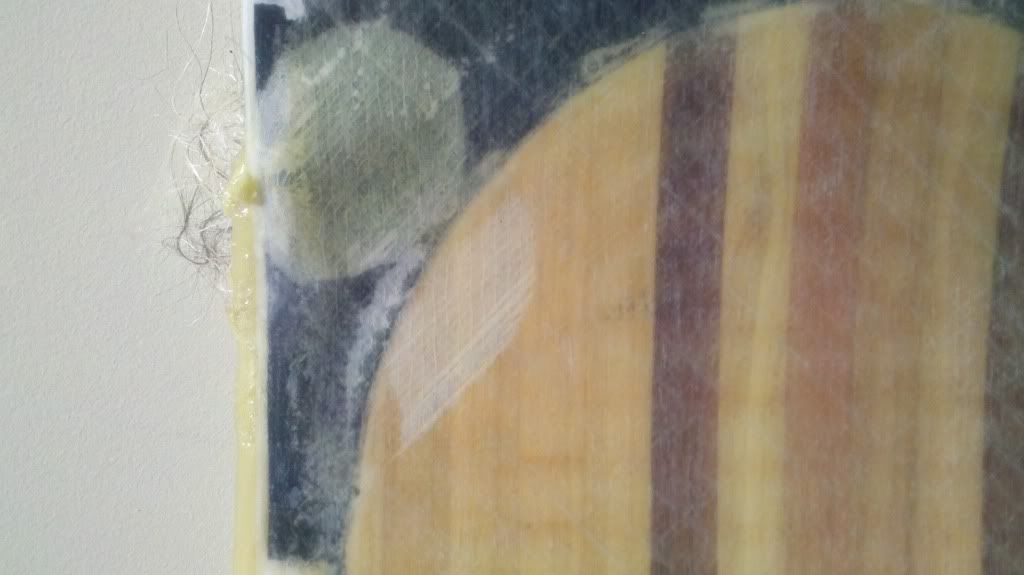
I do like how the top turned out minus the bubble. I tried to place a logo but it bubbled up as well. Funny thing is it appears to have sublimated the ink to the top sheet.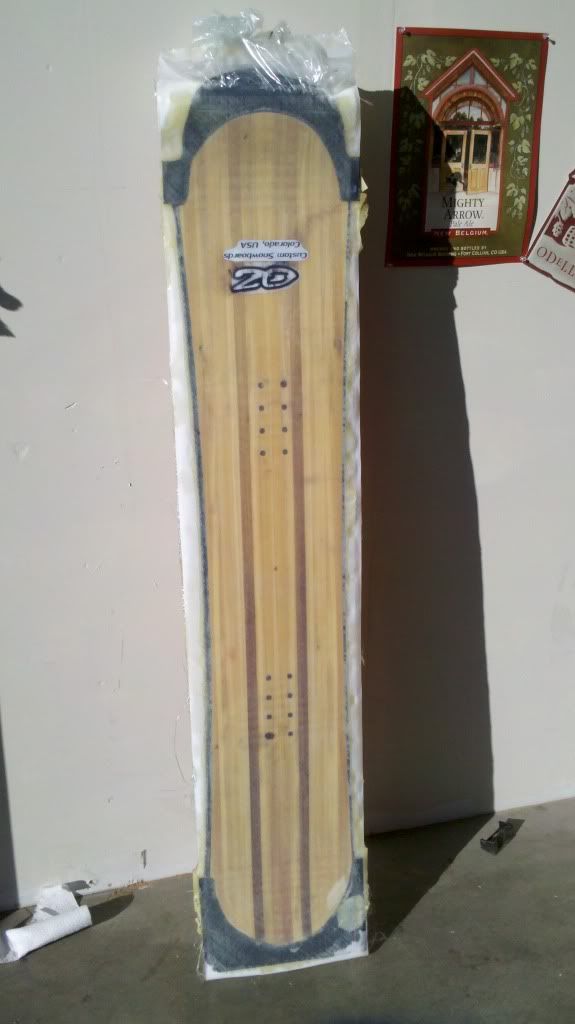
BAck to the drawing board and try again! One of these times I will get a board that is done right, it might be 2011 but its going to happen.
-
skidesmond
- Posts: 2337
- Joined: Tue Apr 07, 2009 3:26 pm
- Location: Western Mass, USA
- Contact:
Not to worry. The bubble can probably be fixed. After you cut the flashing off you may be able to lift up the FG and force some epoxy in there. Then place some clamps over it w/ parchment paper so the epoxy won't stick to the clamps.
But the base???? It melted? I didn't read your post closely at first, I thought it was epoxy on the base. Never saw that happen before.
Don't know if that can be fixed. But keep the board as a practice board. That's what I did on my first pair of skis.
But the base???? It melted? I didn't read your post closely at first, I thought it was epoxy on the base. Never saw that happen before.
Don't know if that can be fixed. But keep the board as a practice board. That's what I did on my first pair of skis.