Page 1 of 1
SCCskis Progress
Posted: Sat Mar 29, 2008 6:26 pm
by jeff@shaggys
I've been following this site for about a year and a half now. Last year my brother (Heliski989) made some posts, but I figure I can make some contributions of my own.
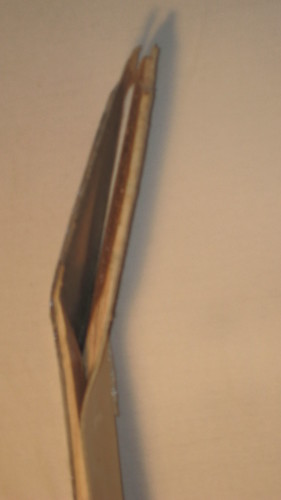
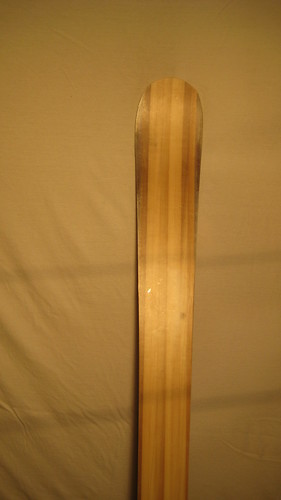
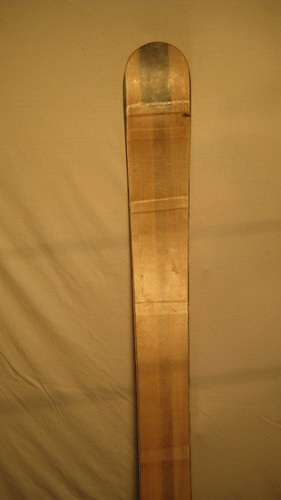
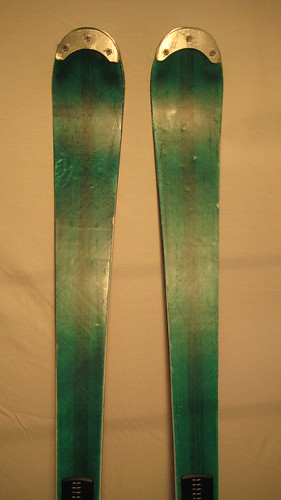
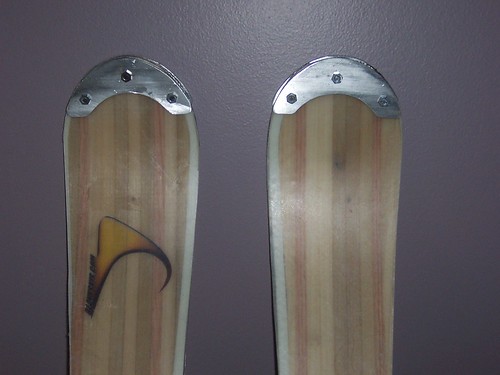
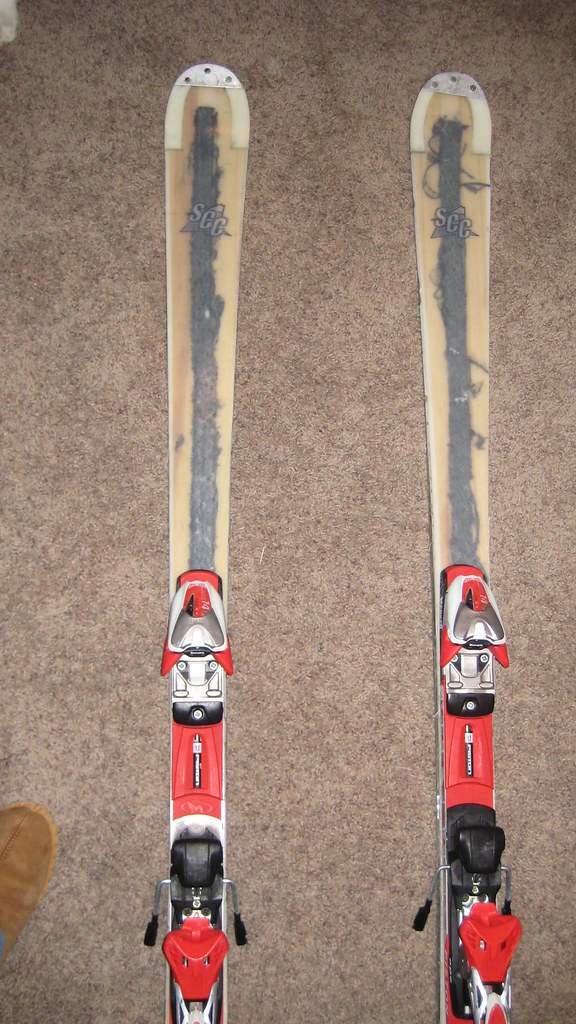
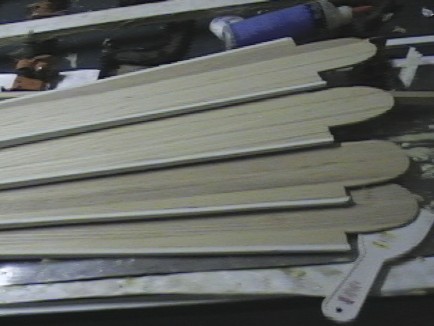
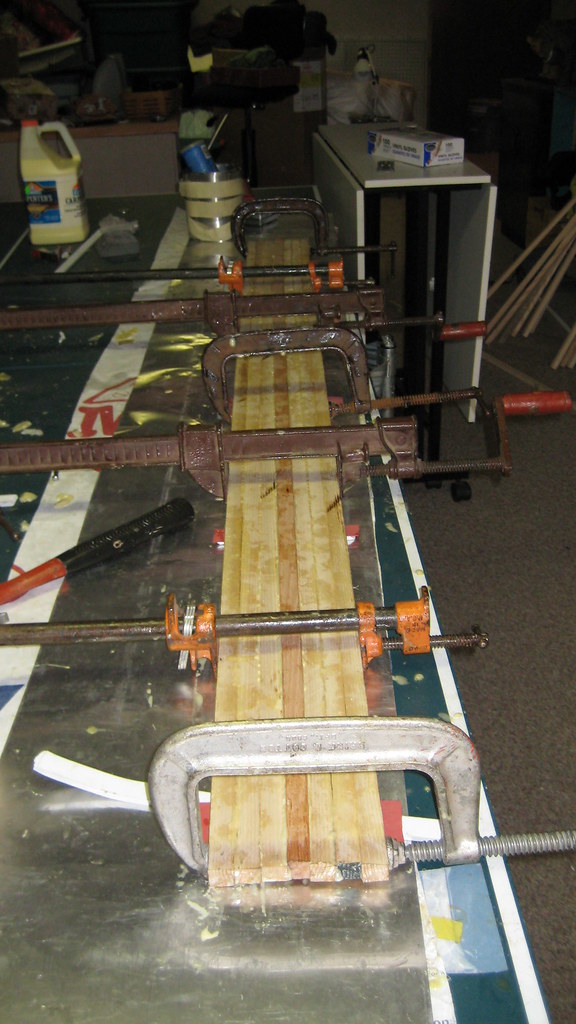
We have been making mostly slalom skis thus far, but are starting to produce more models. The first skis we made were pretty much just for testing their limits.
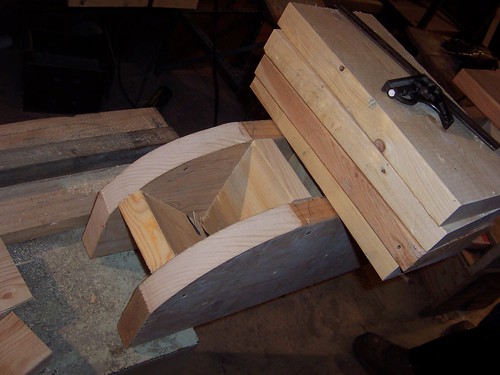
I'll try to post some pictures soon.
Posted: Sat Mar 29, 2008 6:27 pm
by jeff@shaggys
Posted: Tue Apr 01, 2008 7:12 am
by rockaukum
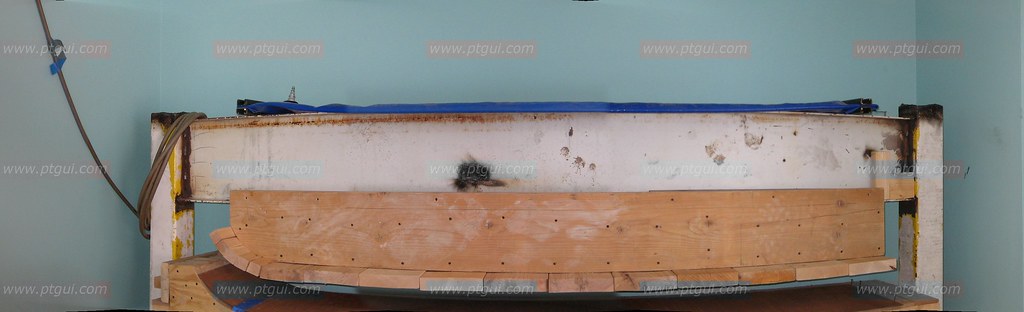
Can't comment on the delam. But from some of the pics It looks like you had problems with the shifting of the materials durring the pressing. Keeping the core aligned is pretty simple with this metod. Use a small "standoff" (small plastic tee used in making electronic boards). drill small holes, one in front and one behind the binding area. locate the core to the base (all pre layup) and align the standoff. Fill with glue and remove the core, leaving the standoff in place on the base. Now your core will slide over the pin (standoff) durring layup and be properly aligned.
The standoff can be found at McMaster carr
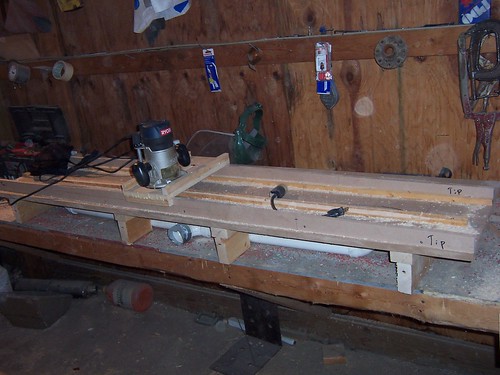
You might want to post someting about your layup process to give the comunity some ideas about other issues and further help.
rockaukum
Posted: Tue Apr 01, 2008 7:19 am
by jeff@shaggys
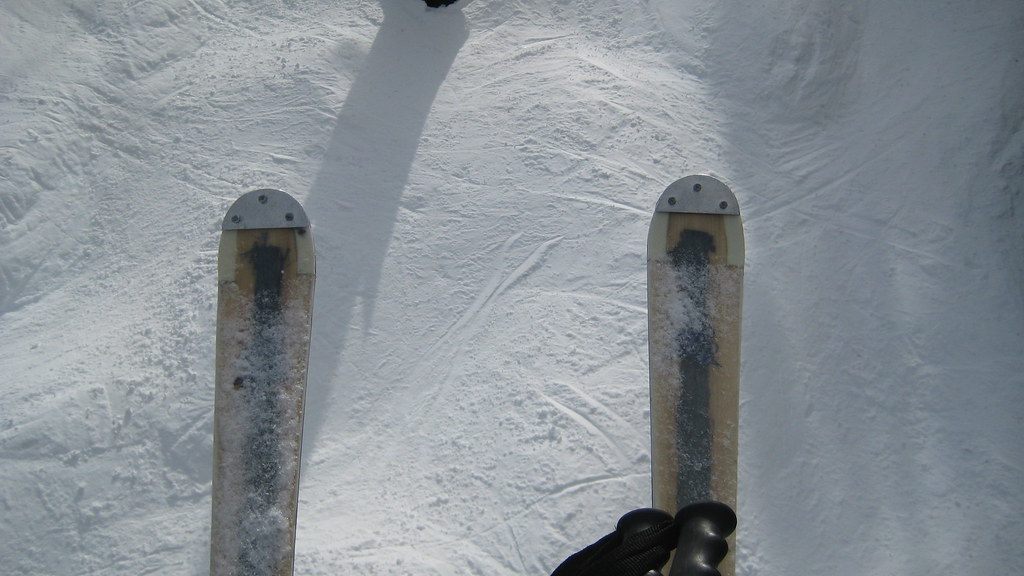
The first pictures with the delam were just testing, no problems with the skiable skis so far. As for core shifting, we're now getting some CNC'd inserts to put in the cassette, that should solve most of the problems. Thanks the advice though. I'll post some layup and press pictures later.
Posted: Tue Apr 01, 2008 8:08 am
by krp8128
rockaukum wrote:Can't comment on the delam. But from some of the pics It looks like you had problems with the shifting of the materials durring the pressing. Keeping the core aligned is pretty simple with this metod. Use a small "standoff" (small plastic tee used in making electronic boards). drill small holes, one in front and one behind the binding area. locate the core to the base (all pre layup) and align the standoff. Fill with glue and remove the core, leaving the standoff in place on the base. Now your core will slide over the pin (standoff) durring layup and be properly aligned.
The standoff can be found at McMaster carr
You might want to post someting about your layup process to give the comunity some ideas about other issues and further help.
rockaukum
Rock,
I did about the same thing on my last pair, but with 1/8" dowels cut slightly shorter then the thickness of the core. I ended up with 2 dimples in each base. How are you preventing this?
Posted: Tue Apr 01, 2008 1:09 pm
by rockaukum
krp8128,
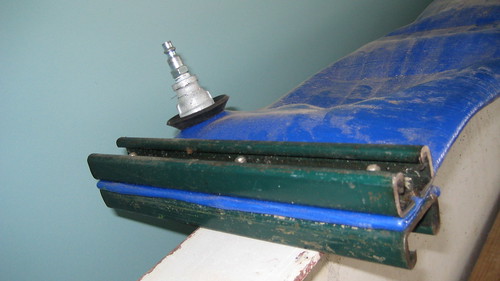
The standoffs are really small. They resemble a "t-nut" only in plastic. On the bottom side of the core I also drill relief for the flange portion of the standoff,so they sit flush with the bottom of the core. After the glue (krazy glue or other simmular type) dries and the standoff is secure to the base, I place the core back onto the base over the standoff. I then trim the standoff flush with the top of the core. I think that the hole is so small that it really doesn't show. If interested, I can post some pics but that would be later tonight.
rockaukum
Posted: Tue Apr 01, 2008 1:43 pm
by krp8128
rockaukum wrote:krp8128,
The standoffs are really small. They resemble a "t-nut" only in plastic. On the bottom side of the core I also drill relief for the flange portion of the standoff,so they sit flush with the bottom of the core. After the glue (krazy glue or other simmular type) dries and the standoff is secure to the base, I place the core back onto the base over the standoff. I then trim the standoff flush with the top of the core. I think that the hole is so small that it really doesn't show. If interested, I can post some pics but that would be later tonight.
rockaukum
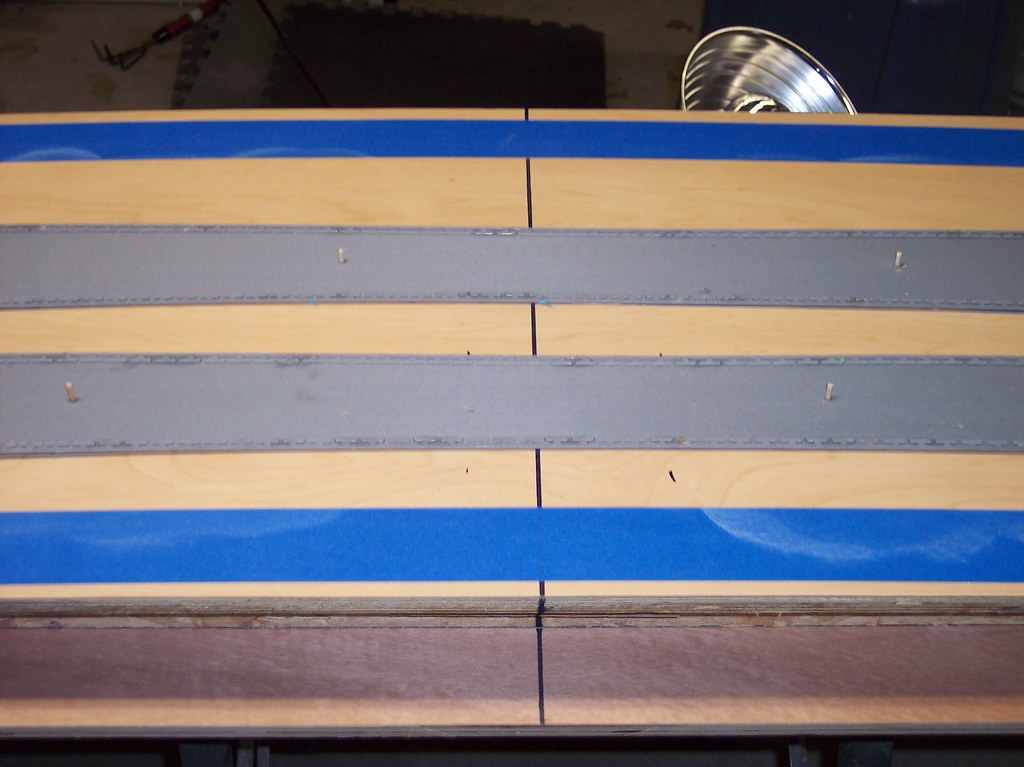
That's exactly the way I did it above, but with the dowels. Got a basegrind, and then a dimple (into the base) showed up under each standoff. Nothing too severe, but I'm trying to figure out why it did that...
EDIT: I wonder of the larger base of your standoffs dispersed whatever force caused my dimples. I'll have to look into them...it was a PITA ti make those little dowels stand up while the glue dried.
Posted: Wed Apr 02, 2008 10:02 am
by Greg
Wow, I really like that idea. That could have saved me a lot of hassle with nails and such. Thanks for posting the picture!!! It was worth a thousand words.
Posted: Wed Apr 02, 2008 7:23 pm
by knightsofnii
how do you get the glass over the dowels?
do you just cut a cross shaped slit?
i'm just worried about having to deal with the dowels during layup
Posted: Thu Apr 03, 2008 3:57 am
by krp8128
knightsofnii wrote:how do you get the glass over the dowels?
do you just cut a cross shaped slit?
i'm just worried about having to deal with the dowels during layup
I cut the hole while the glass is still dry, more of a poke with a good knife then a slit.
Posted: Thu Apr 03, 2008 9:52 pm
by rockaukum
krp8128,
Sorry for the delay in getting a response.
Go to Mcmaster.com, Fastening and sealing section, then standoffs. Look at "female, unthreaded" then "with shoulder". (I was unable to post the link). These are what I use.
The only thing I can come up with about the dimples is that the dowels may have been a slight bit long and when pressd they showed up. As you may have experienced in other aspects of the pressing process, a small piece of debries will leave an imprint.
As far as the glass goes, I don't cut it at all. Just work it over the standoff as the glass is layed out during the lay-up.
Hope that helps.
rockaukum
Posted: Fri Apr 04, 2008 4:10 am
by krp8128
No problem on the delay, I won't be working one any new pairs for a while anyways. Thanks for the McMaster info, I like the variety the offer, but last time I ordered, the shipping was killer. At the very least they could give a shipping quote before the order goes through.
I cut my dowels and sanded them flush to the core with the core flat on the base. I figured that with a layer of glass in between, they would sit slightly low. The finished ski has a dimple which goes into the base, not out of. I don't think they were too long.
About the only thing that I can think of is that the feed roller of the grinder pushed down on the dowels enough to make them base high and those spots got ground a bit more. When the pressure was removed, the spots became low. Sounds good to me...
Posted: Fri Apr 04, 2008 7:00 pm
by knightsofnii
so the dimples only showed up after grinding?
they were not there immediately after pressing?
i was going to say, if you are using heat, and there was a slightly weaker spot due to the dowel, that maybe the base thermal expanded into a dimple in that spot where there was less pressure on it.
Posted: Wed Apr 09, 2008 1:18 pm
by jeff@shaggys