I broke down and used mdf. I am surprised how much better it machines and handles in general than wood or particle board.
I also bought a router table, and realised it was stupid to try and router all those pieces without a table.
Back on track.
By the weekend perhaps?
update on press progress
Moderators: Head Monkey, kelvin, bigKam, skidesmond, chrismp
-
MontuckyMadman

- Posts: 2395
- Joined: Fri Jun 20, 2008 9:41 pm
can't believe you haven't used mdf in all your building.
I can make radius tip pieces on my Eastman cutter machine out of plastic and send them to you.
Perfect radius. For my tip and tail I am using 26 cm R
http://www.skibuilders.com/phpBB2/viewtopic.php?t=1019
I can make radius tip pieces on my Eastman cutter machine out of plastic and send them to you.
Perfect radius. For my tip and tail I am using 26 cm R
http://www.skibuilders.com/phpBB2/viewtopic.php?t=1019
-
MontuckyMadman
- Posts: 2395
- Joined: Fri Jun 20, 2008 9:41 pm
-
doughboyshredder
- Posts: 1354
- Joined: Mon Sep 17, 2007 7:37 pm


-
doughboyshredder
- Posts: 1354
- Joined: Mon Sep 17, 2007 7:37 pm

-
doughboyshredder
- Posts: 1354
- Joined: Mon Sep 17, 2007 7:37 pm
-
doughboyshredder
- Posts: 1354
- Joined: Mon Sep 17, 2007 7:37 pm
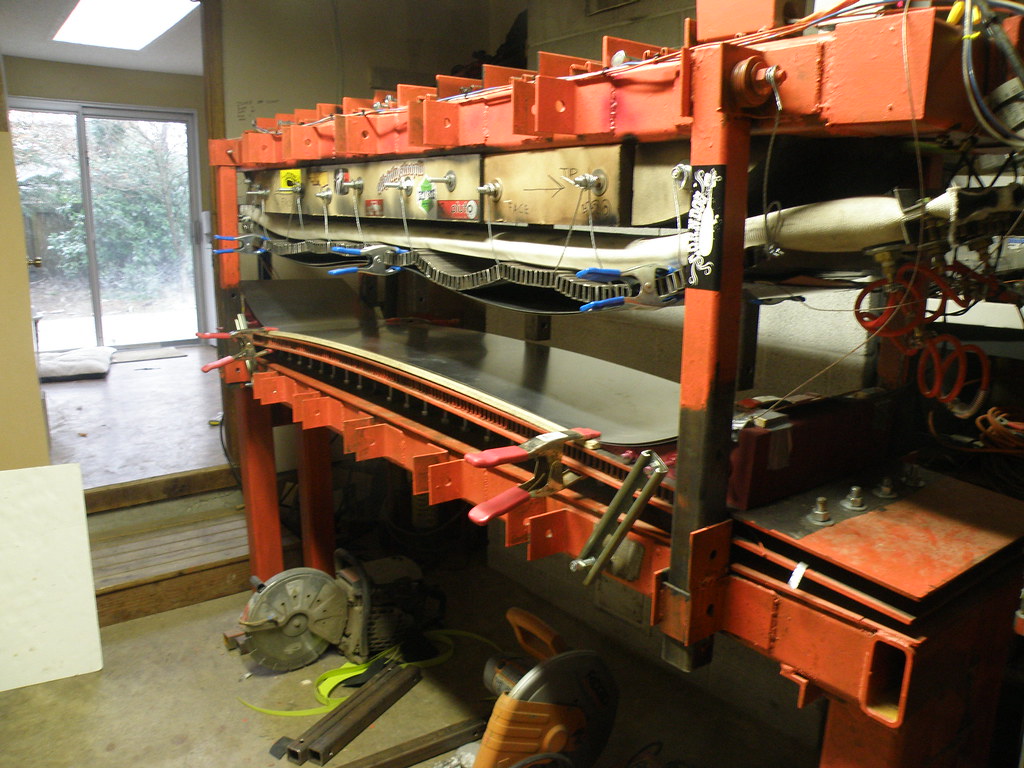
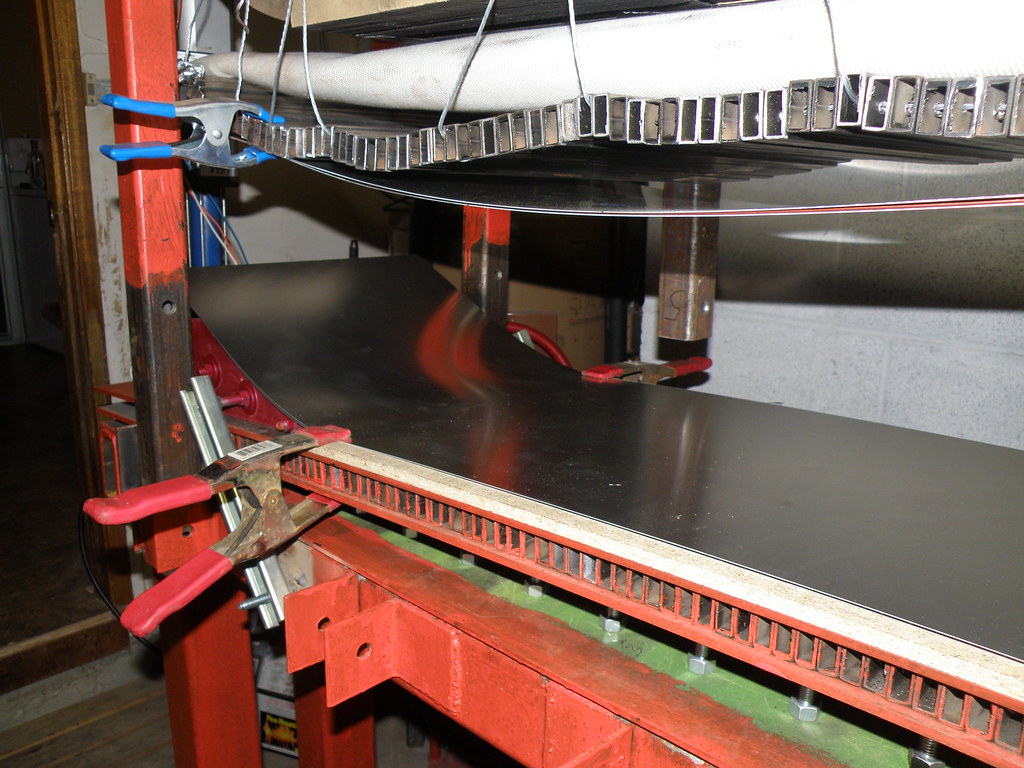
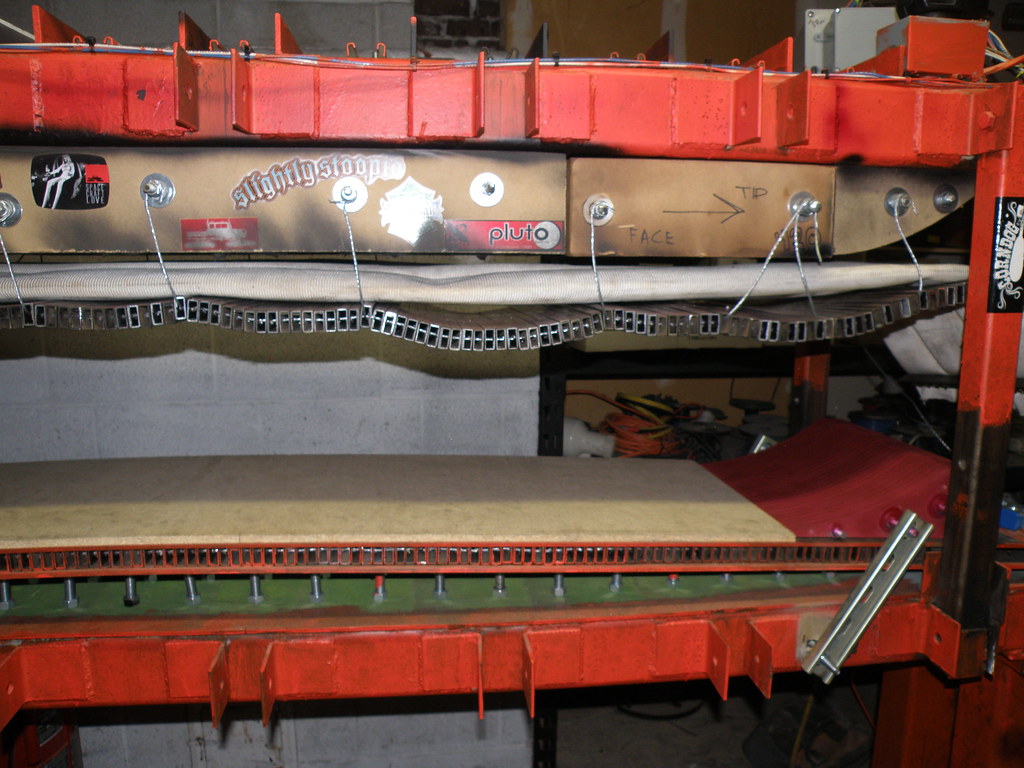
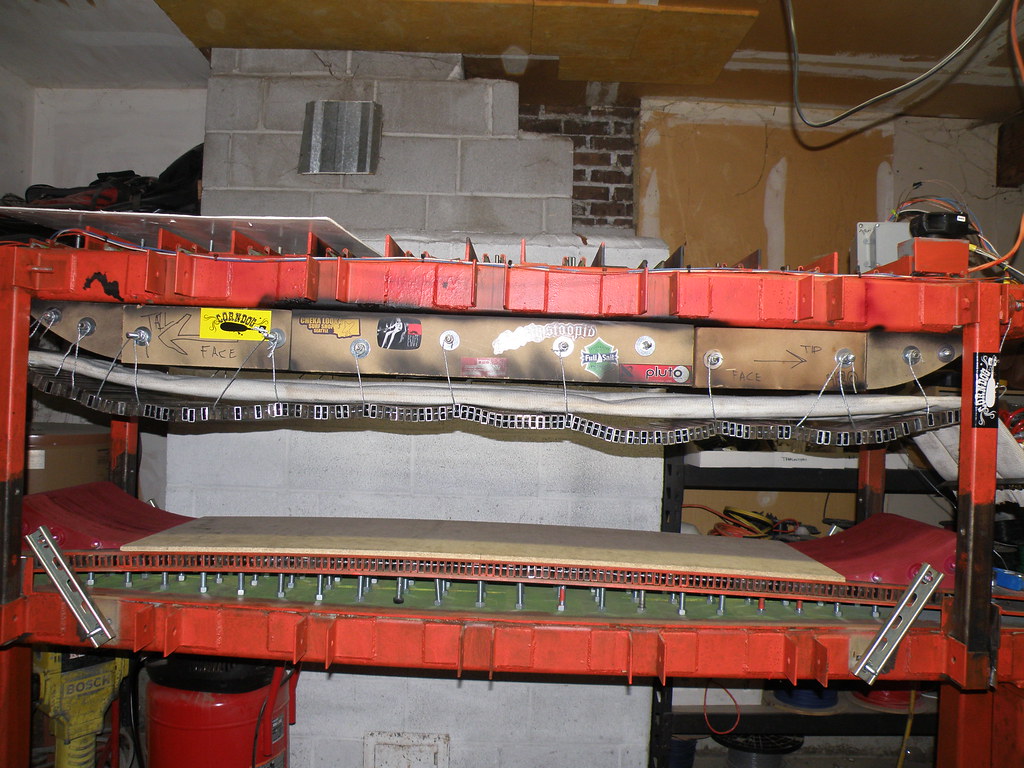
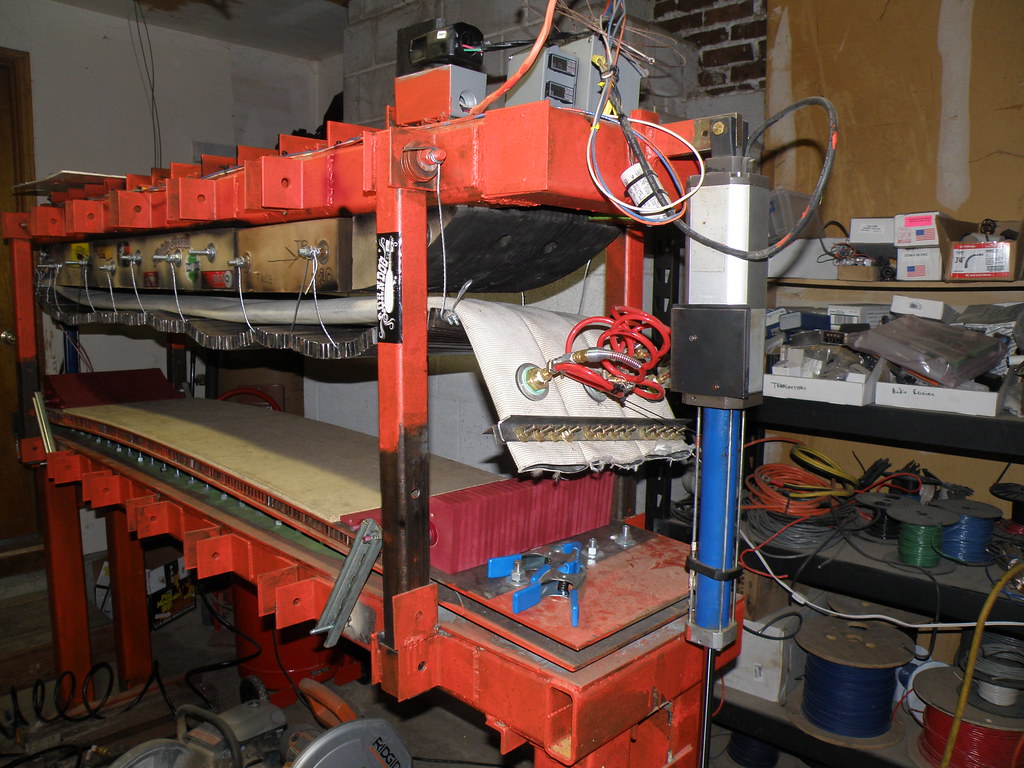
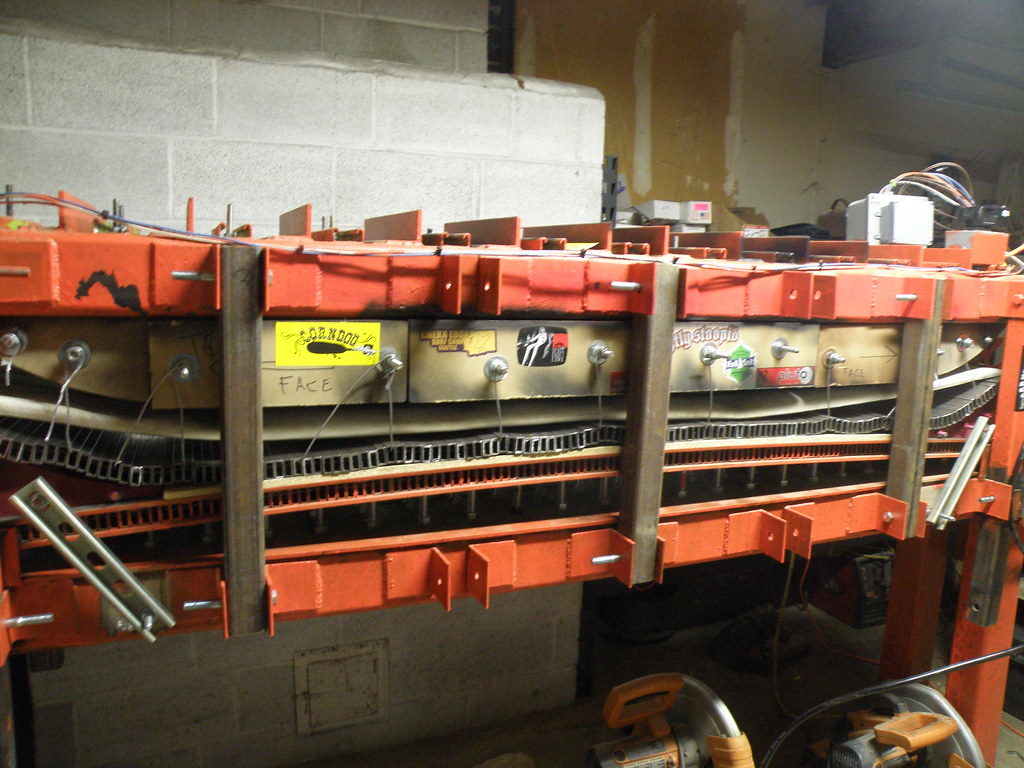
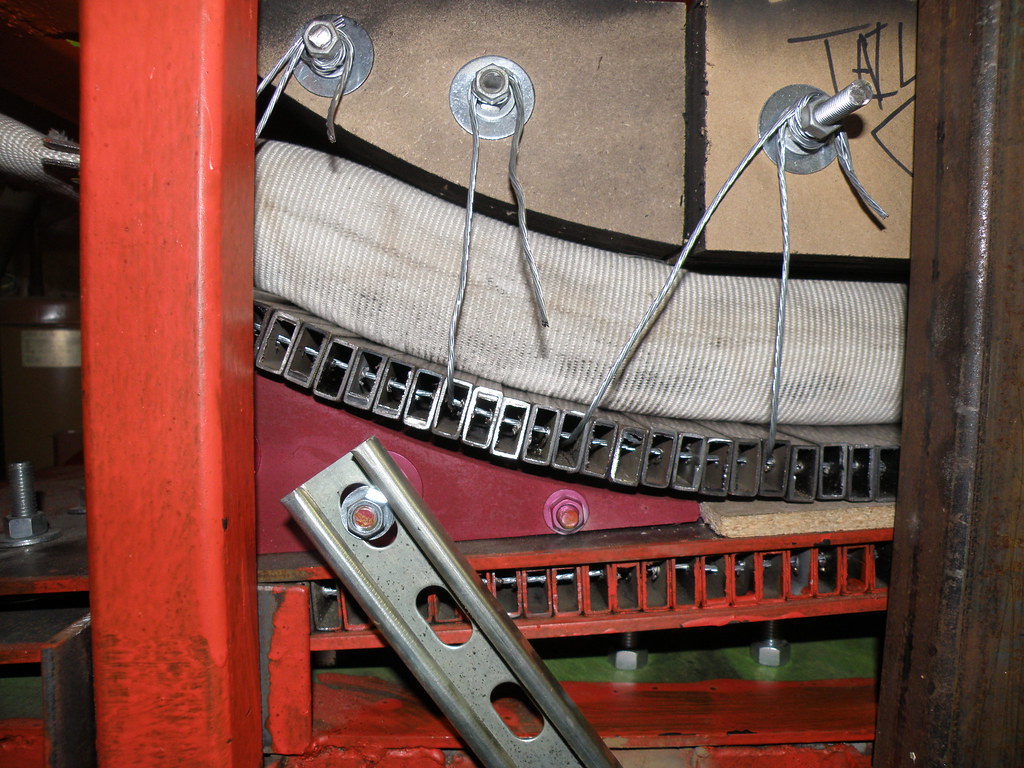
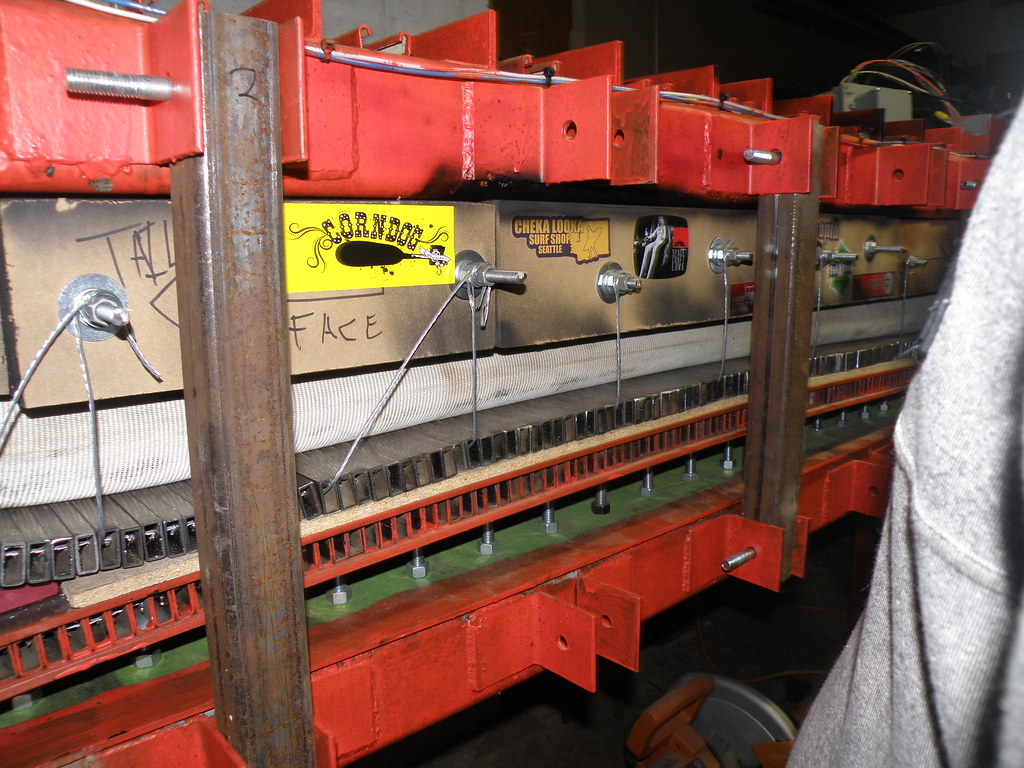
ah, the sweet smell of success. So stoked. Pressure tested it to 50 plus psi and it didn't so much as make a squeak. The carriage bolts didn't even budge a 64th of an inch. Hell the brace pins didn't even seem to experience any force. The only issues I had were that the air bag fittings got scrunched up against the block and one little section has to be replaced. To solve this i need to flip the bags over. The slotted adjustments for the tip and tail block didn't work as well as necessary. With the bolts cranked down with a 1/2" ratchet they still slipped. I mean CRANKED down. Easy fix, just have to drill angle iron for the right placement. Also, it looks like I am going to need to shim the tip and tail area with about a 1/2" of material. I am just going to place a few sheets of vener above the air bags in the tip and tail. As far as I am concerned it's a success because there was zero visible deflection. Stoked.
I couldn't have done this without the support and knowledge provided by this website and the forum members. Thank You all.
I couldn't have done this without the support and knowledge provided by this website and the forum members. Thank You all.
-
MontuckyMadman
- Posts: 2395
- Joined: Fri Jun 20, 2008 9:41 pm
-
doughboyshredder
- Posts: 1354
- Joined: Mon Sep 17, 2007 7:37 pm