
New skis press the other day. Came out good. These were started last year when my son had a friend come over to make skis. He got to build the core and cut the base and that was the last I saw of him. Well I picked up there and bent edges, glued them and set to work on profiling the core. The core is all poplar (2-12-2, 12 in front and 20 behind center). I planned on giving these to my sister but figured thay were too big (wide) for her. So now I will be donating them to the Ladies Aux. to aution off at the annual crab feed. Everythig is pretty standard on this build with the following exceptions. I did not use inserts because I have no idea what will be mounted, so being the first time w/o inserts I put in extra triax under foot for binding retention. The other thing I tried out was to use the iron on paper for the graphics. I found the numbers and letters on the net. Printed them onto the transfer paper, then ironed that onto the cloth fabric. Came out great. I will be posting pics of the pressing soon. Have dialup and it is taking a L O N G (!) time to upload the pics so look for them later.
rockaukum
LOCO 456's
Moderators: Head Monkey, kelvin, bigKam, skidesmond, chrismp
Just got in from a day at the hill (Sierra At Tahoe) then to my son's BBall game (they won!) and then to the shop where a friend put a great base sand / grind then wax. Will put pics up soon Time for bed, One needs to go to work every now and again! I do get to tahoe often, let me know if you want to meet up. Mainly Sierra and some BC off 50 and 88 when the snow is good.
ra
ra
Lets see...
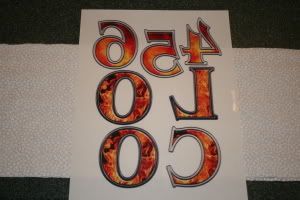
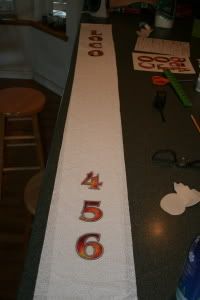
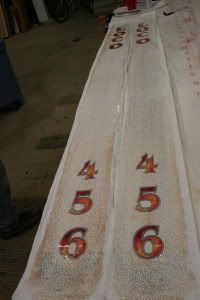
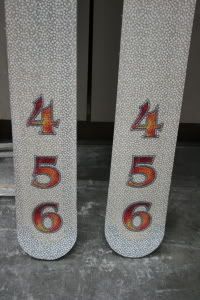
Once I decided where they were going, it was time to pic the design. Loco 456 it is. I found the letters and numbers, changed the sizes and printed them onto iron on transfer paper (for light color cloth). After the cloth was washed and ironed, I ironed the cut out letters onto the cloth. Needed to be careful with the placement of the letters so they come out centered on the skis. For this I brought the base into the house for reference.
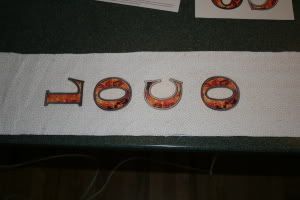
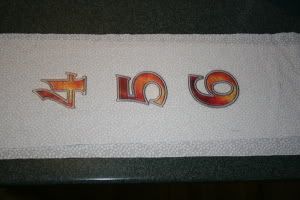
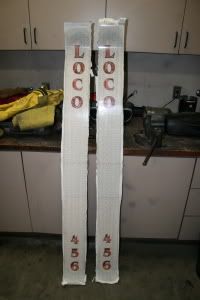
Here is one iron on complete. What was nice about the iron on instead of the rice paper is that you can not see anything in the unprinted area and another is it does not shift in pressing
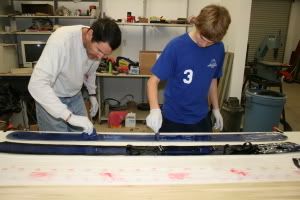
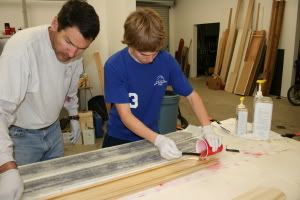
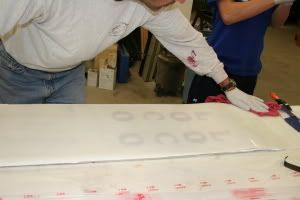
Here is my new "intern" (son) helping out with the process. Mixing and applying epoxy
Base layer of triax down
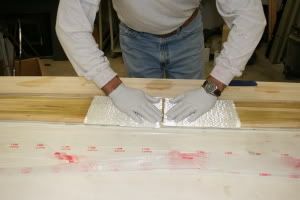
In the binding area, I went with two pieces (don't ask) of triax to help with binding retention. Note to self... use uni or the screen method used by others.
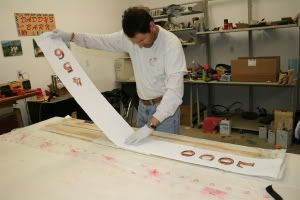
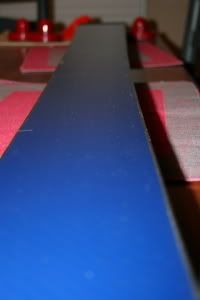
Skipping ahead in the process we find the top layer going down. Getting excited / nervous at this time...
I tried something new with the new press. I completed the layup on HDPE laying flat. Covered the layup with HDPE and wiping it clean.
Clamping the two pieces together.
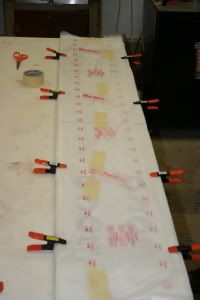
Into the press it goes, aligned and fingers crossed, or is it "have another beer?"
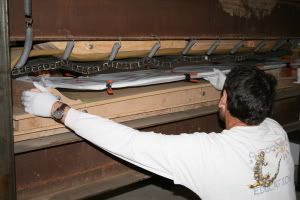
Excited! here they are fresh out of the press!
One trimed...
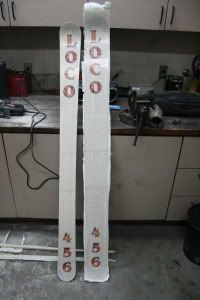
Both trimed...
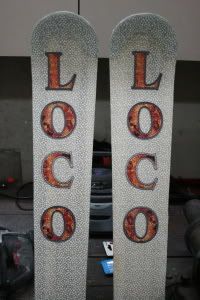
Close up of print...
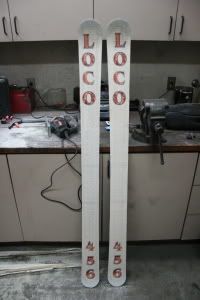
Base was flat! Here it is after a sand, stone grind, and fresh wax (thanks again Doug!)
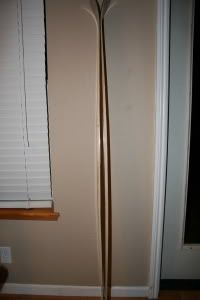
Her you can see (kinda) the camber of the skis.
The fisnished product, less the sealant.
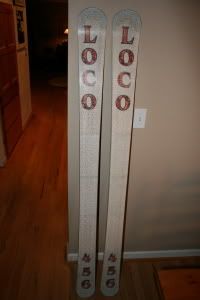
Each time it seems to go a bit easier / better. I am very happy with the way these skis came out. Only problem is I won't be able to ski them. They seem to be somewhat stiff with two triax layers.
I am very pleased with the flat layup and the new press. No deflection and very easy side loading. the pins worked like a charm (thanks to Joe for turning them down ever so slightly!). My next project will be an attempt at a good carving ski for those resort days when the snow is like it currently is, firm.
Until next time.....
rockaukum
Once I decided where they were going, it was time to pic the design. Loco 456 it is. I found the letters and numbers, changed the sizes and printed them onto iron on transfer paper (for light color cloth). After the cloth was washed and ironed, I ironed the cut out letters onto the cloth. Needed to be careful with the placement of the letters so they come out centered on the skis. For this I brought the base into the house for reference.
Here is one iron on complete. What was nice about the iron on instead of the rice paper is that you can not see anything in the unprinted area and another is it does not shift in pressing
Here is my new "intern" (son) helping out with the process. Mixing and applying epoxy
Base layer of triax down
In the binding area, I went with two pieces (don't ask) of triax to help with binding retention. Note to self... use uni or the screen method used by others.
Skipping ahead in the process we find the top layer going down. Getting excited / nervous at this time...
I tried something new with the new press. I completed the layup on HDPE laying flat. Covered the layup with HDPE and wiping it clean.
Clamping the two pieces together.
Into the press it goes, aligned and fingers crossed, or is it "have another beer?"
Excited! here they are fresh out of the press!
One trimed...
Both trimed...
Close up of print...
Base was flat! Here it is after a sand, stone grind, and fresh wax (thanks again Doug!)
Her you can see (kinda) the camber of the skis.
The fisnished product, less the sealant.
Each time it seems to go a bit easier / better. I am very happy with the way these skis came out. Only problem is I won't be able to ski them. They seem to be somewhat stiff with two triax layers.
I am very pleased with the flat layup and the new press. No deflection and very easy side loading. the pins worked like a charm (thanks to Joe for turning them down ever so slightly!). My next project will be an attempt at a good carving ski for those resort days when the snow is like it currently is, firm.
Until next time.....
rockaukum
-
doughboyshredder
- Posts: 1354
- Joined: Mon Sep 17, 2007 7:37 pm
-
MontuckyMadman

- Posts: 2395
- Joined: Fri Jun 20, 2008 9:41 pm
Thanks Guys, Really turned out to be a good build all around.
DBS
Cloth was a last minute pick-up at Walmart (yeah, I know, I'm cheap!)
Just regular ol cotton and the price was right about $4.00
Printing ws done on a HP ink jet printer. Nothing special. The images were found on the net and copied (Don't tell) and sized via photoshop (thanks to my other intern the computer man). Just print onto the transfer paper (also walmart).
MM
As seen in the background of this pic,
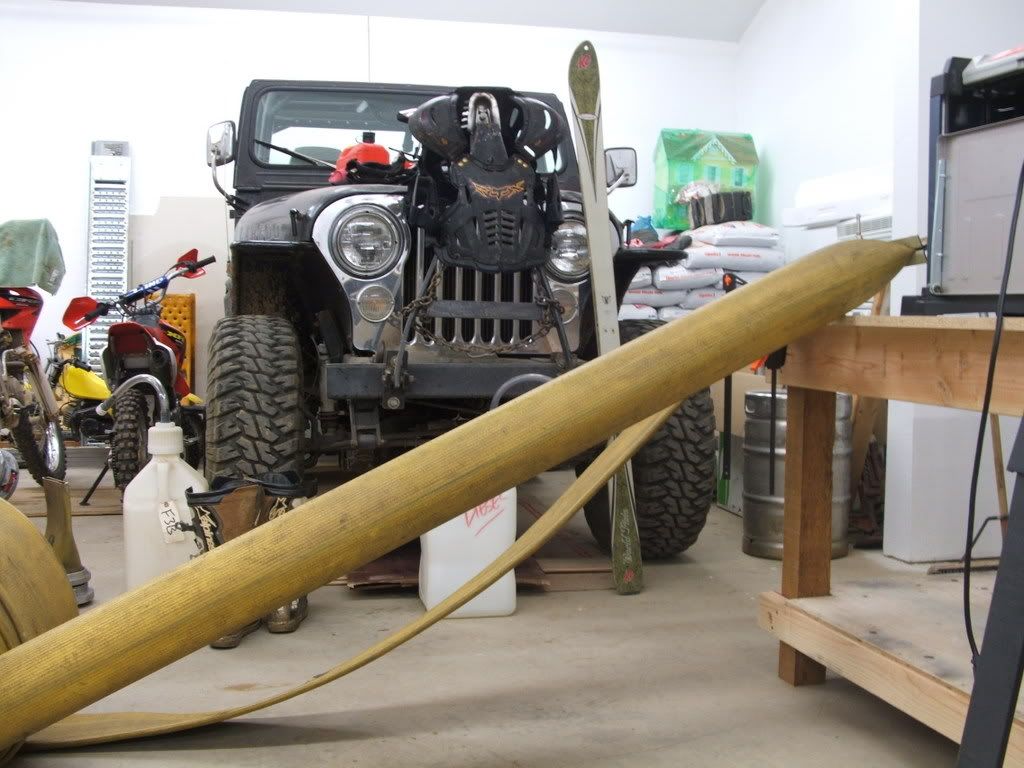
I enjoy and nice Jeep trip through the famed Rubicon Trail. Although the times have changes and I must be getting old because I only get out there once or twice a summer. So the rock comes from rock crawling and the Aukum is the town I live in (Mt. Aukum).
ra
DBS
Cloth was a last minute pick-up at Walmart (yeah, I know, I'm cheap!)
Just regular ol cotton and the price was right about $4.00
Printing ws done on a HP ink jet printer. Nothing special. The images were found on the net and copied (Don't tell) and sized via photoshop (thanks to my other intern the computer man). Just print onto the transfer paper (also walmart).
MM
As seen in the background of this pic,
I enjoy and nice Jeep trip through the famed Rubicon Trail. Although the times have changes and I must be getting old because I only get out there once or twice a summer. So the rock comes from rock crawling and the Aukum is the town I live in (Mt. Aukum).
ra
Allyson,
And old wives tale (My wife and she is not soo old!) once told me that fabric comes with some stuff on it (?) I think it is a protective coating to prevent stains and such? With it washed out, there is better absorbtion of the epoxy. Also, I think I want the fabric to be shrunk before I use it. A note of caution on the wahing.... DO NOT use fabric softener. It will do the same thing you are trying to get rid of. Hope this helps.
Me too... I hope I hear from the winner and more importantly, they enjoy them!
ra

Time for an update on the LOCO's
They were well received at the crab feed. One of the guys that was cooking the dinner (all day cook) called me and wanted to know all the details on the skis including how much they are worth. He wanted them. As it turned out he won the raffle and he was not even at the feed. He gave someone $80.00 to stuff the box.
I saw him today at a Fire we had and he was very excited! Buying new bindings and looking for someone to mount them so he could ski them on Friday. He will contact me with the feedback on how they performed.
Stay tuned....