

but first off a huge thanks to montucky madman who will be supplying us with the cordura bags! thanks mate!!
now a couple of pics:
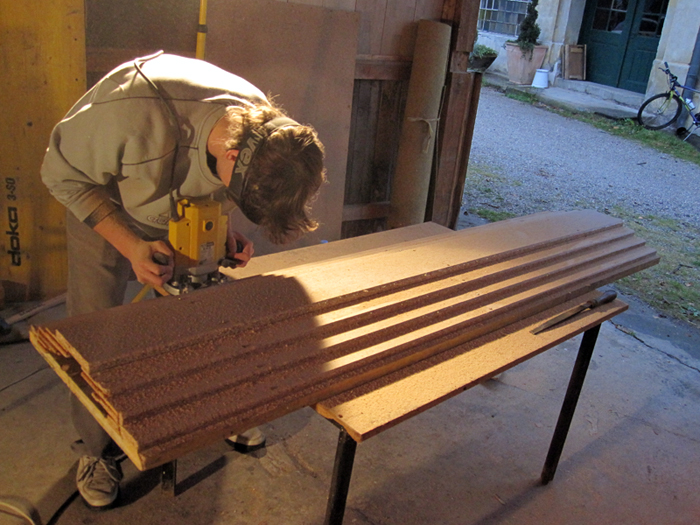
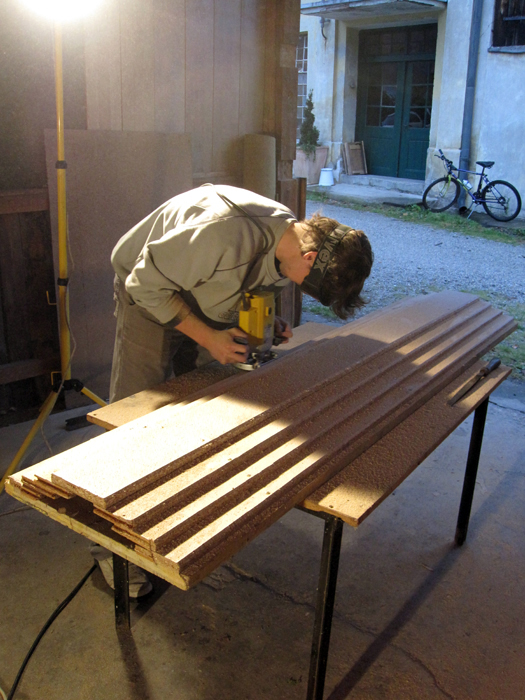
in the first two pics you can see me routering our top construction to get rid of any sharp edges that could rip the cordura (not that this stuff could be ripped easily). of course the pyramid is supported by the occasional cross bar beneath it.
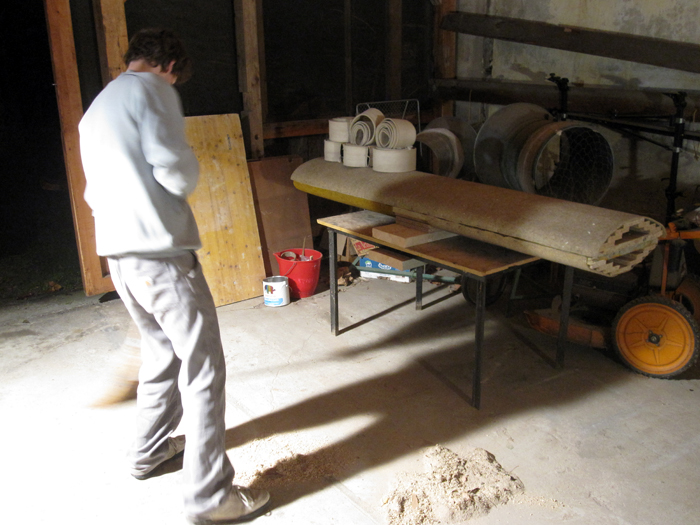
third photo is me cleaning up the shop and in the back you can see part of our press. the lower part is mounted to the table with the wooden bar beneath it as a spacer. i'll get some more detailed pics of that soon.
we've covered the whole pressure distributors in a thick fleece to add some more insurance against ripping our cloth bags.
the rest of our press is pretty much ready to go as well. molds are nearly finished. we just need to get some sheet metal to make a cassete/heat spreader and do all the wiring for our super special awesome heat blankets (carbon heaters baby!).
unfortunately both of us are pretty busy with university atm, but we hope to have our first boards in early december.
i'll post updates whenever we make some progess worth the mention. stay tuned.
cheers!


