Senior Project - Logging Process

Document your personal work here. Show photos, movies, and share your secrets.

Moderators: Head Monkey, kelvin, bigKam, skidesmond, chrismp

cstoneskis
Posts: 22
Joined: Tue Mar 02, 2010 6:54 pm

Senior Project - Logging Process

Post by cstoneskis »

At my high school all seniors need to do an independent learning project on just about anything they want, so long as it gets approved by the senior project coordinator. I stumbled upon this site when I was deciding what I wanted to do for my project. An avid skier, racer, and jumper I was immediately hooked :)

Anyways we are supposed to record our hours and what we did during that time as well as our thoughts etc, and my project has been getting messy when it comes to recording and things are recorded in dozens of different places and I am afraid I might begin losing some of these recordings, so I have decided that I would blog the remainder of my process, including any hours and work done on my project/skis as I go.

March 2 2010:

2PM-3PM
60MIN

I had planned on visiting the engineering teacher to see if I could use the CAD software to design the press. I took intro to engineering my freshman year so I am very familiar with the software our school has. Unfortunately, we have a new engineering teacher and I do not know who he is. I tried to find him between classes (so I wouldn't disturb his class), but was unsuccessful. I spent most of my study hall in the library researching more about the press and searching for free CAD software I could download at home (because i couldn't find a free software on the site listed by ski builders).

7PM-11PM
240MIN

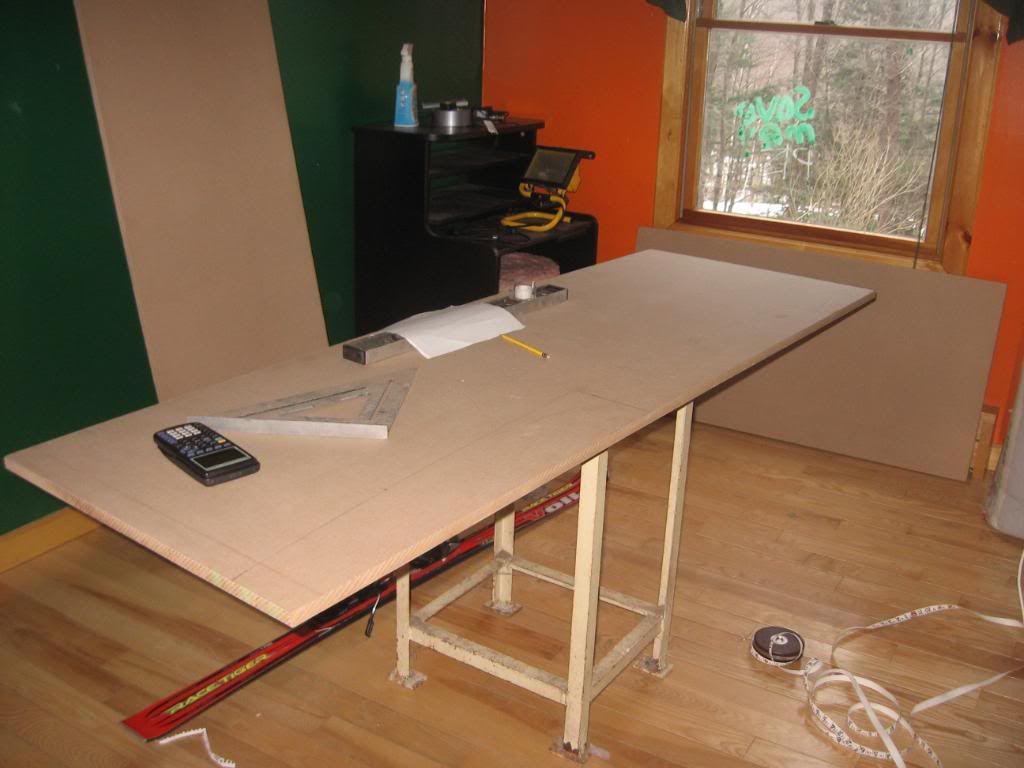
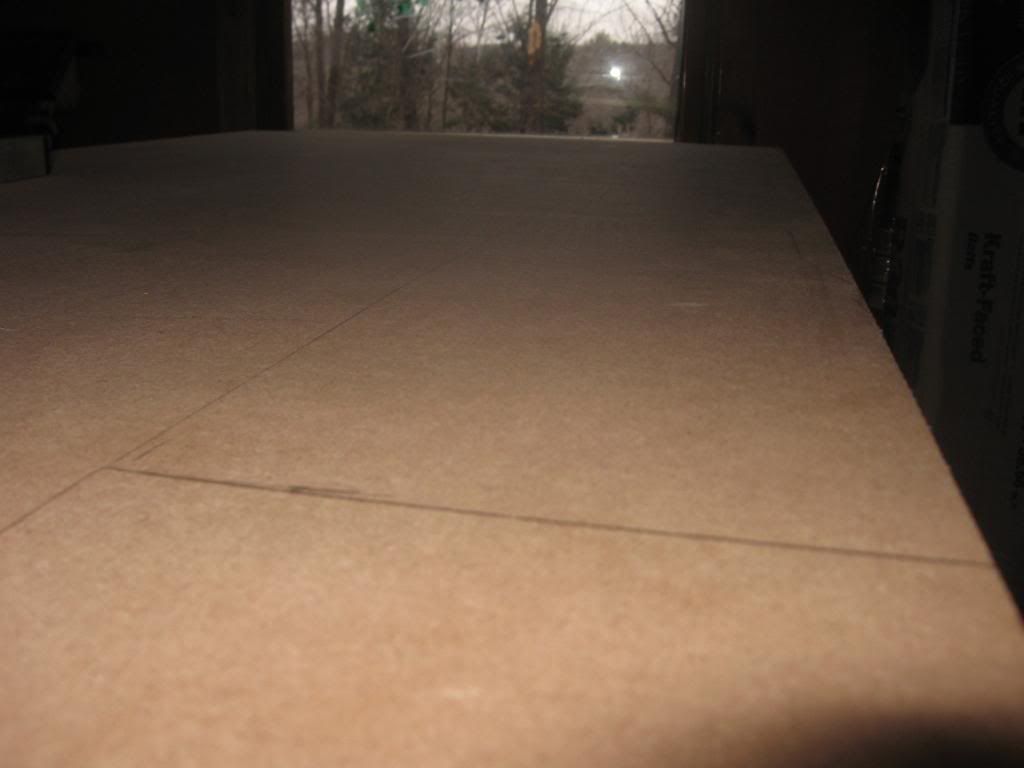
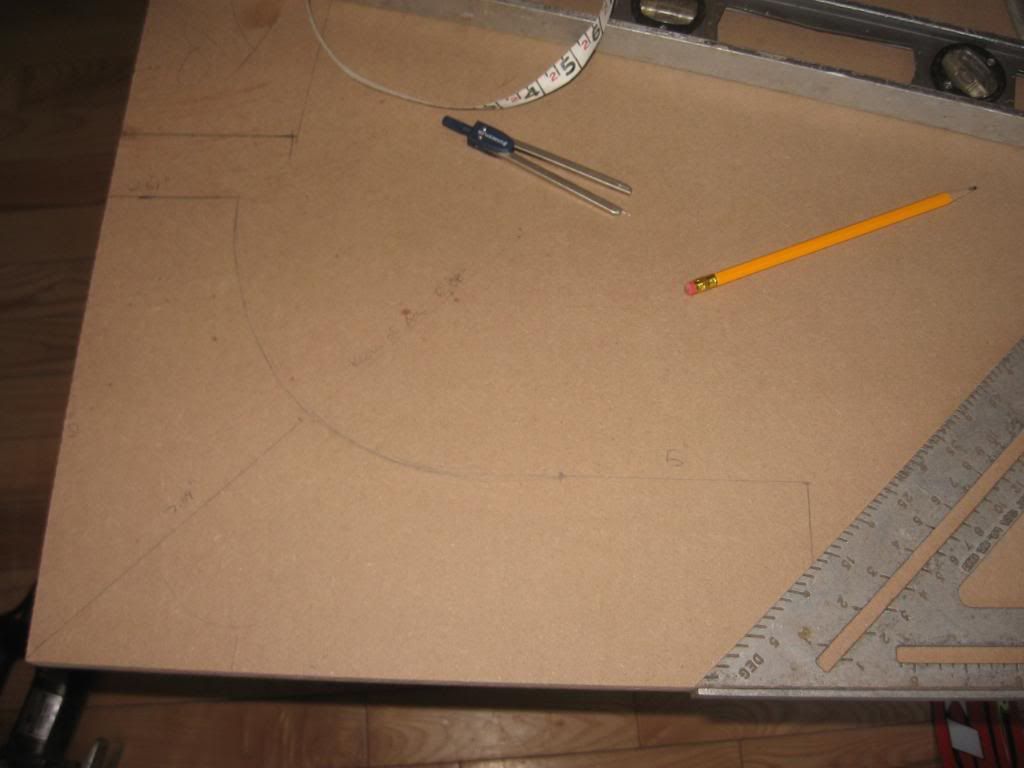
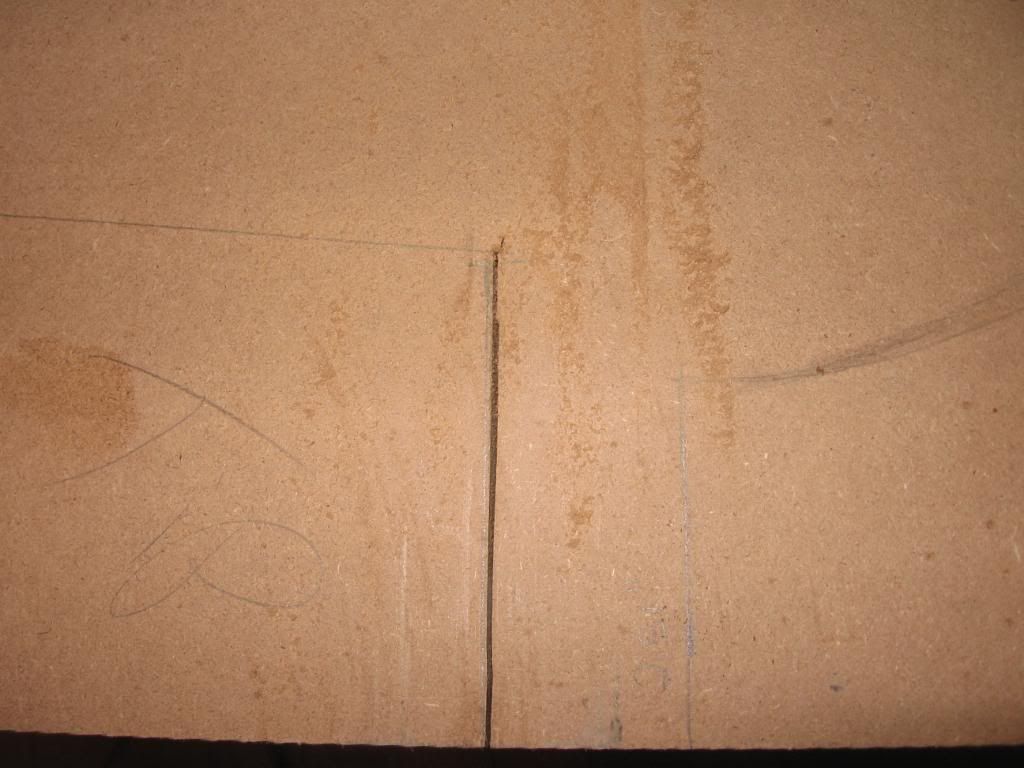
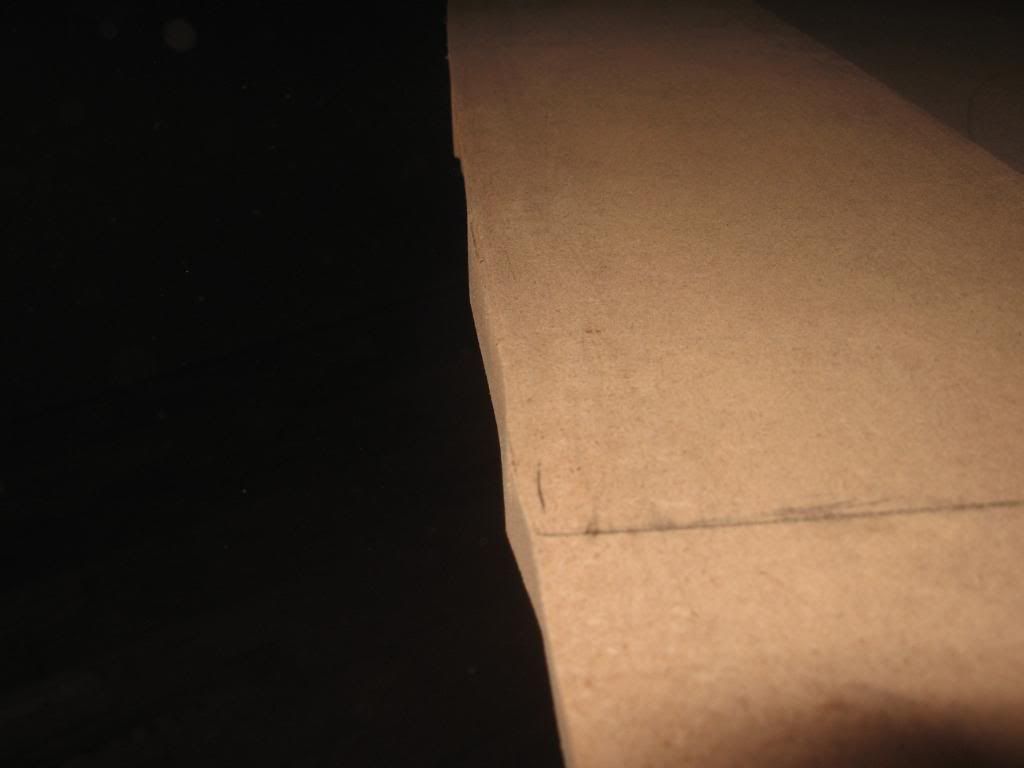
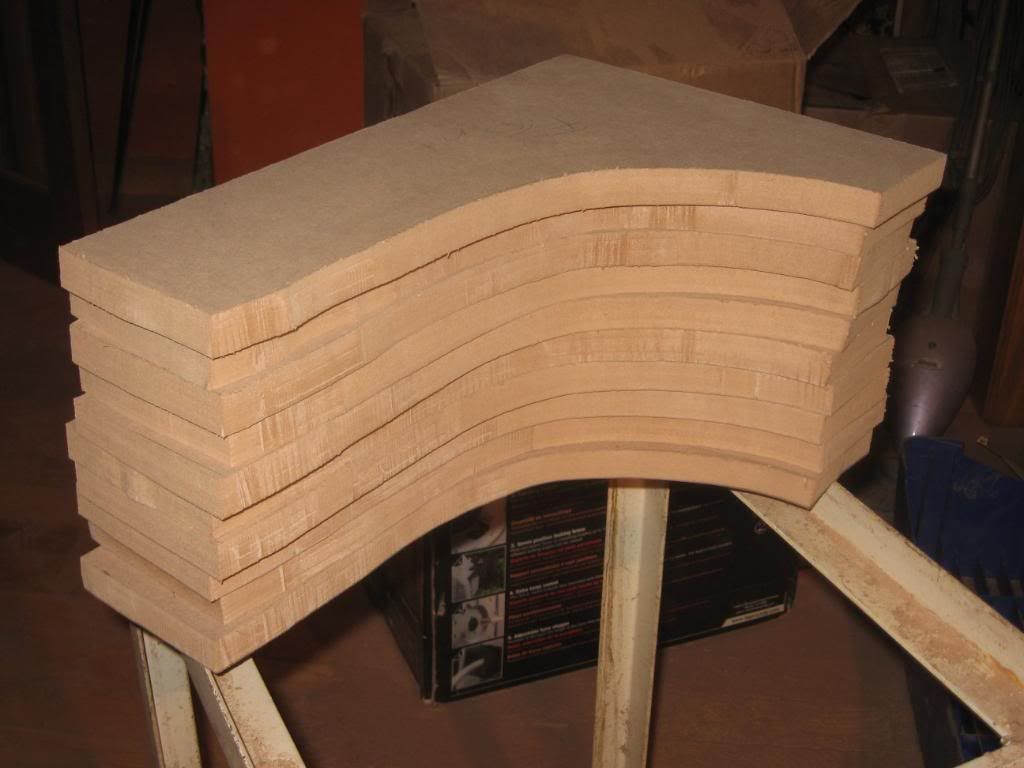
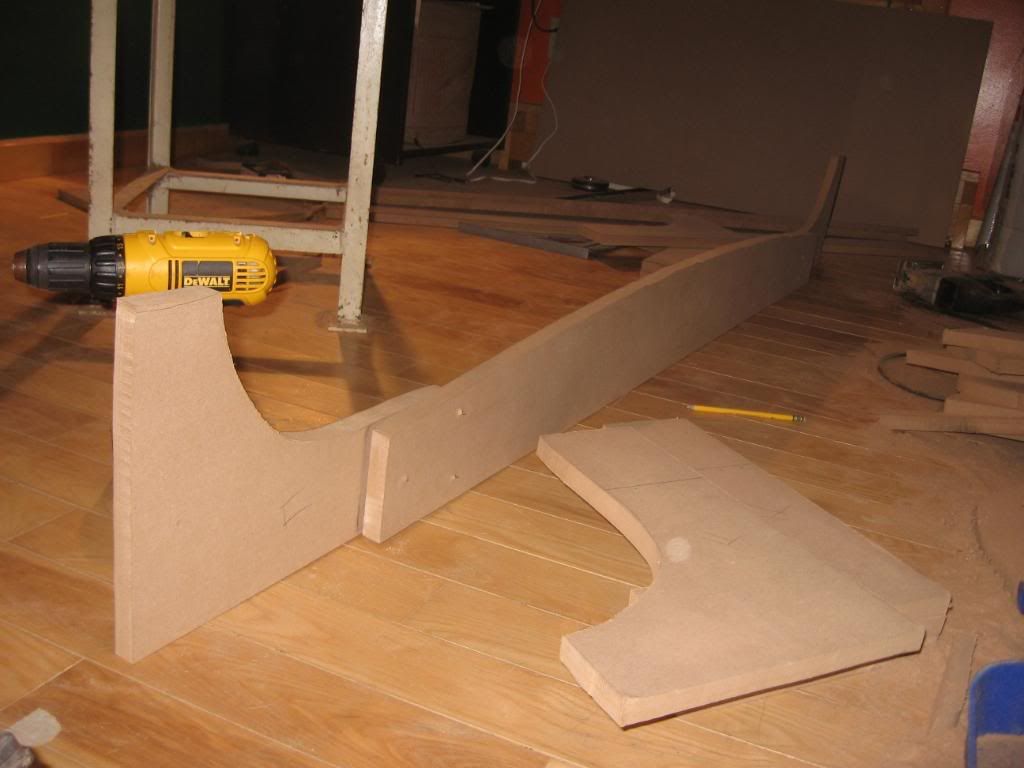
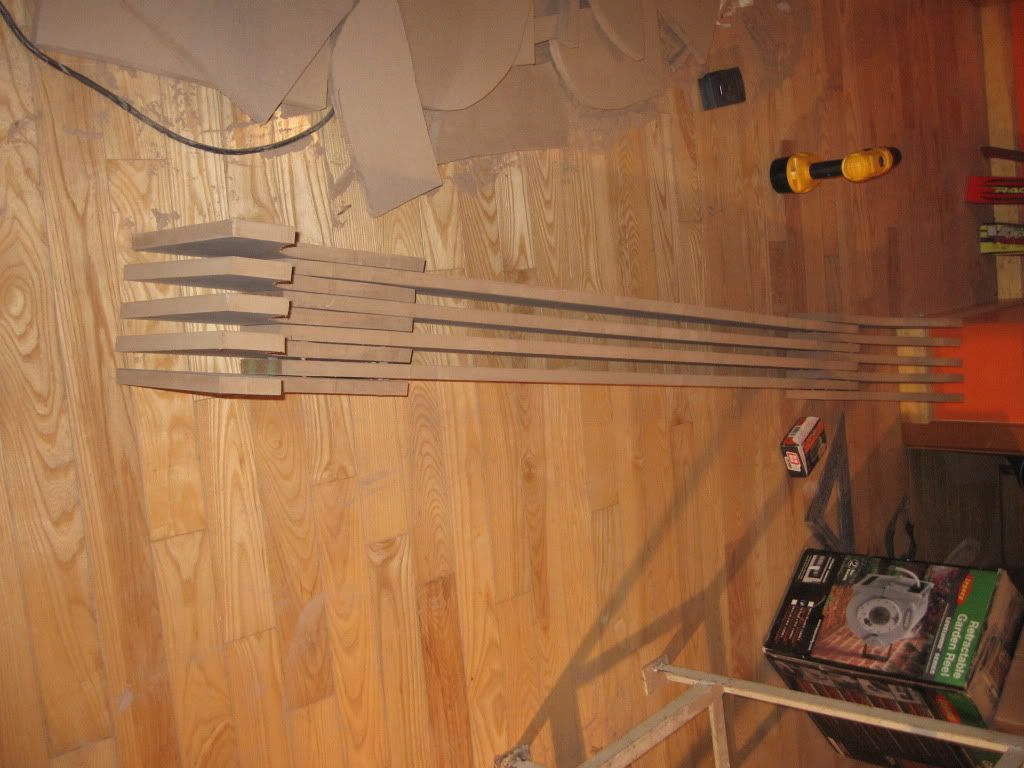
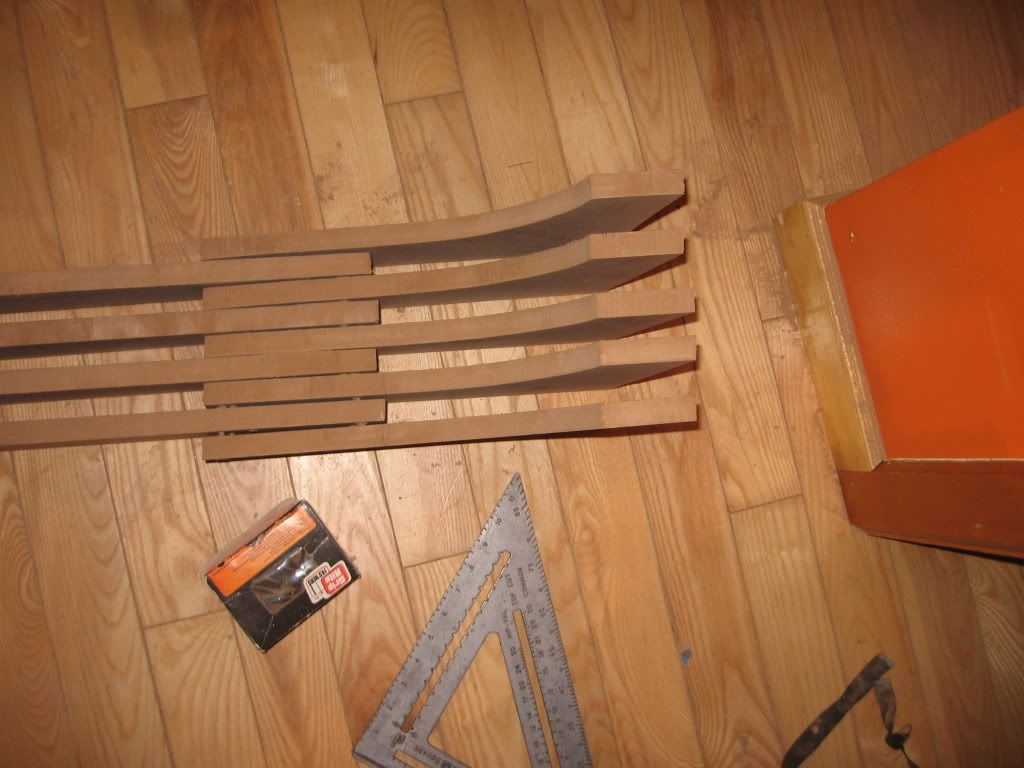
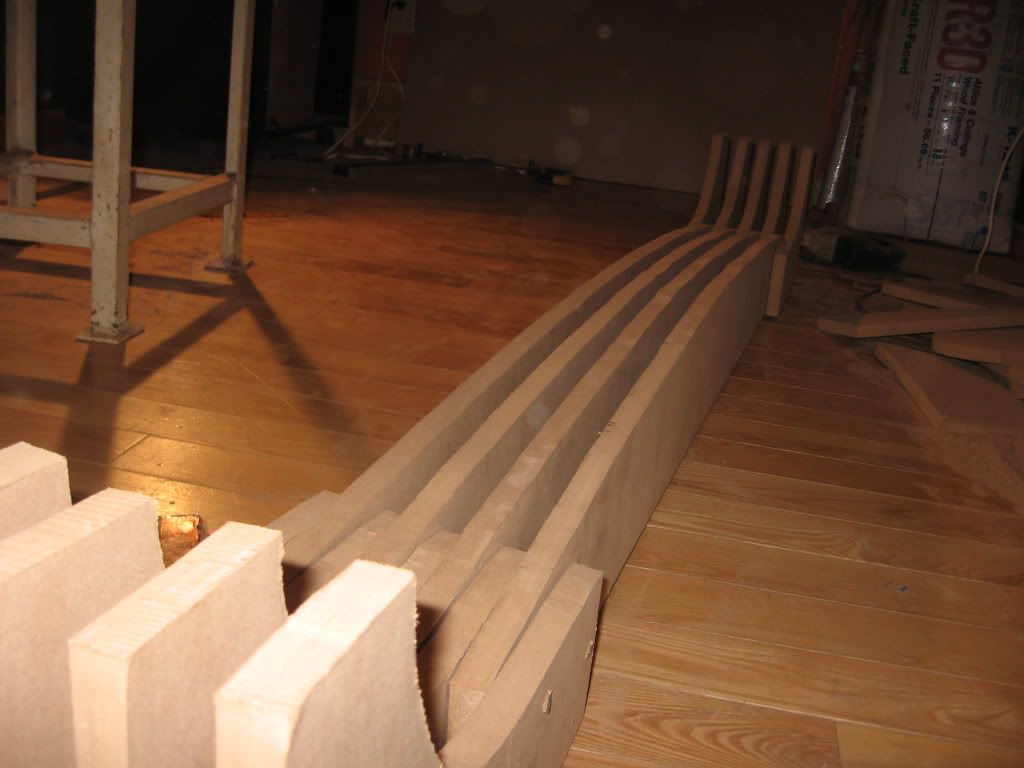
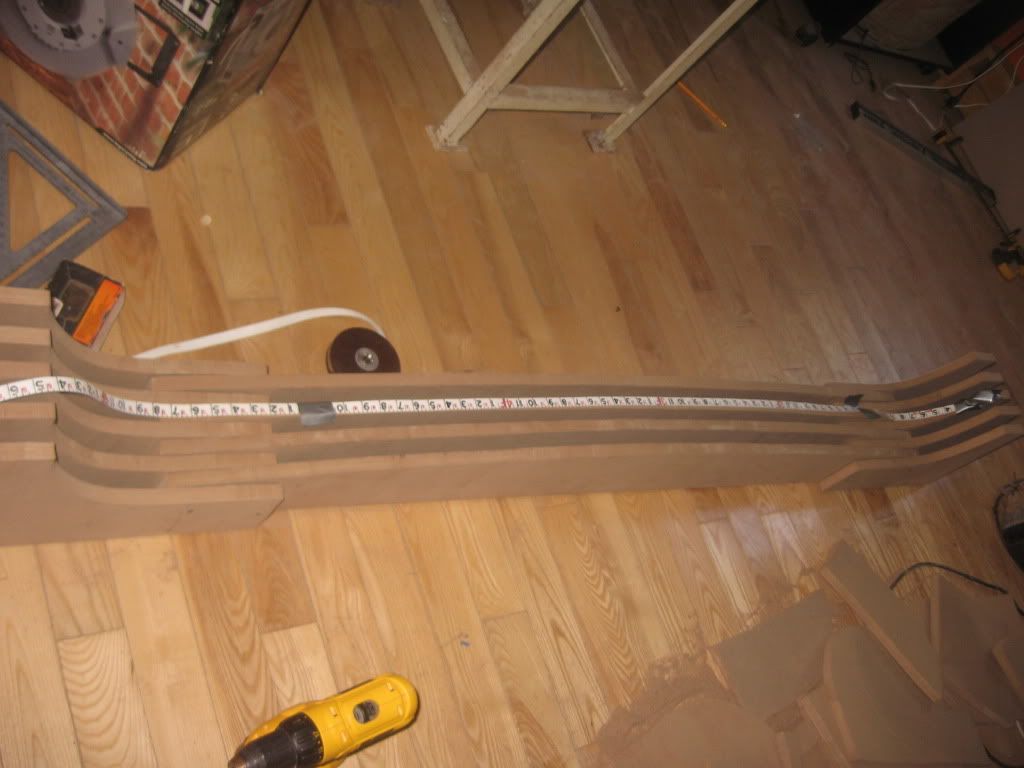
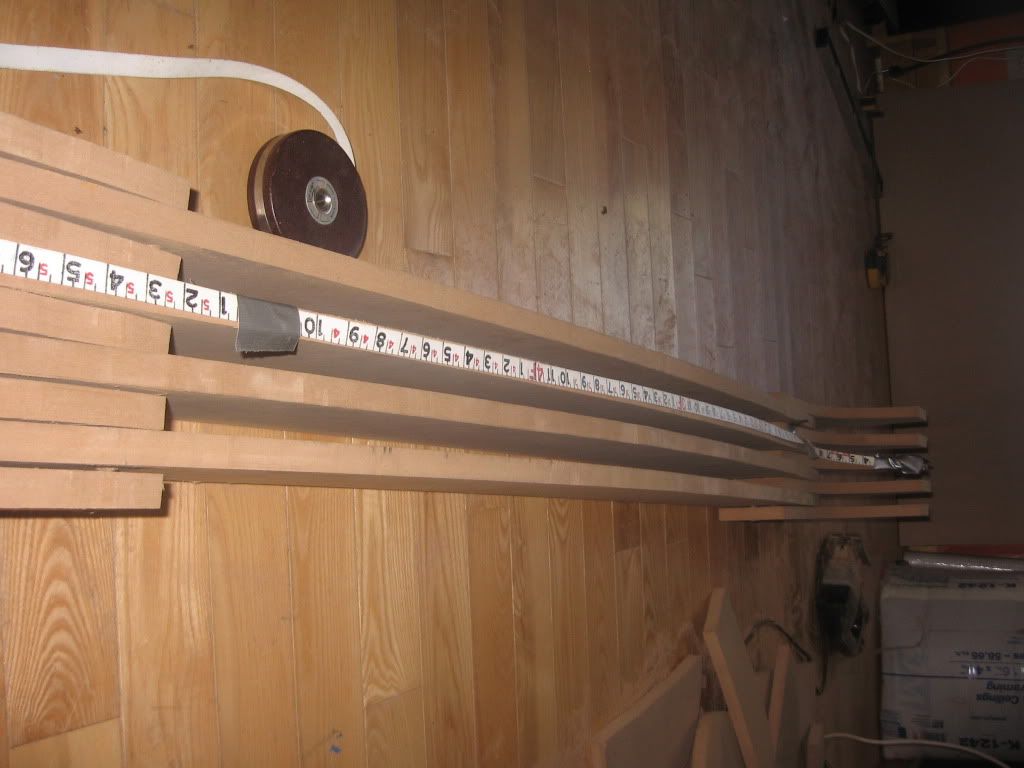
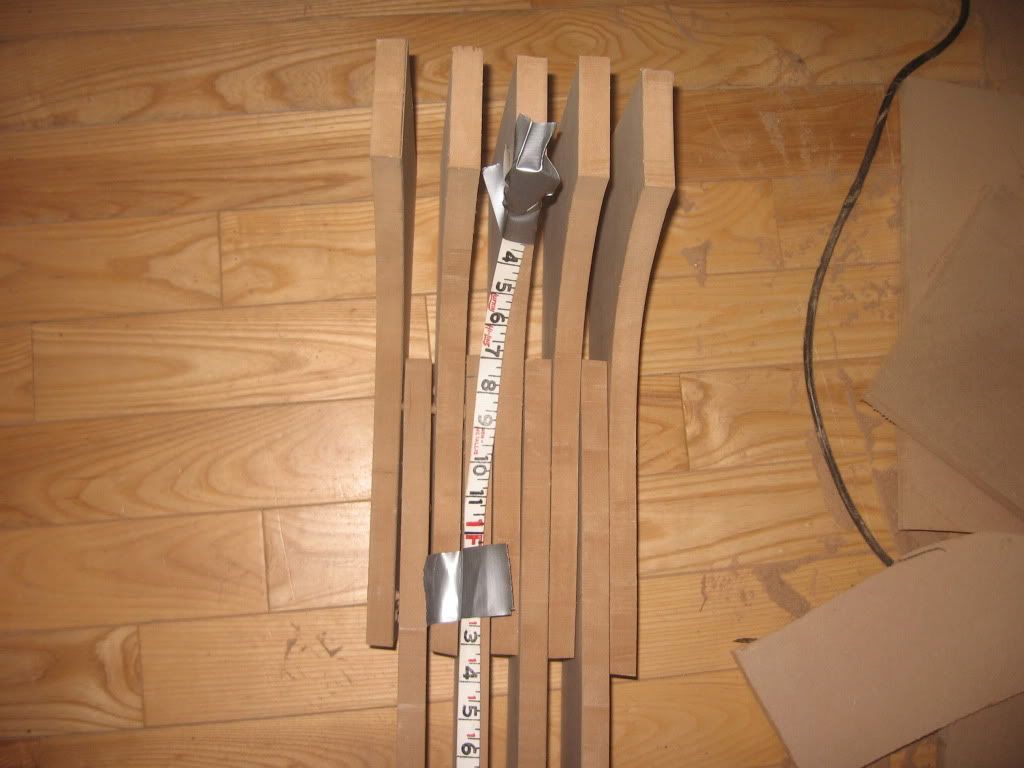
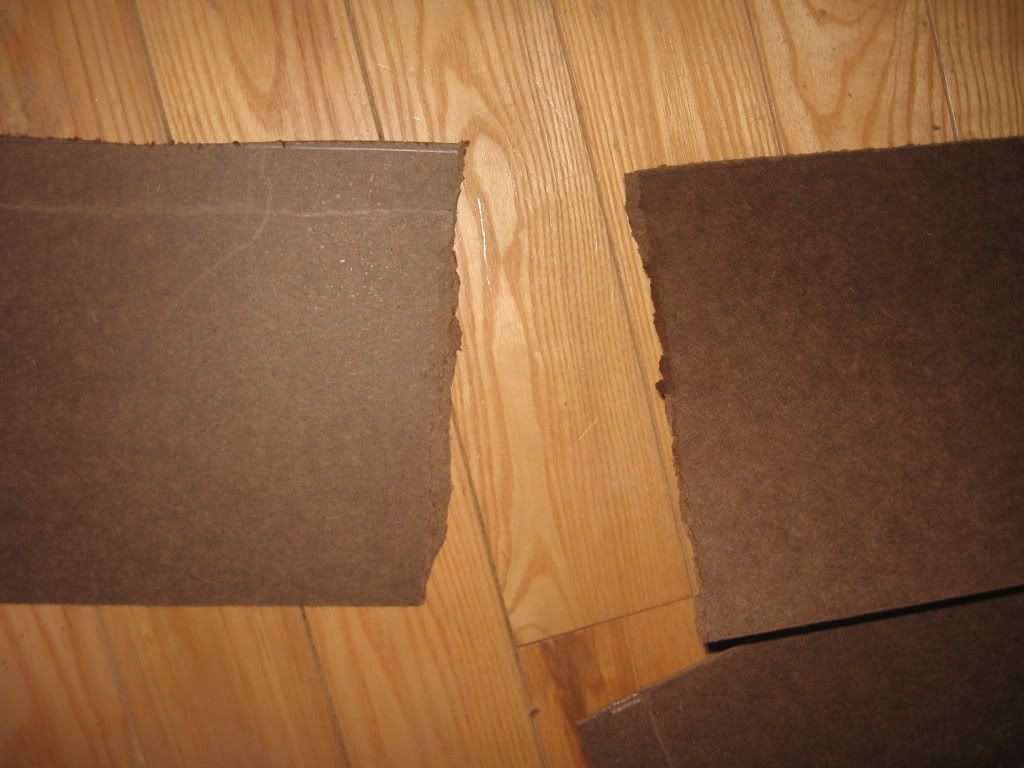
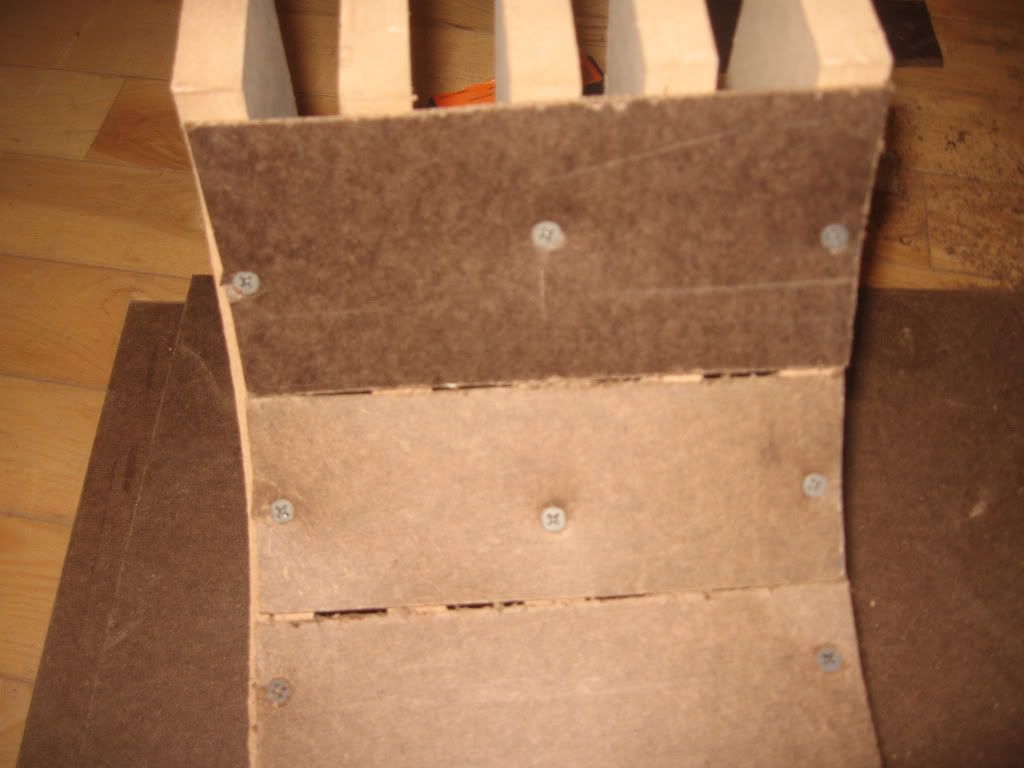
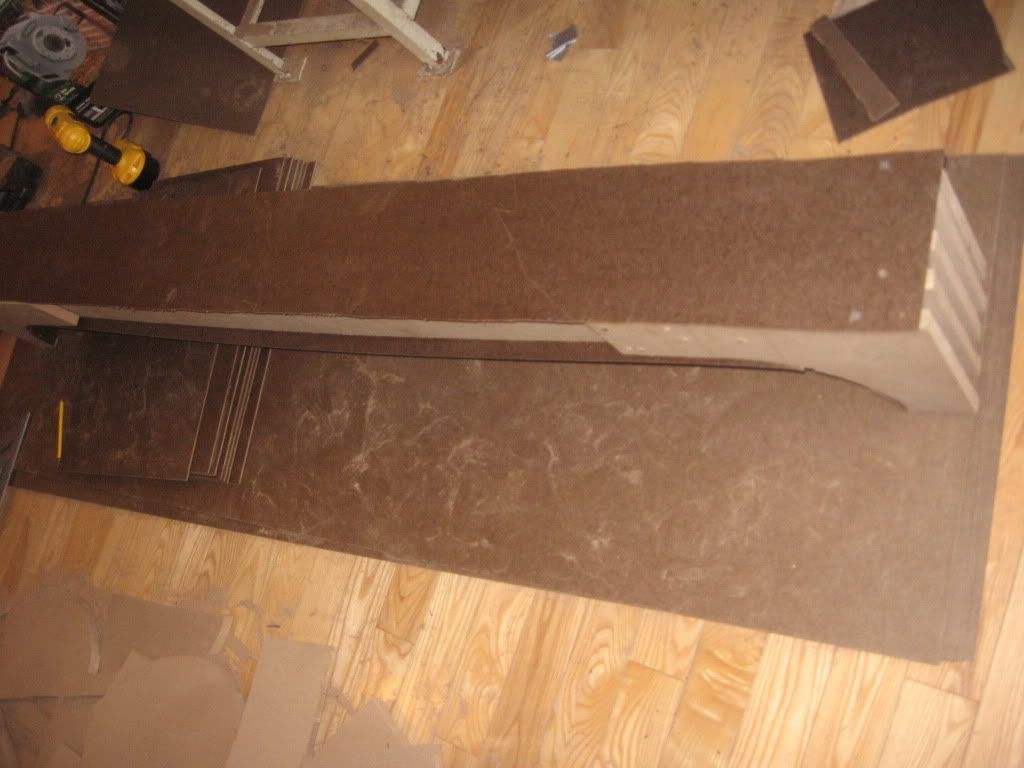
I spent further time trying to find free CAD software. It is really difficult to find one that isn't a trial or one style of CAD (hoped for 2D and 3D). I recalled having a design program from Google on my old computer. After a little searching I found SketchUp. Generally it is used for designing buildings and furniture, but I figured I could use it to my advantage. After a lot of time trying to figure out this program (it took forever to figure out how to change the length of the lines!) I finally understood it enough to design the running length portion of the mold. By the way, I am using a simple clamp press due to the difficulties I ran into trying to build the other presses. Anywho.. I was going to print sections of the design off but SkethUp isn't made for printing "to size" designs, but smaller scale designs. Ahh fun. Well plan B, measure it out myself and do my best to make the line between what I will call End 1, Middle(Camber Area), and End 2 arc. Ate dinner as I worked which slowed the process. Had trouble finding a lot of things to work with, for example a drafting triangle was mixed with a lot of random stuff on my porch and I needed tape to hold my measuring tape.I taped the measuring tape at End 1 and Middle of the MDF board and gently pulled the tape so it was slightly rounded, the start of the arc. I repeated this for the other half. Had just enough tape, need to remember to pick up more for later (I'm sure I will need it). Generally, the arc looks fine. Almost exactly like, if not the same as, the piece made on SketchUp. When I cut out this first piece, I will use it as a template for the rest of the boards. I still need to design the end pieces (for the tip and tail curvatures), but I was having a difficult time figuring this out, so maybe I will get that done tomorrow. I will cut out the first piece if I have time tomorrow, but I have a four page Spanish paper to write so it is questionable. I started up this blog as well. I am surprised with how long this first post is, I realize I can really talk a lot about what I do with this project even if I do very little.
As a reminder to myself, the SketchUp piece is saved as Ski Mold.

Image
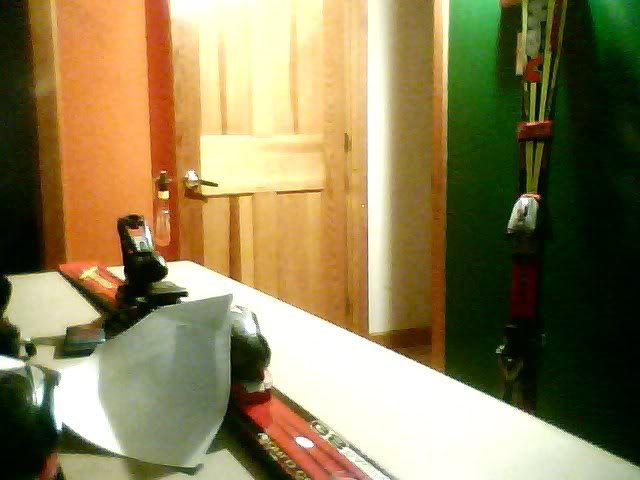
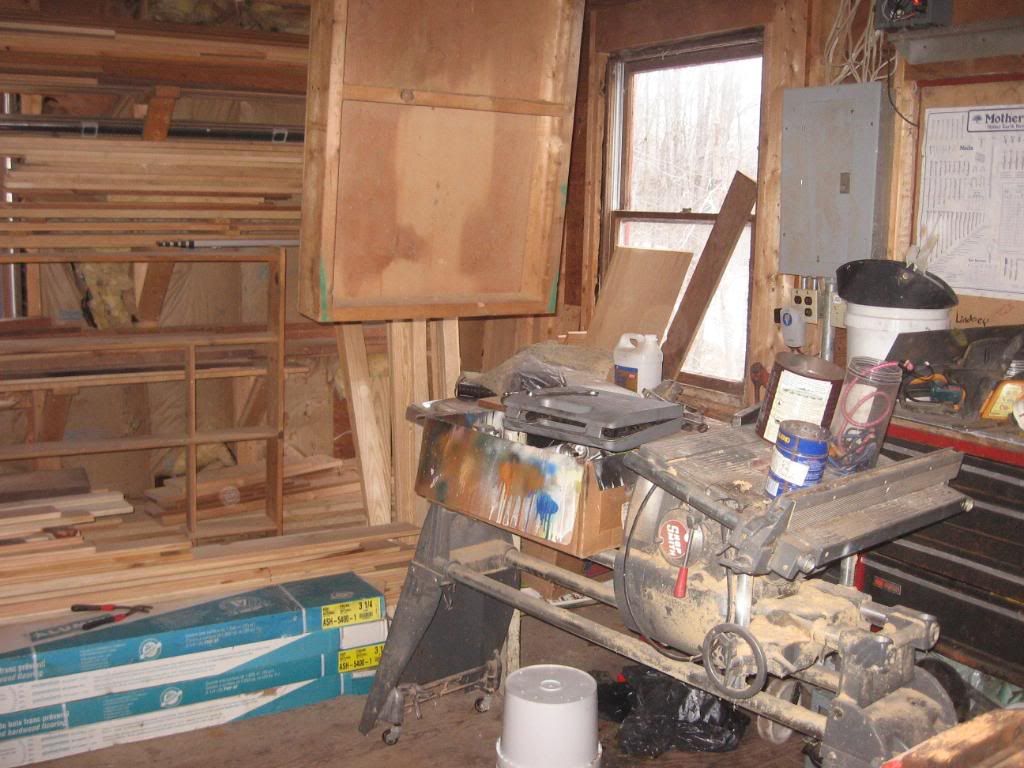
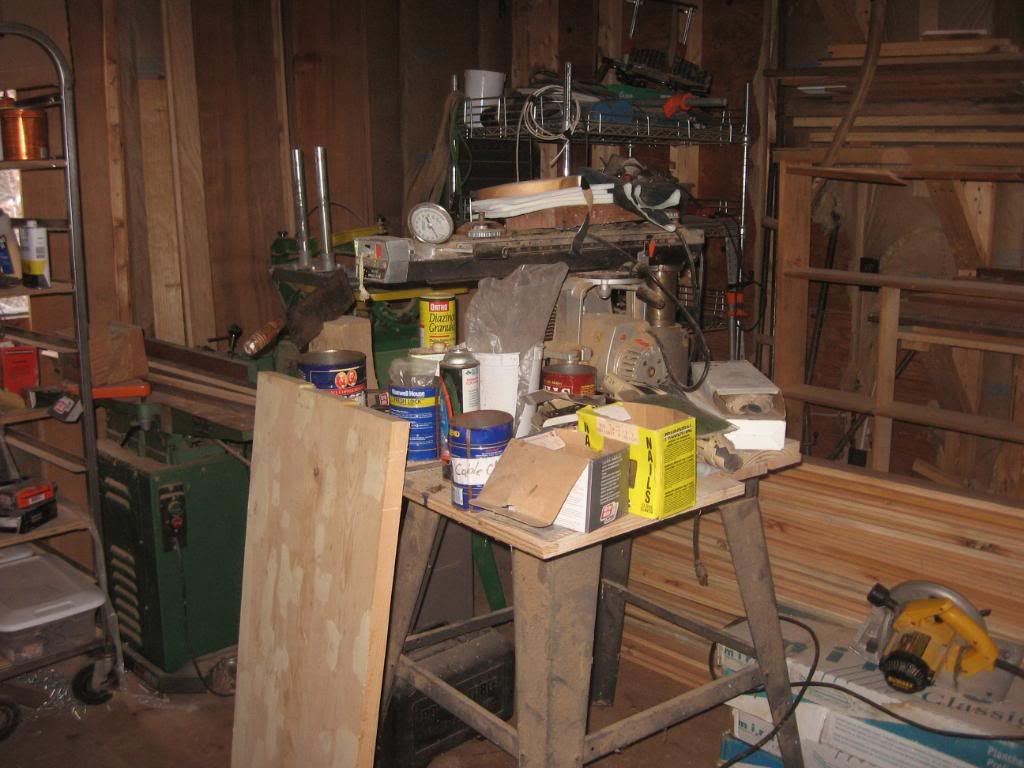
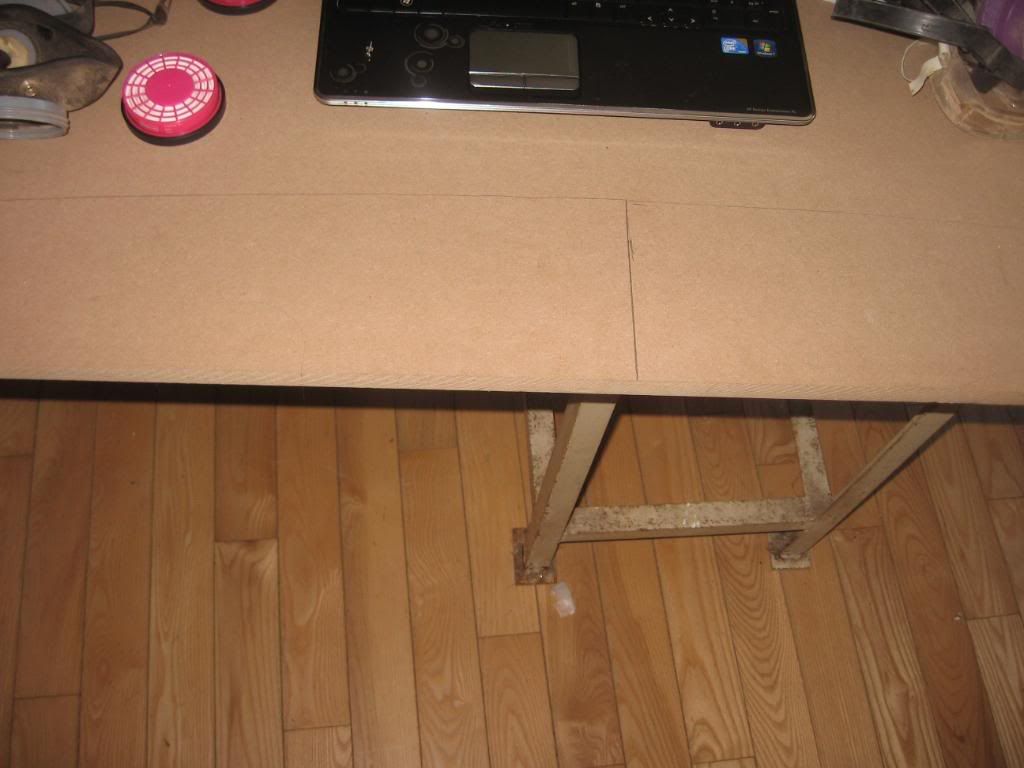
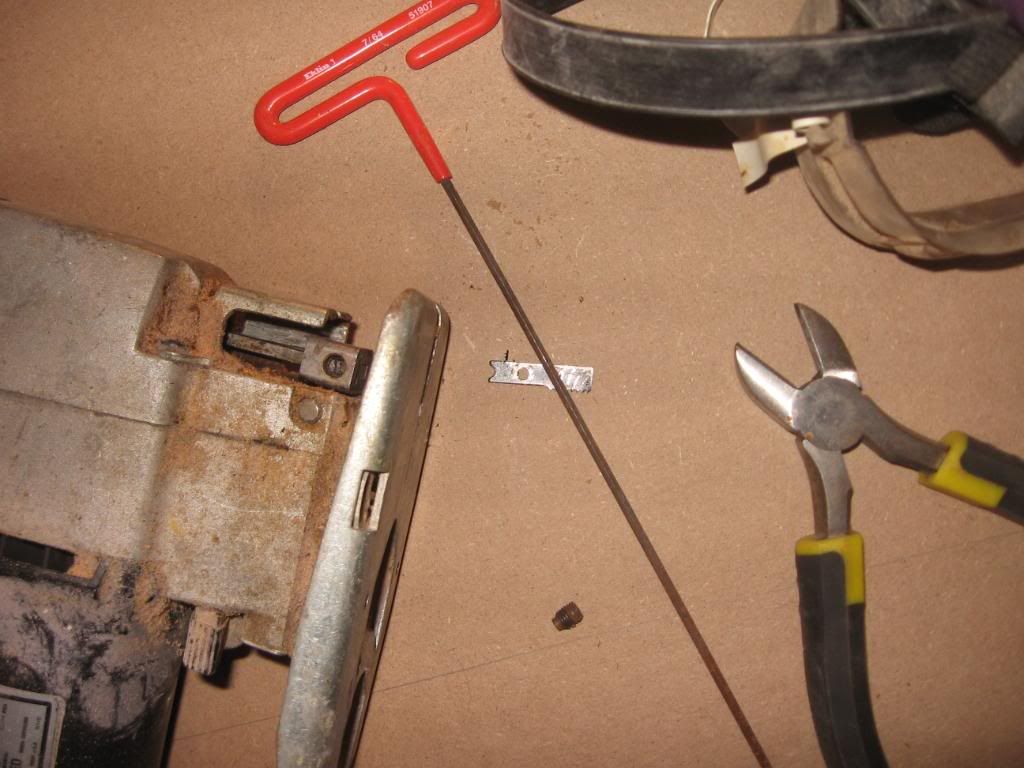
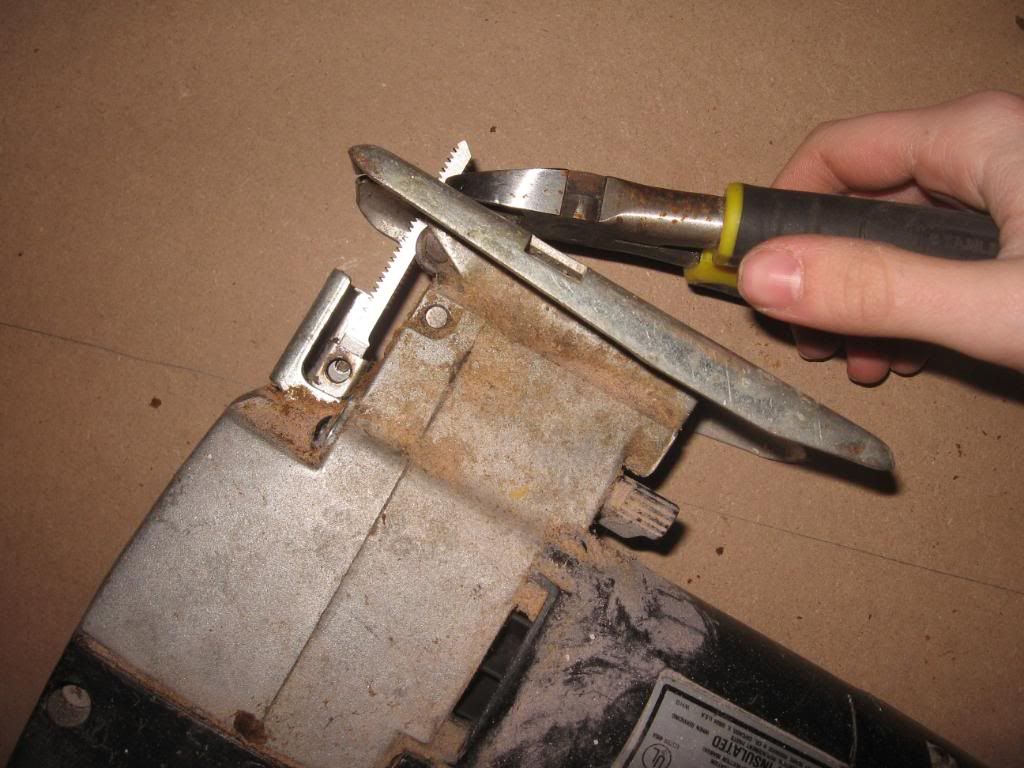
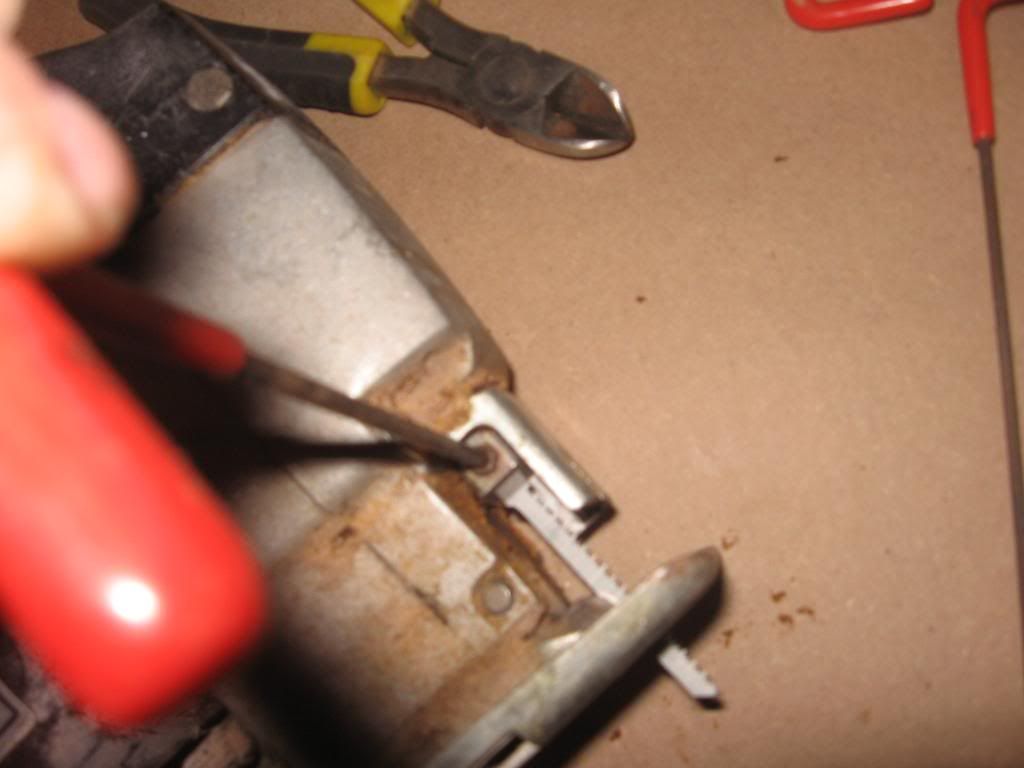
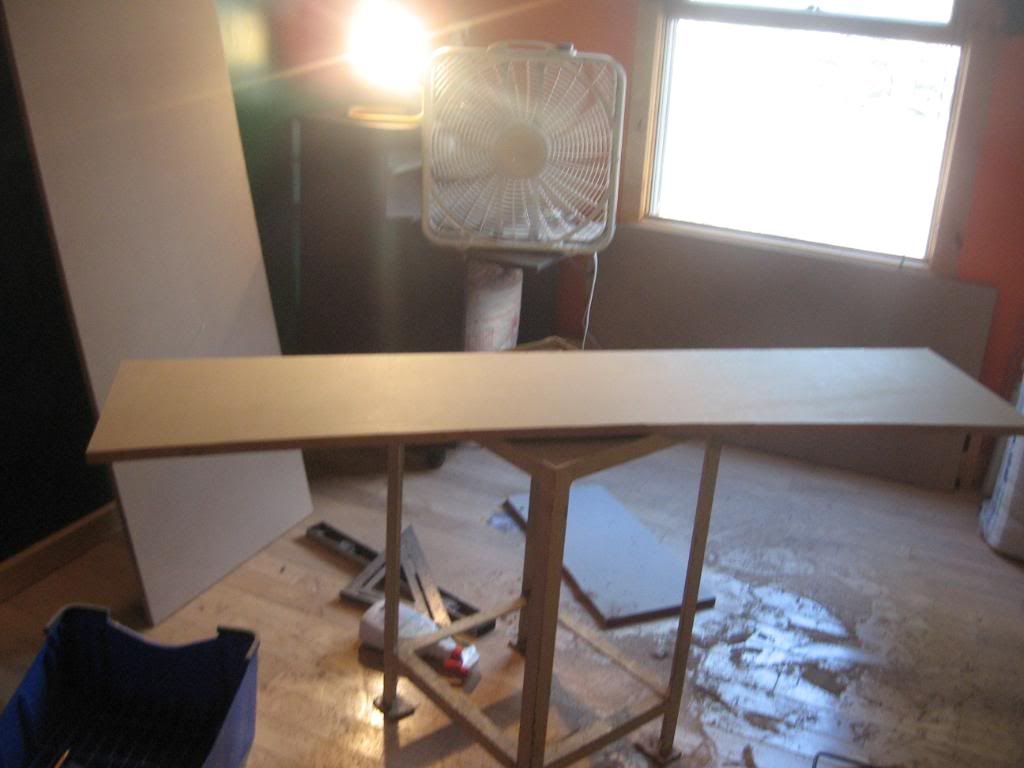
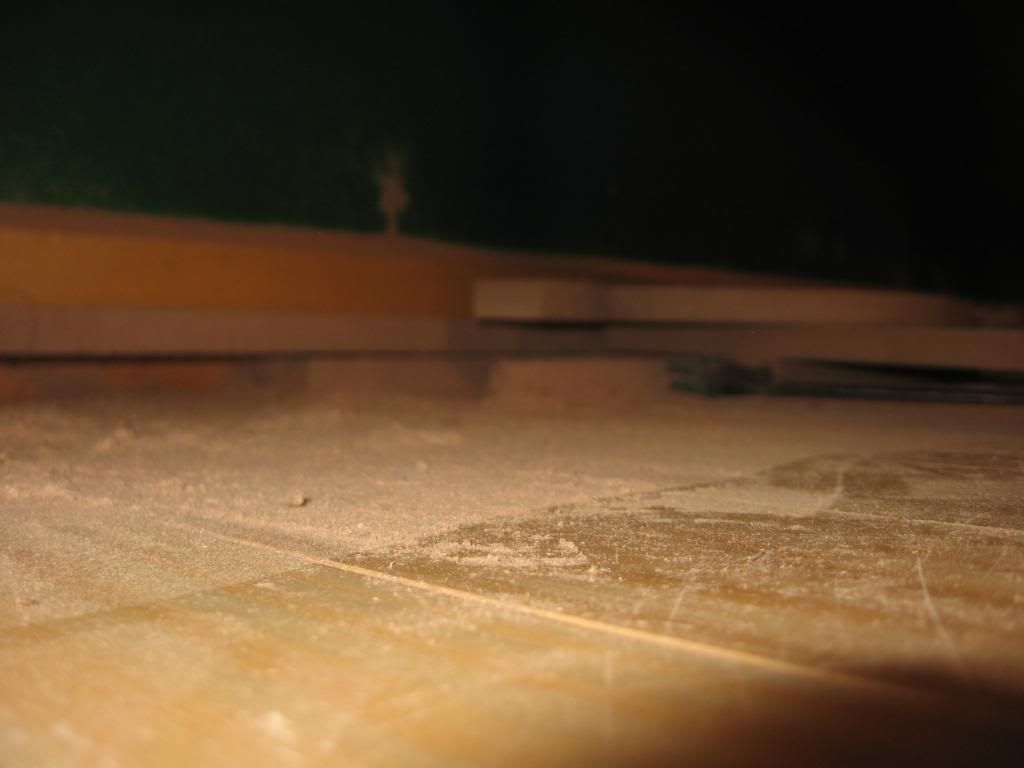
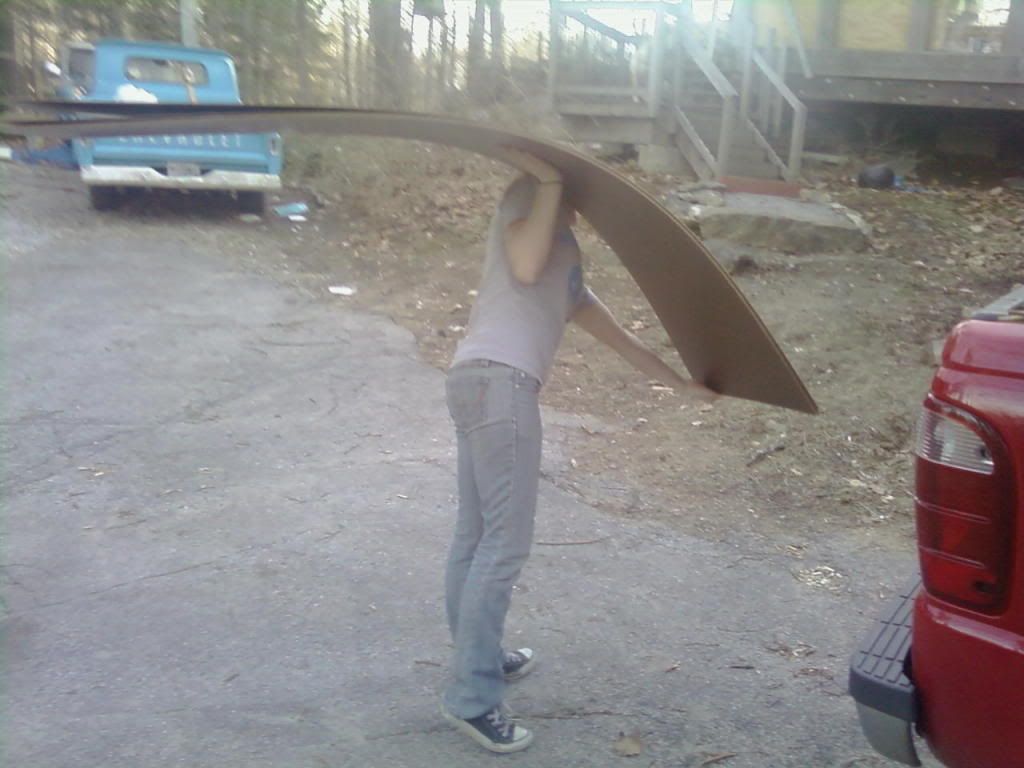
Work Room/Skis I am basing the flex, size, etc off of.

Image
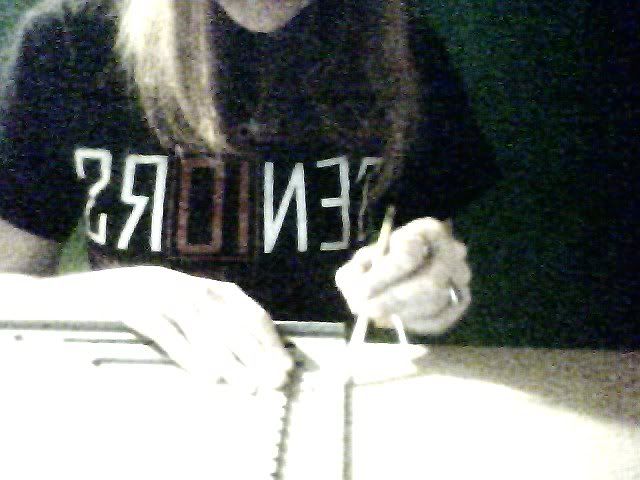
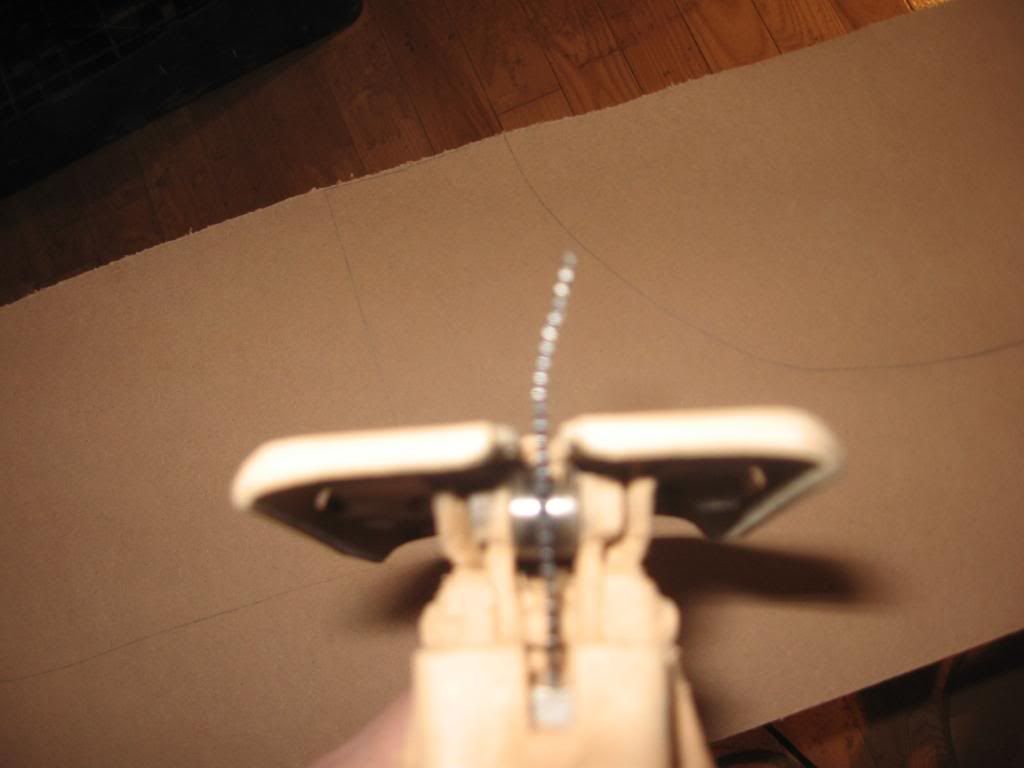
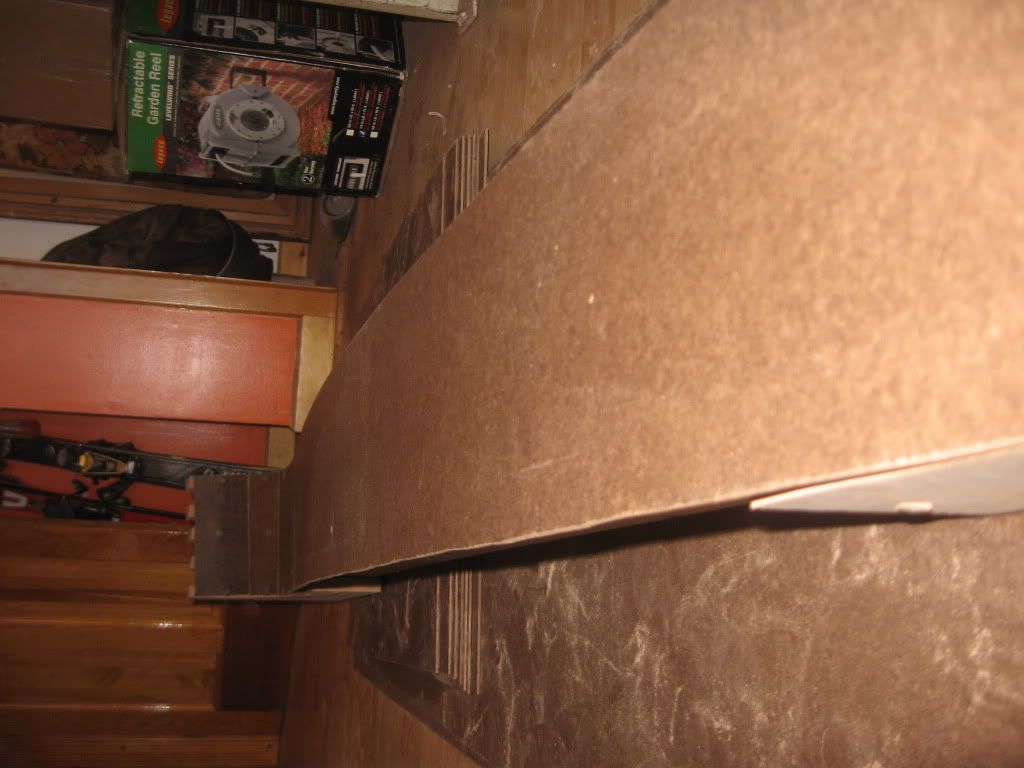
Drawing out the Running Length outline

Goodnight Everyone! :D

Edit: I could not post this the other day due to not being a member for 1 Day so I had to post this today instead. Then I realized, I just couldn't post my pictures. Ill get them up a bit later.

Edit2: Pictures are up now :)
Last edited by cstoneskis on Tue Apr 06, 2010 10:47 am, edited 2 times in total.
cstoneskis
Posts: 22
Joined: Tue Mar 02, 2010 6:54 pm

Post by cstoneskis »

March 4 2010

3PM-4:20 PM
80MIN

Well back at it again, if I keep up the pace I can (hopefully) finish by the end of March and at least get one test ski on these things before the project is due. I spent a lot of the beginning of today searching for tools (jig saw, goggles, and mask). The plus to this project is that I have a plethora of tools at my disposal. Finding them is half the battle. I had to clean the goggles and mask first, they were filled with sawdust. Once I finally go the equipment I needed for now, I was wicked psyched to get working. It took time to get the goggles and mask on without knocking the other off, but once I did I plugged in the jigsaw, brought it up to the wood, and pulled the "trigger" as I will call it. Then I came to realize that there was no blade on the jigsaw. I was too excited that I found it to notice. I have no idea where a blade might be, so I have to wait for my mom to get home before I can begin sawing. Because of this, I wrote the above. I will edit and add more to this post later.

4:20PM-4:50PM
30MIN

I worked on designing piece of the mold for the tips and tails of the skis. Location of a blade for the sabresaw/jigsaw is unknow. Bummed out, need to go find a friend who might have one now.

EDIT: Pictures added 3/16/10

Image
You can tell that searching for tools is not easy.

Image
The shed is extremely messy.

Image
The work area.

Image
Designing the running length ribs.

Image
Camber/Center[/img]
Last edited by cstoneskis on Tue Apr 06, 2010 10:49 am, edited 3 times in total.
cstoneskis
Posts: 22
Joined: Tue Mar 02, 2010 6:54 pm

Post by cstoneskis »

March 6, 2010

9:53AM-10:57AM
64MIN

I figured I would get in some more work on my project before I go to work for the day. Since I am still without a jigsaw at this moment, I decided I will work on drawing out the tip/tail piece of teh mold onto the MDF board. I measure out what was easily done at first (Height, Length, Etc), but after I measured out the radius of the curve, I realized I needed to find a compass to actually draw out the curve. I spent quite a bit of time in the shed looking for one, but couldn't find one. However, I did find another mask and some replacement mask filters, which I am glad about. now I can use this one, which is much smaller than the other one and easier to manage. I also found a tape measure, which should prove a bit easier to work with on some parts of the project than the cloth tape measure I have been using. I checked my brothers room for a compass. Still no luck, then I checked my own room for one. I found one of those really small ones that are generally used in math class, but I was hopeful that a small one would work. Then I realized how much I hate compasses because they don't lock into place and make drawing a circle/arc extremely difficult. I was frustrated and wanted to just stop for the day, but I kept at it until I finally got a decent arc out of it. It was also difficult because SketchUp was causing some trouble with the measurements (It was difficult to find the radius of the arc). Anyways, I checked the arc up with the skis I am basing everything off of and the arc seemed a bit weak, so I tweaked it a bit by decreasing the radius of the arc until it was similar to the skis. I'm fairly happy with how the mold outlines turned out and I can't wait to cut them out.

A friend of mine has said that she may or may not have a jigsaw I can borrow, I am hoping she does. If she does, I will probably pick it up when I get out of work and either work on cutting out the MDF board today or tomorrow.

Pictures from today up later!

EDIT: Pictures added 3/16/10

Image
Tip/tail

Image
Seeing how the skis tip measure up to the model. You can see that they are a bit off, so I tweaked the radius of the mold's tip/tail
Last edited by cstoneskis on Tue Apr 06, 2010 10:50 am, edited 2 times in total.
cstoneskis
Posts: 22
Joined: Tue Mar 02, 2010 6:54 pm

Post by cstoneskis »

March 6, 2010

7:45PM-9:19PM
94MIN

So I got home from work today and was extremely frustrated, because I still had no saw to cut the MDF board with. Then I found out my dad sent me a text telling me where in the shed a blade for the saber saw was. It turns out it was on the giant wall with random tools hanging off of it. As a reminder to myself, there are more there in case I need them. Anyways I went inside and looked up on google "how to attach a saber saw blade" and found this site:
http://www.ehow.com/video_4420232_insta ... g-saw.html
Well I grabbed some allen wrenches from my brothers room to loosen the bolt holding the broken blade down, but they were all too big or too small. I got to go out to the shed (again) and grabbed two allen wrenches that might work. Luckily one of them did. Once I got the old blade out I put the new one in with some difficulty (it was not lining up with the bolt).
I began cutting the MDF board, which was exciting. I didn't trust my judgment enough though, so I had to stop often to make sure I was still following the lines I drew out. Then there was the issue with the buildup of dust. After some thought, I found a fan and positioned it to blow the dust away as I sawed, that way I could always keep sight of my line. Then I continued to saw away. At one point I accidentally hit the metal table the MDF board was sitting on. Luckily the blade didn't break. I finished cutting the board and had a slight bump close to the middle. I tried to smooth it out, and it is kind of better, but has two indents in it. As long as the other boards aren't bumpy then the mold should be alright.
I am going to cut the rest tomorrow.

EDIT: Pictures added 3/16/10

Image
Does something look wrong with this picture? It should. The blade "disappears" towards the end.

Image
Looks like it had snapped at a very odd location. This was how I found it, so I have no idea what caused this.

Image
Useful tools.

Image
Popping in the new blade.

Image
Almost ready for cutting the MDF

Image
The first cut!

Image
About halfway through cutting the first piece.

Image
You can see some of the bumps that I had problems with.
Last edited by cstoneskis on Tue Apr 06, 2010 10:51 am, edited 2 times in total.
cstoneskis
Posts: 22
Joined: Tue Mar 02, 2010 6:54 pm

Post by cstoneskis »

March 8, 2010

2PM-2:52PM
52MIN

What a beautiful day! I could actually have the window open while I worked today! Today I began cutting out more pieces of the mold from the MDF board. I outlined my first piece (but made sure to fix the outline area that had the bumps) and proceeded to cut out the pieces. I am only using four running length boards because I am only doing a single ski press, meaning that it will only press one ski at a time. The process may be longer, but it is easier (and cheaper) for me that way. I am also only using ten tip/tail pieces, five for each end. I am following the gaped-rib mold displayed here. Anyways, I got another running length rib cut out (for a total of two) and was in the middle of the third one when I accidentally hit the metal table while the saber saw was in motion, snapping off the end of the blade. Luckily I have those spares in the shed ;) I decided that would be my time to call it a break, for now. I am set on getting at least the running length ribs cut out by the end of today and getting at least one tip/tail rib cut and then traced onto the remaining MDF board. Tonight I will also make sure to get all of those pictures up that I have been meaning to put up in the last few posts. Tomorrow all of the mold pieces should be cut out and I will get the remaining materials for the mold, which all I really need is some Masonite board. I should also consider cleaning the work room tomorrow, which is full of dust and messy. Until later tonight!

EDIT: Pictures added 3/16/10

Image
Two boards done!

Image
My remaining MDF material. And the messy room.

Image
Missing the tip.
Last edited by cstoneskis on Tue Apr 06, 2010 10:51 am, edited 2 times in total.
cstoneskis
Posts: 22
Joined: Tue Mar 02, 2010 6:54 pm

Post by cstoneskis »

March 9, 2010

6:15PM-7:27PM
72MIN

This is going to be brief because I have a huge AP Biology test review to finish. I did not manage to get the final supplies yet for the mold, and have fallen behind a little. I cleaned the room a bit before starting with any cutting because the dust is everywhere. I finished cutting out the running length ribs today. The last one I cut was my best one yet. I also cut out one of the tip/tail pieces. I traced the tip tail piece onto my final large piece of MDF board (I have a small piece of MDF board left over just in case I need it) and cut the end of the board off (one piece) and the rest of it in half (4 pieces each half). I have nine pieces to cut out, which I will do (If I have time) tomorrow, but I have an after school activity tomorrow that is running late, so I don't know. The day after they will definitely be cut out and I should have my Masonite board by that night as well.

EDIT: Pictures added 3/16/10

Image
I swept the mess into one pile. :)
Last edited by cstoneskis on Tue Apr 06, 2010 10:52 am, edited 2 times in total.
cstoneskis
Posts: 22
Joined: Tue Mar 02, 2010 6:54 pm

Post by cstoneskis »

March 10, 2010

7:33PM-8:28
55MIN

So I began cutting the rest of the tip tail pieces as soon as I got home. It was so dusty, my mom and her friend were laughing at how filthy I looked by the end. For the most part it went without fail. However, at some point the saw "jumped" because I let go of the trigger too fast and the blade bent. Onto the next blade for me! :? It took some time to actually find the allen wrench I was using (it fell behind the desk), but once I found it I managed to replace the blade (again...) and got back to work. All of the pieces are now cut out.

Image
Nice bent blade!

Image
Pile of tips/tails

Image
Tips/Tails

Image
Tips/Tails
Last edited by cstoneskis on Tue Apr 06, 2010 10:53 am, edited 2 times in total.
Alex13
Posts: 238
Joined: Wed Dec 09, 2009 12:01 am

Post by Alex13 »

FYI you can get SnoCAD-x from grafsnowboards.com for free, it's basic but it does the job for most things. I think it does skis too, has a setting for it at least, though I've only used it for boards.
Drew
Posts: 74
Joined: Thu Feb 11, 2010 8:21 pm
Location: deep south

Post by Drew »

sno Cad works great for skis, and you won't run into any limitations unless u want to get into complex designs. But at this point you are far enough along that you should keep on the track you're on.
cstoneskis
Posts: 22
Joined: Tue Mar 02, 2010 6:54 pm

Post by cstoneskis »

Thank you for the tips! I will definitely use snoCad for the remainder of the project, it should definitely make the remaining process easier for me (like designing the ski shape etc). I appreciate the help!
cstoneskis
Posts: 22
Joined: Tue Mar 02, 2010 6:54 pm

Post by cstoneskis »

March 11, 2010

3:30PM-4:37
67MIN

Due to the rain/snow mix in the area, I have decided to skip on the Masonite board for another day. I began screwing together the ribs and tip/tail pieces. I grabbed what looked like 1" screws, but were too short. I found a box of 2" screws and used them instead. It was difficult at first because the pieces would often move. I eventually got two tip/tail pieces onto a running length rib after many attempts. I then checked a ski to the board to see how it was going. Both the tip and tail must be moved in, the tip less than the tail piece. I decided I would call it quits for the time being because I have to leave in an hour and I don't want to get too into fixing this problem and then leave that project in the middle of being worked on. When I finish my AP homework later tonight I might give it another go.

Pictures are being downloaded to the computer now to be uploaded shortly.

EDIT: Pictures added 3/16/10

Image
One done. Too bad it needs to be fixed.

Image
Three screws ought to hold it in well enough :)
Last edited by cstoneskis on Tue Apr 06, 2010 10:53 am, edited 2 times in total.
cstoneskis
Posts: 22
Joined: Tue Mar 02, 2010 6:54 pm

Post by cstoneskis »

March 13, 2010

6:10PM-8:30PM
140MIN

I decided it was about time to fix the pieces of the mold. My mom helped me fix the drill, because the drill bit was loose and kept falling out. I adjusted each of the tip/tail pieces by a few inches each side. My mom found a good clamp that I could use. It worked okay, the pieces would still move a bit but it kept in place for the most part. Once I got in four tip/tail pieces it became extremely easy to get the rest of the pieces in, and I finished it quickly. Tomorrow, if the weather is permitting, I will probably pick up the Masonite for the finishing touches of the mold and wood for the core of the skis after work. Then I can finish the mold and get ready for constructing the skis.

EDIT: Photos added 3/27/10

Image
Time to undrill the boards.

Image
This was a very helpful clamp :)

Image
All together now!

Image
Tip/tail piece

Image
The whole thing

Image
Up close
Last edited by cstoneskis on Tue Apr 06, 2010 10:55 am, edited 3 times in total.
cstoneskis
Posts: 22
Joined: Tue Mar 02, 2010 6:54 pm

Post by cstoneskis »

March 16, 2010

2:18PM-3:11PM
53MIN

So today there is not much I can do for this project. I have little to no time to work on it due to many activities that are irrelevant to the project. I did some measuring to determine how much Masonite board I should have and have come to the conclusion that two strips of Masonite board (one for the top and one for the bottom) will be needed at a length of 80" and a width of ten inches. I have given myself just a couple inches extra, just in case I measured it wrong. It is difficult to measure the skis by myself, I had to use duct tape to hold the cloth measuring tape in place. Overall, all I accomplished today was obtaining the measurements and adding pictures to previous posts. The pictures from today and the thirteenth will be added at a later time.

EDIT: Photos added 3/27/10

Image
Measuring

Image
More measuring

Image
Note the use of duct tape :)
Last edited by cstoneskis on Tue Apr 06, 2010 10:55 am, edited 3 times in total.
cstoneskis
Posts: 22
Joined: Tue Mar 02, 2010 6:54 pm

Post by cstoneskis »

March 17, 2010

4:44PM-5:33PM
49MIN

Today I went to get wood with my friend from Lowes. It took some time to actually find the Masonite board. Then we had to wait a bit for someone to be able to cut it for us

Image
My friend helping me with the boards :)

March 19

3:51PM-4:01PM
10MIN

Carried the boards inside. Not much to say other than that.

Image
Me carrying in the boards.

Image
Can you tell I got extras?

March 27, 2010

2:28PM- 4:55
147MIN

I haven't been able to do much because of some unfortunate circumstances with my car that required me to put off funding for this current project. I have also been busy between school, sports and work. However, I finally managed to get the boards I needed the other day. Today I worked on putting the boards on. The boards are not as flexible as I expected, the board actually snapped at some point. :? So I figured that since it was not as flexible as it needed to be at the tail/tip pieces, I actually cut out two individual pieces which, when drilled in, molded to the shape very nicely.
I managed to upload all of my pictures too :)

Image
The piece that snapped off.

Image
The whole top.

Image
Top again.

Image
Example of a tip/tail piece.

Image
Bottom
Last edited by cstoneskis on Tue Apr 06, 2010 10:56 am, edited 2 times in total.
User avatar
chrismp
Posts: 1444
Joined: Fri Feb 13, 2009 9:00 am
Location: Vienna, Austria

Post by chrismp »

hmm, you might want to get a smoother pressing surface...i think the impressions of the screws will copy to your bases.
other than that nice journal.
Post Reply