
I probably did something wrong with the planer and the router. Having poor quality of the machinery is probably one reason. But anyway...of to something different. I got the idea from a production video from Dynastar ( I can't find it anymore..:--() where they where using vertical sawing. So I was thinking doing the same. But how? So I came up with this method. It might have been done before.
It uses the bandsaw, a midsize model, it needs to be fairly strong and have a gap measurment lager than 200 mm. And have a strong blade! This is for skis I might add.
The jig is made of regular fiberboard. One bottom plate with a bolt in the end where a turnable fence is mounted (pic 1.) This so one can turn it in what angle requested. The core is mounted on that fence. Before mounting the core. Adjust the miter fence so the sawblade is 2 - 3 mm, at the end where the bolt is, from the fence that holds the core (pic 3.). Put the core on the fence adjust the jig to wher you want the sawing to start.
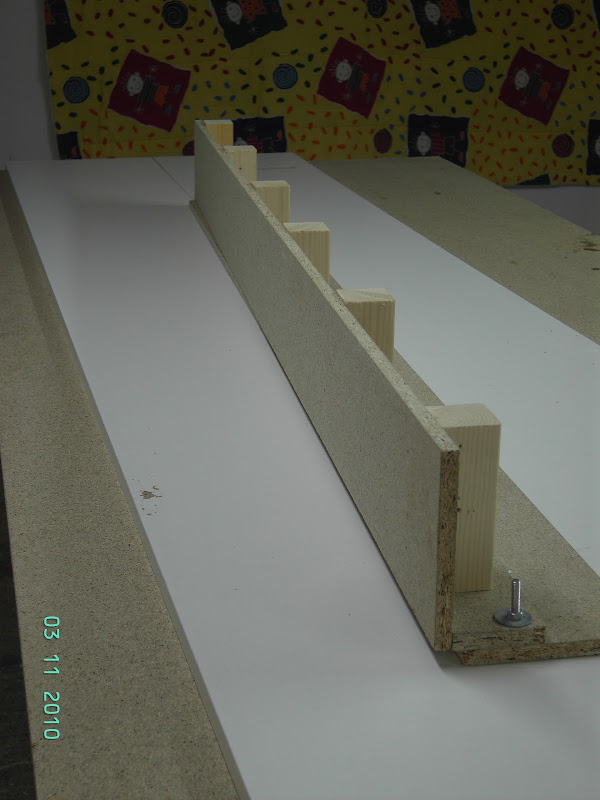
The jig
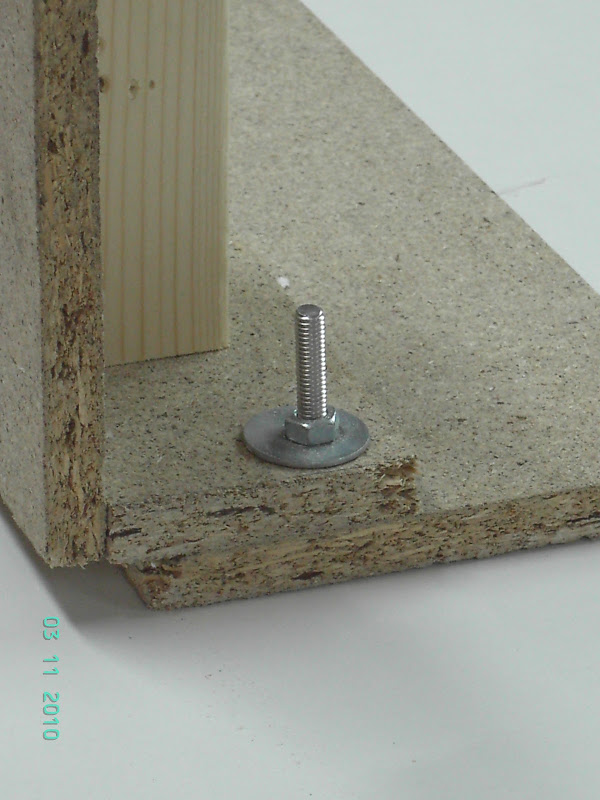
The "hinge" bolt
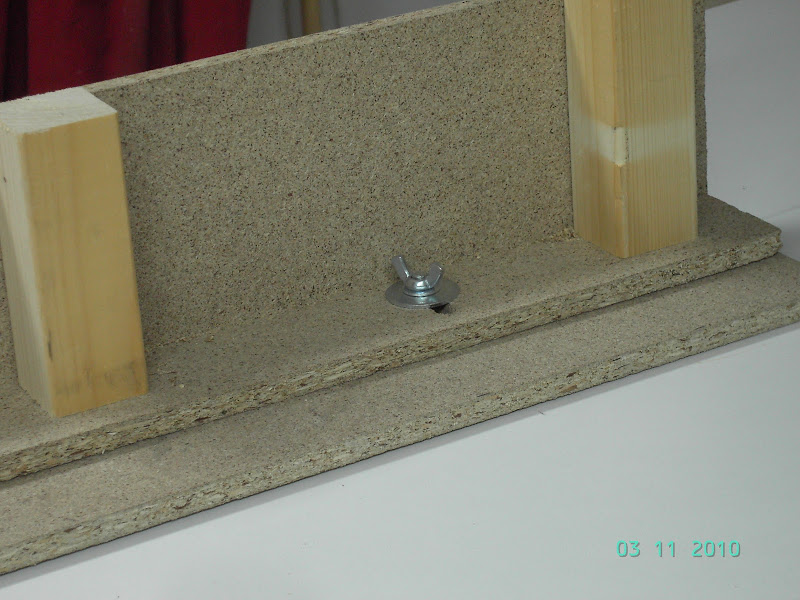
The "fixation" bolt
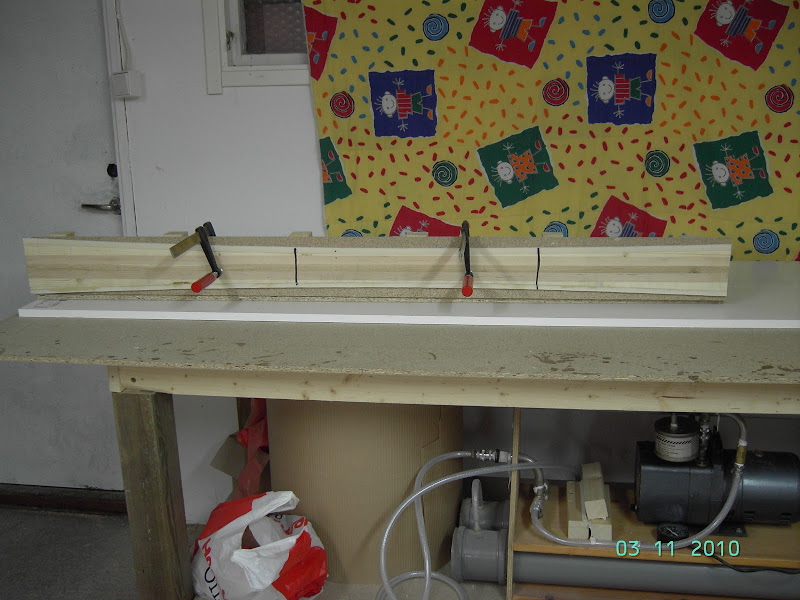
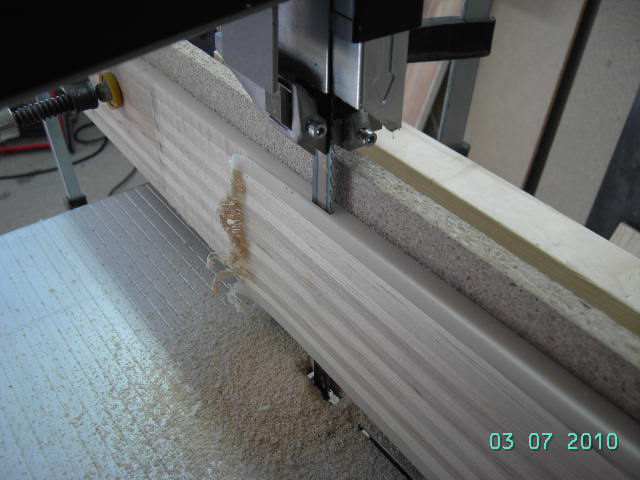
The core mounted on jig. The vertical lines indicate where you want to start your taper.
Observe that this method goes from mid-core to the ends.
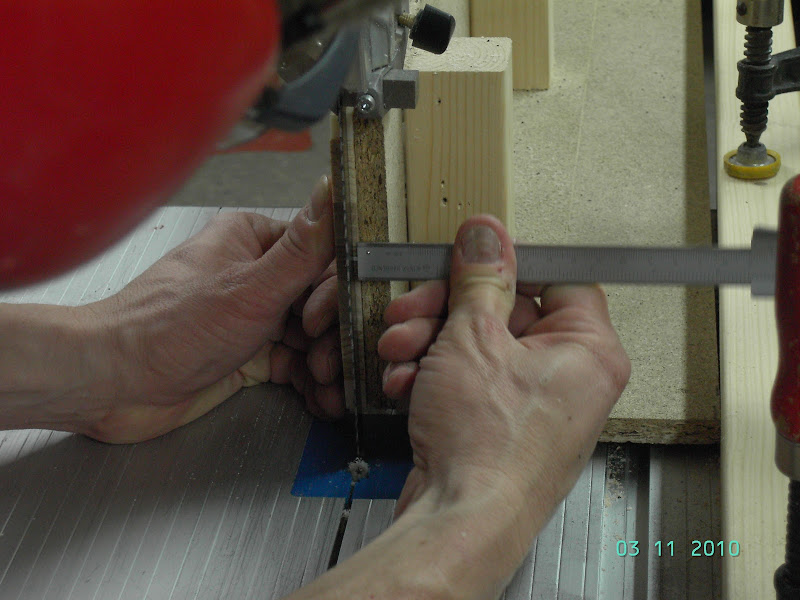
Adjust for desired thickness in tip/tail
Adjust the angel so you hit the starting point (more or less accurate)
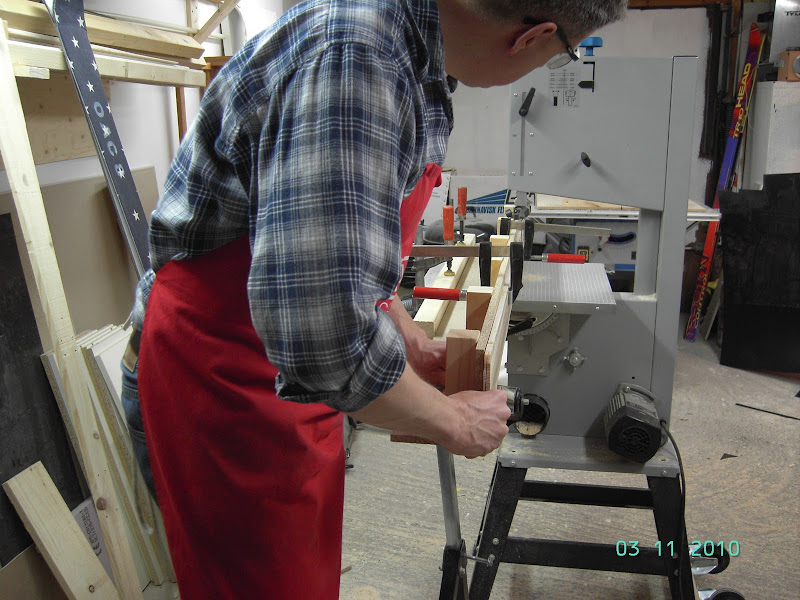
The jig in action with the core mounted
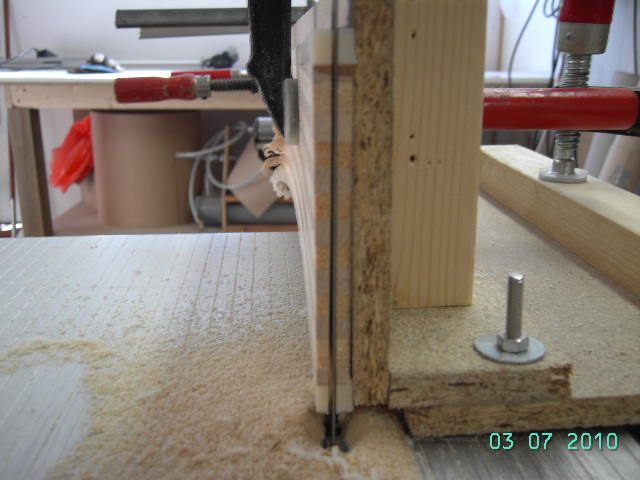
The end! Here you can see the end of the pass, where the core is mounted and the fence is adjusted so the blade is 3 mm away.
For those who enjoy watching wet paint dry. This might be something for you?
http://www.youtube.com/watch?v=UuC7XHuQ0fM
http://www.youtube.com/watch?v=4BMWW_C55Kc
Atleast it shows a saw time around 2 min!
I'm happy! The core/ski is in the press! Journaled tomorrow
