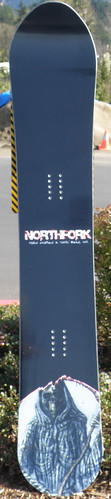
The reaper!

Document your personal work here. Show photos, movies, and share your secrets.

Moderators: Head Monkey, kelvin, bigKam, skidesmond, chrismp

Post Reply
doughboyshredder
Posts: 1354
Joined: Mon Sep 17, 2007 7:37 pm

The reaper!

Post by doughboyshredder »

172cm length
3cm of taper
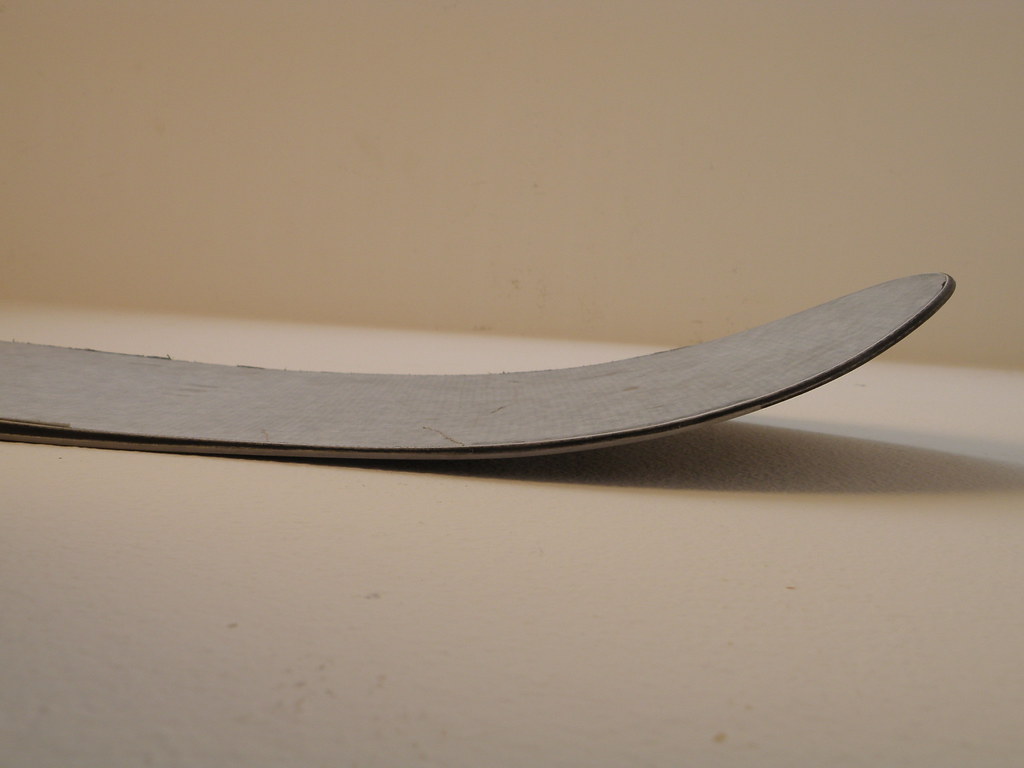
16.5cm of tip rocker 1.5cm high
6.5cm of tail rocker .5cm high
modified straight line sidecut comprising four different radii.
race base with gallium additive
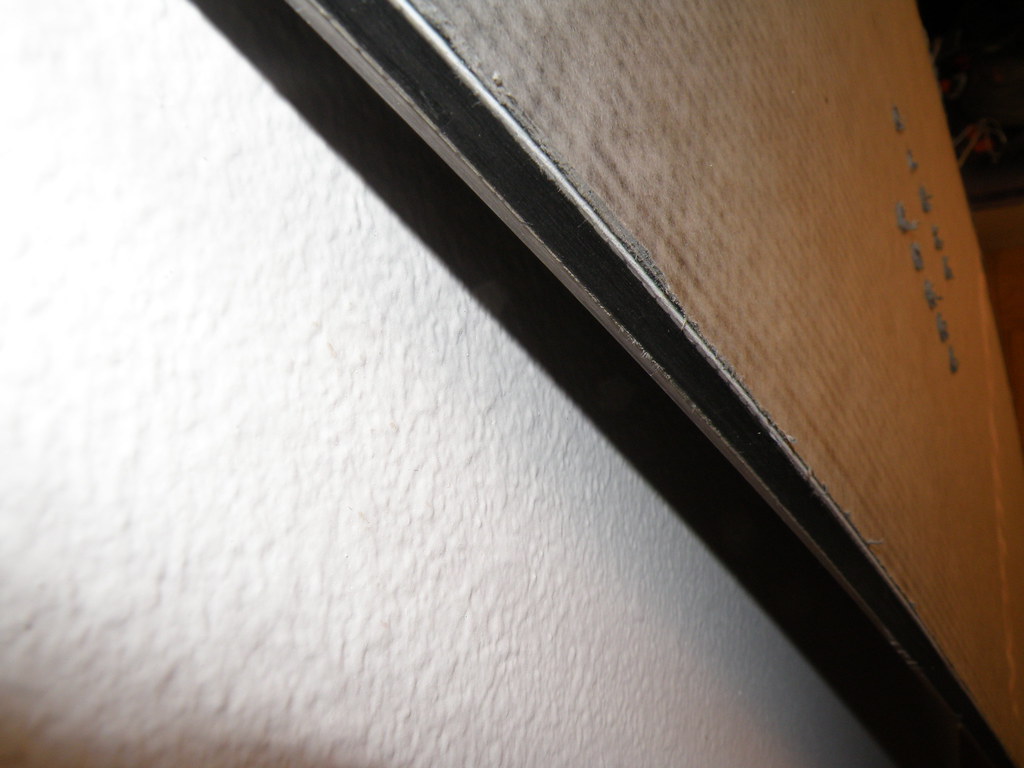
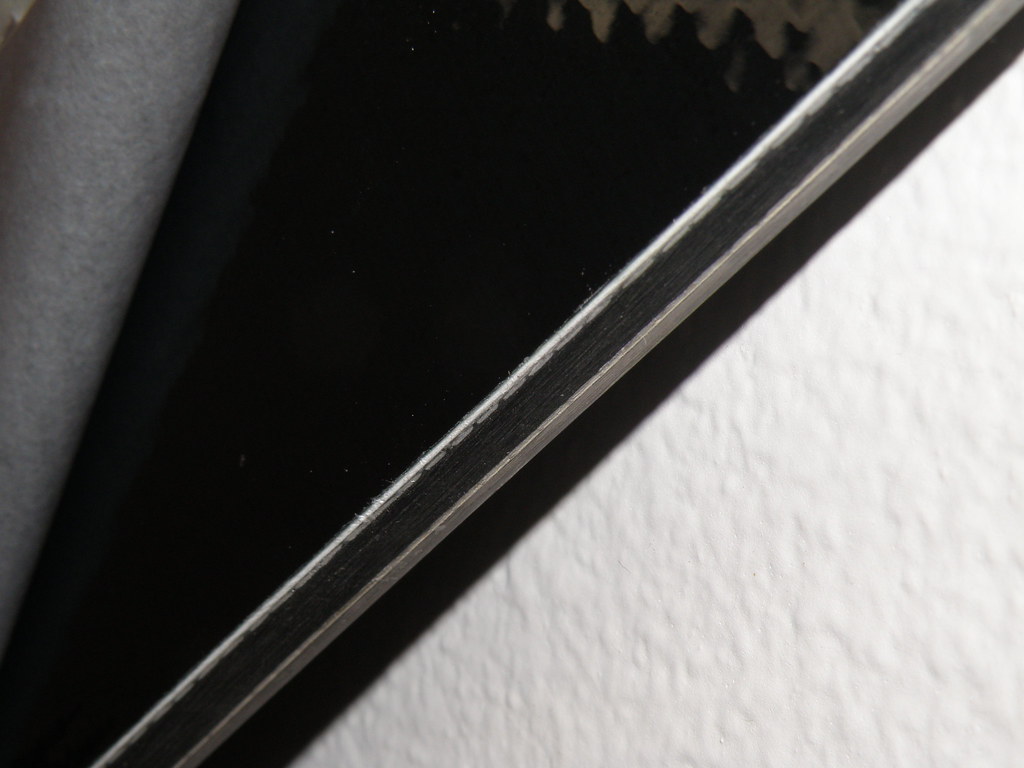
edges
rubber
18oz biax
core with carbon fiber insert retention plates and wet set inserts
1.8mm tip fill
rubber above and below uhmw sidewalls
18oz biax
sublimated pbt topsheet

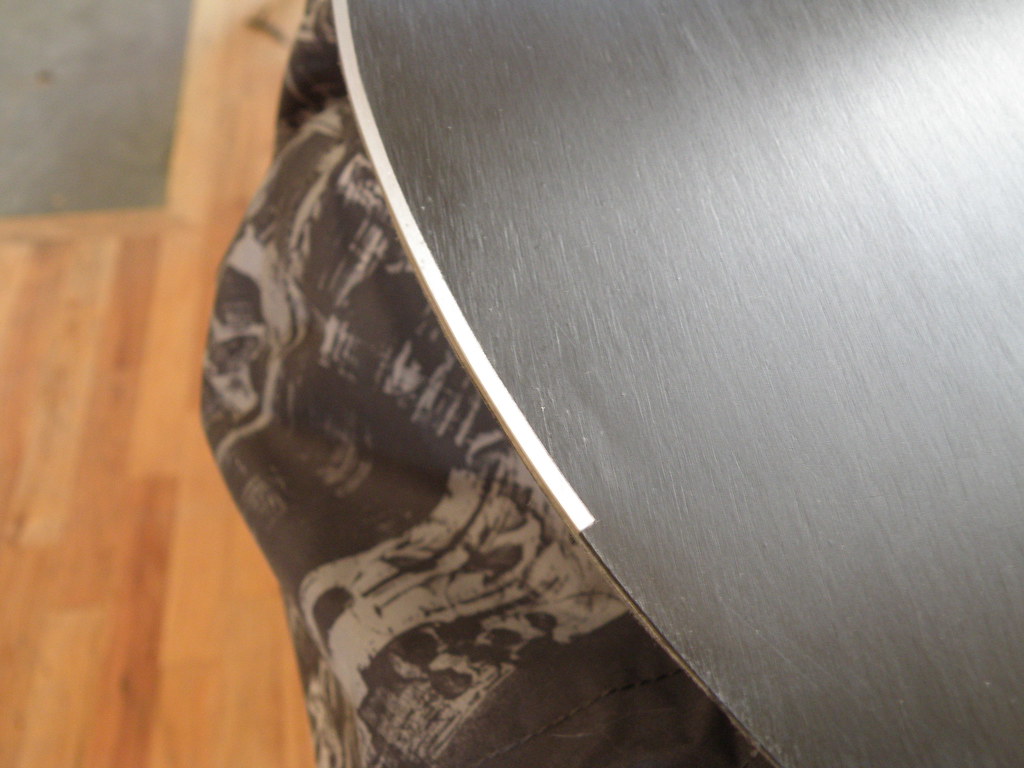
only minor blemish is a tiny dent on the base from one of my alignment dowels. barely visible

Image
Image
Image
Image
Image
Image
User avatar
originskis
Posts: 79
Joined: Tue Nov 24, 2009 6:31 pm
Location: Salt Lake City

Post by originskis »

sweet board! i ski but that is very appreciable! where do you get your graphics done?
doughboyshredder
Posts: 1354
Joined: Mon Sep 17, 2007 7:37 pm

Post by doughboyshredder »

http://fineartamerica.com/profiles/katie-alfonzi.html
Katie Alfonsi did the original reaper artwork.
I did the graphic layout using Serif Draw Plus 8 http://www.freeserifsoftware.com/software/drawplus/
And snowboard materials did the sublimation.
knightsofnii
Posts: 1148
Joined: Tue Jan 08, 2008 6:02 am
Location: NJ USA
Contact:

Post by knightsofnii »

ah man that thing looks amazing!!

If only I could have the conditions to ride such a board :(
Doug
doughboyshredder
Posts: 1354
Joined: Mon Sep 17, 2007 7:37 pm

Post by doughboyshredder »

thanks man!

Believe it or not this is actually the same shape I use as my daily driver. It kills the refrozen icy mank that has been the pnw snowpack this year. Carves like hell and is pretty chatter free.
Jekul
Posts: 240
Joined: Thu Nov 05, 2009 12:06 pm
Location: Arvada, CO
Contact:

Post by Jekul »

Wow, excellent job on the edge transition! What's the secret to getting the edge integrated so well into the base?
doughboyshredder
Posts: 1354
Joined: Mon Sep 17, 2007 7:37 pm

Post by doughboyshredder »

The template leaves the transition area round when it's routed out. I leave it that way until I am tacking on edges. At that point I center clamp the edge to the base and bend the edges. After I have the edges bent I locate a point past the rounded area to cut the edge right at a tine. I fit the edge and mark with a fine point sharpy where the base needs to be cut for the edge to fit. Repeat as necessary.
Jekul
Posts: 240
Joined: Thu Nov 05, 2009 12:06 pm
Location: Arvada, CO
Contact:

Post by Jekul »

You make it sound so easy. I'll have to give it a go on my next setup. Again, very nice board.
Post Reply