
156 all mountain freestyle twin
Moderators: Head Monkey, kelvin, bigKam, skidesmond, chrismp
-
doughboyshredder
- Posts: 1354
- Joined: Mon Sep 17, 2007 7:37 pm

-
doughboyshredder
- Posts: 1354
- Joined: Mon Sep 17, 2007 7:37 pm
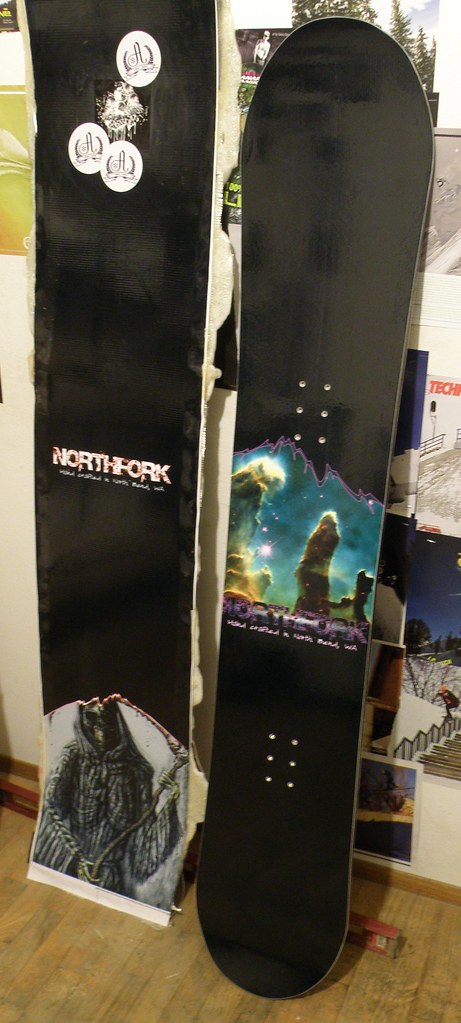
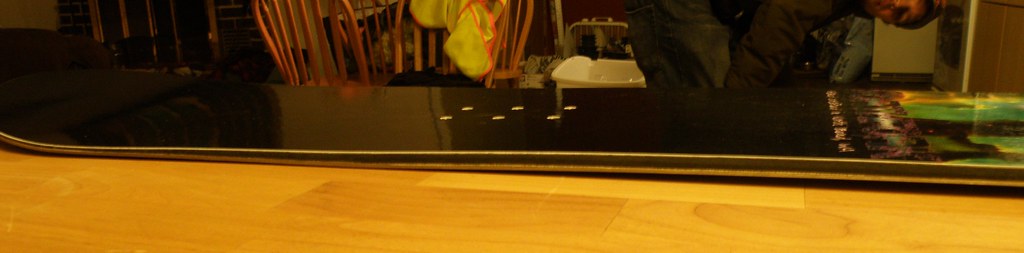
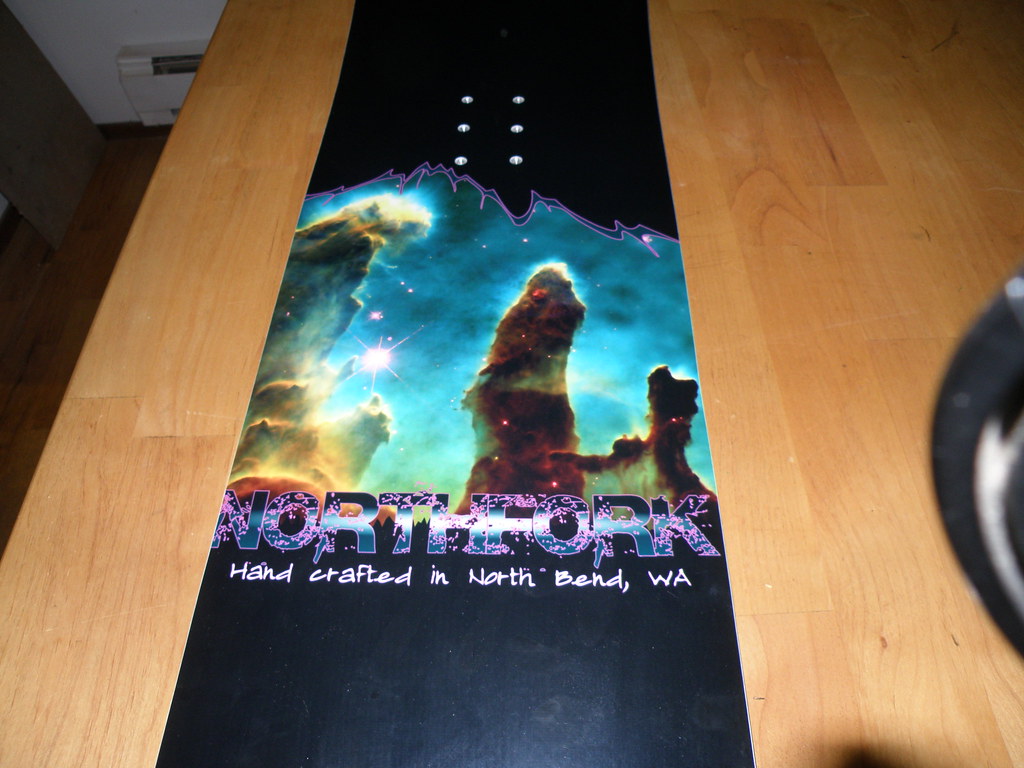
Board pretty much came out perfect.
My only complaint is that I needed to give myself some more leeway on the graphic centering. I hate that the N is partially cropped off.
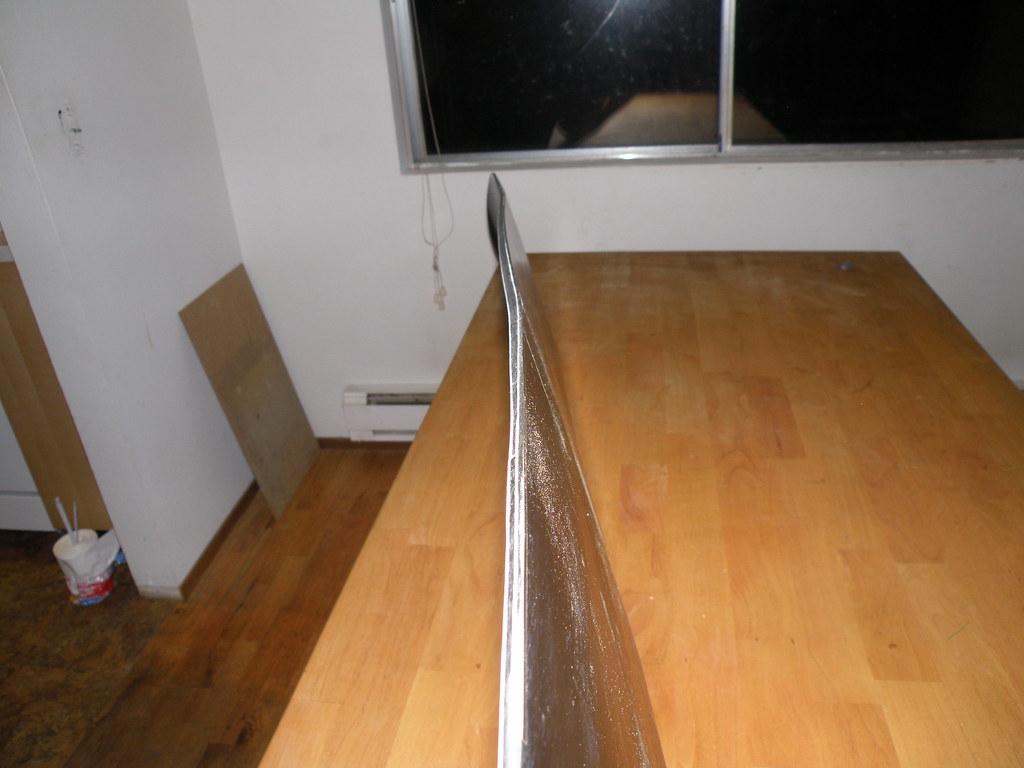
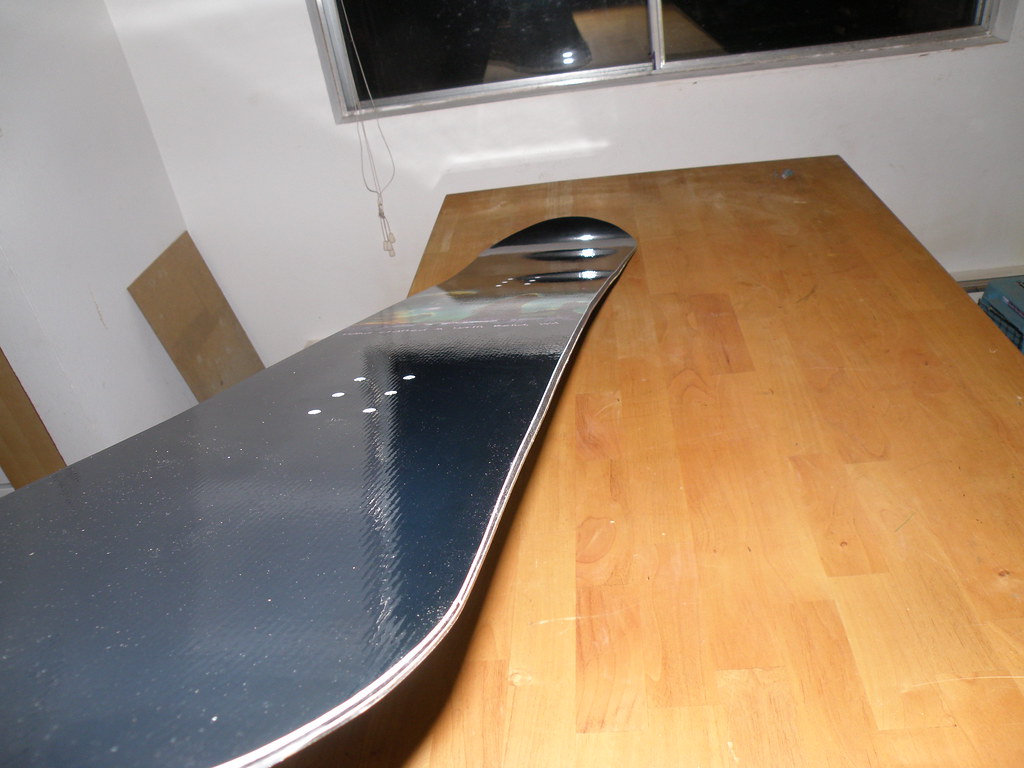
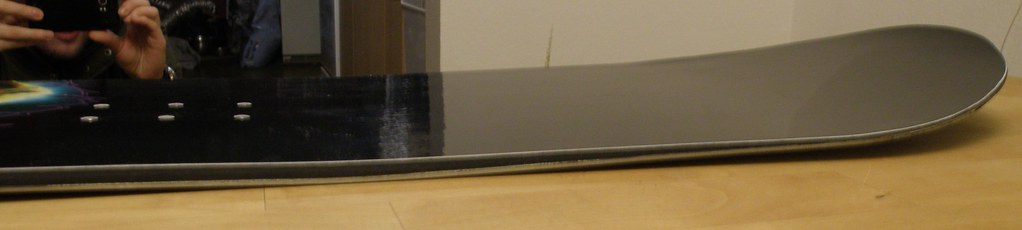
Rocker came out pretty much exactly how I wanted.
The tail represents how the rocker blocks came out. I had to shim the tip block to get the amount of rocker I actually wanted.
I am currently trying to brainstorm an adjustable tip tail mold. I am having issues getting perfect flatness out of my mdf molds. Close, but not perfect. I want to make a steel mold that is adjustable. just haven't quite figured out how yet, although I do have a few ideas floating around in my head.
My only complaint is that I needed to give myself some more leeway on the graphic centering. I hate that the N is partially cropped off.
Rocker came out pretty much exactly how I wanted.
The tail represents how the rocker blocks came out. I had to shim the tip block to get the amount of rocker I actually wanted.
I am currently trying to brainstorm an adjustable tip tail mold. I am having issues getting perfect flatness out of my mdf molds. Close, but not perfect. I want to make a steel mold that is adjustable. just haven't quite figured out how yet, although I do have a few ideas floating around in my head.

I have been looking at the adjustable presses the big guys use and it seems their camber area is adjusted using some kind of jacking system. I thought that at home you could get a thick enough piece of steel and weld a piece of circular tube across the bottom side of it every 15cm or so. Then organise some strong jacks underneath with rods that went insode the tubes welded on so the jacking force was spread across the width of the steel plate. Obviously the jacks would need to be able to deform the steel, but the steel would need to be strong enough to not be forced to bow between the jack points when tyhe pressure came on. Hopefully that makes sense. I thought this would be a good quick way to have an adjustable camber mold.
It might be possible to incorporate the idea into the tips (especially given snowboard tips seem to have a much larger radius than skis). It would be good if you had one continuous bent platen of steel to press against.
It might be possible to incorporate the idea into the tips (especially given snowboard tips seem to have a much larger radius than skis). It would be good if you had one continuous bent platen of steel to press against.
Don't wait up, I'm off to kill Summer....
-
doughboyshredder
- Posts: 1354
- Joined: Mon Sep 17, 2007 7:37 pm
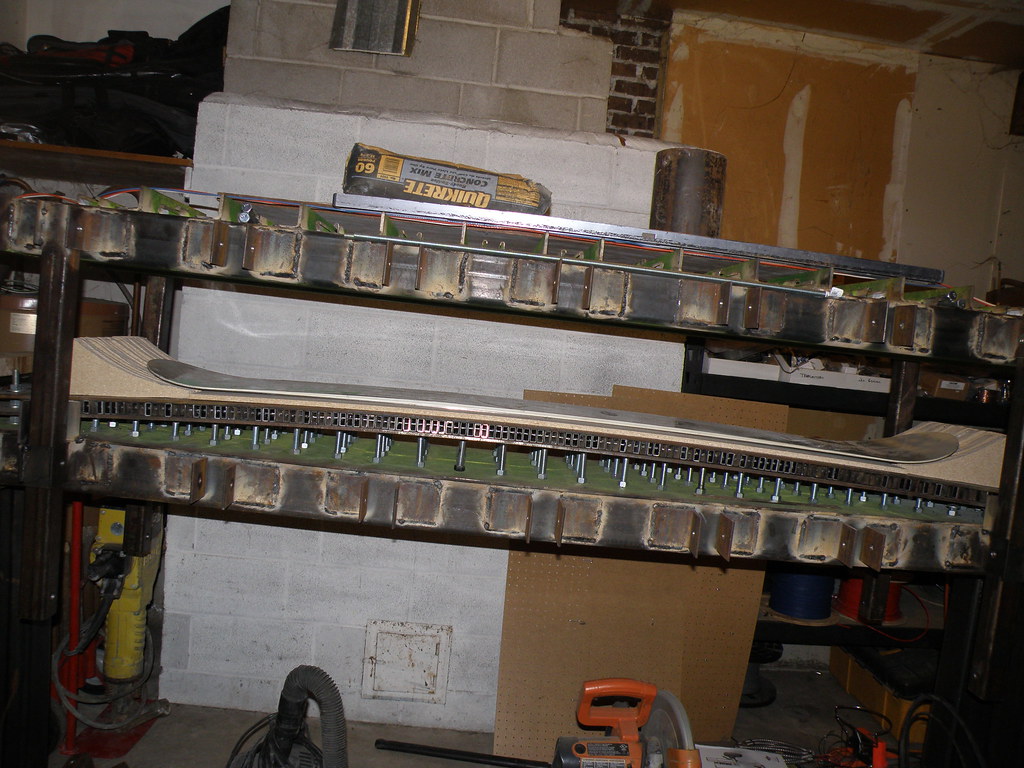
I've got the camber portion dialed.
It's the tip and tail section that I have an issue with. I am thinkin of doing a very similar design to my press, but with countersunk screws through an 1/8" steel plate threaded in to coupler nuts
 which would be threaded in to another screw mounted through a piece of angle iron. I would have to have a lot of them though, and it would be a lot of work, and I'm not sure if it could handle the pressure. Also I can't figure out how to compensate for the changing radius. If I adjust the center ones in then it will change the orientation of the outer ones as the radius changes. I think maybe a radiused slot with flat bars slid through the slot might work. I just thought of that, and I think it will work. Hmmmm. Maybe use countersunk coupler nutted screws to adjust the radius, and then similar to my press use carriage bolts attached through flat plates sitting in the radiused slot to provide pressure to counteract the presses force. Hmmm.
-
doughboyshredder
- Posts: 1354
- Joined: Mon Sep 17, 2007 7:37 pm
-
twizzstyle
- Posts: 2204
- Joined: Tue Mar 07, 2006 8:25 pm
- Location: Kenmore, Wa USA