LeBoeuf's generic build thread

Document your personal work here. Show photos, movies, and share your secrets.

Moderators: Head Monkey, kelvin, bigKam, skidesmond, chrismp

leboeuf
Posts: 76
Joined: Tue Jun 08, 2010 2:32 pm
Location: New Mexico, US

LeBoeuf's generic build thread

Post by leboeuf »

Hello all, I'm finally making some progress towards my ski building dream.
Hopefully I can represent NM well enough 8)

First some shop pics (just cause we all love pics):
Table saw project that I just *finished* (got operational)
Image

60's C-man jointer:
Image

New school questionable quality thickness planer:
Image

Recent acquisition:
Image

(someday) to be restored drill press:
Image

Some press progress shots to follow :D
skidesmond
Posts: 2337
Joined: Tue Apr 07, 2009 3:26 pm
Location: Western Mass, USA
Contact:

Post by skidesmond »

Nice start!
leboeuf
Posts: 76
Joined: Tue Jun 08, 2010 2:32 pm
Location: New Mexico, US

Post by leboeuf »

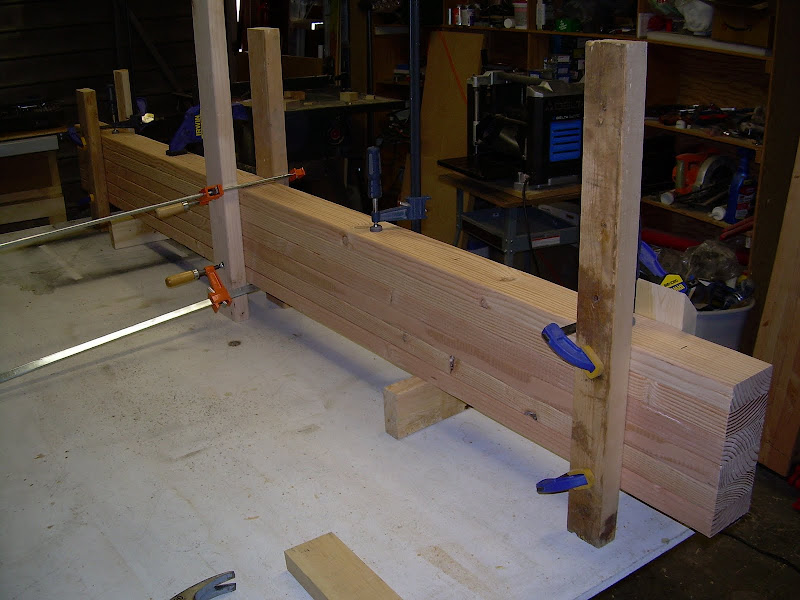
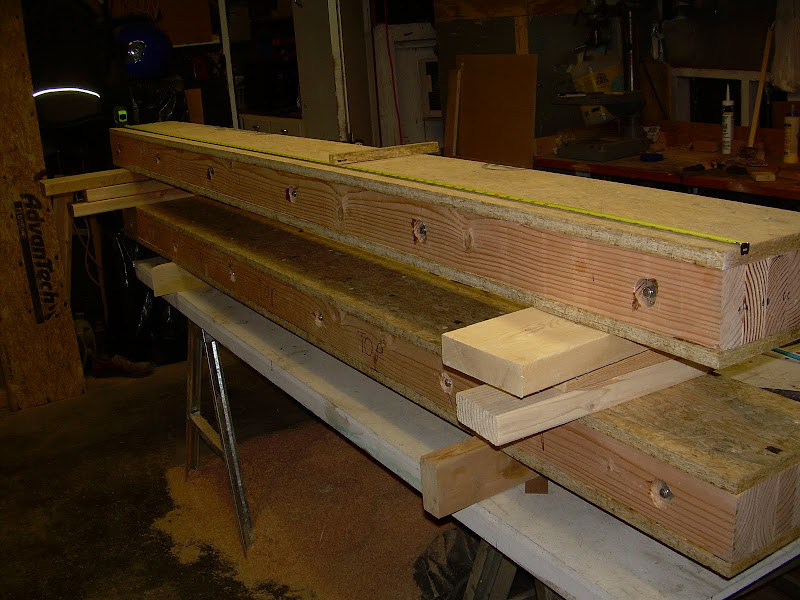
I decided to laminate some DF 2x4's for my press beams. In retrospect I probably didn't save much over using metal. I kind of just wanted to see if I could make some enormous beams...

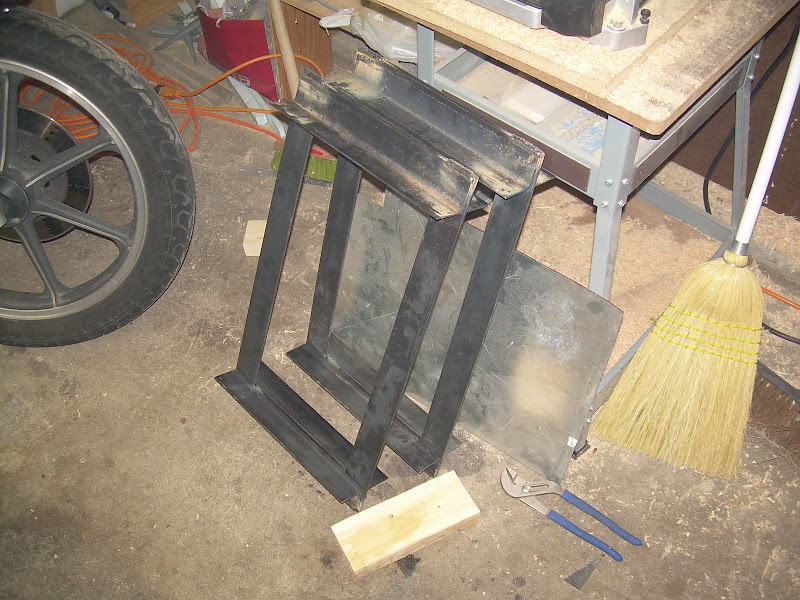
The press will be contained by 6 metal ribs. These are fixed and will be used in the same manner as people have been using the cordura bags.

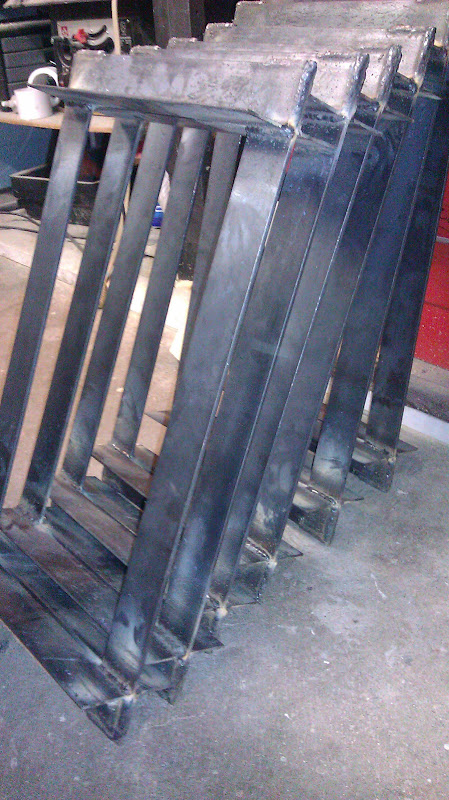
I've got the ribs about 50% welded up. As you can see in the pics there are a lot of seams that still need to be welded up.

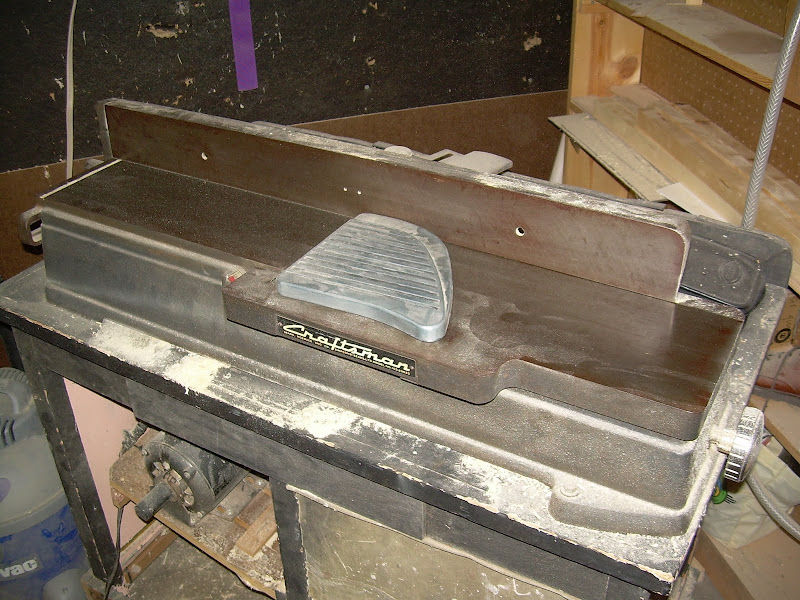
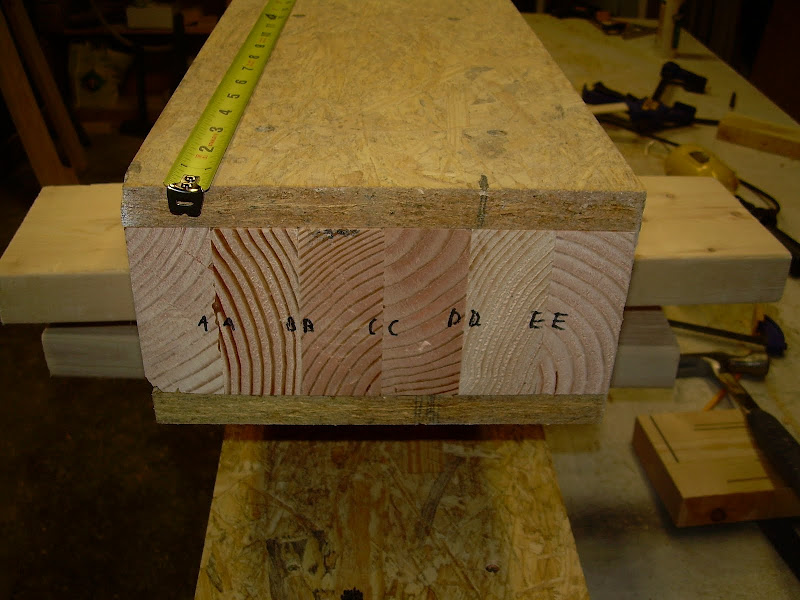
Each 2x4 was planed to get a good glue surface
Image

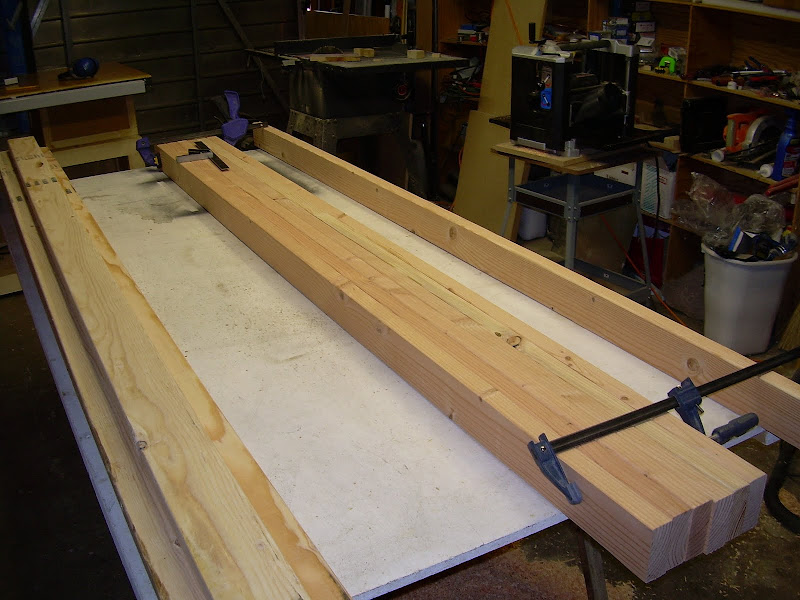
Lining up the 2x4's to drill
Image

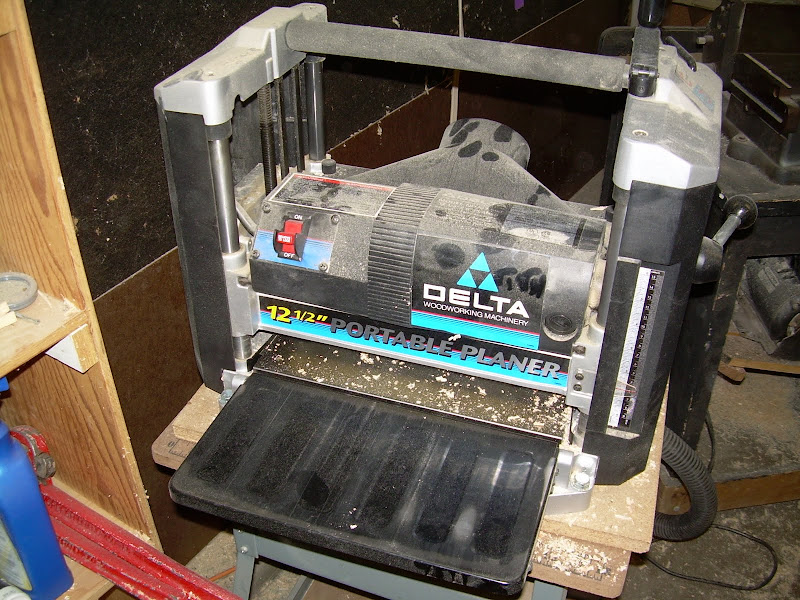
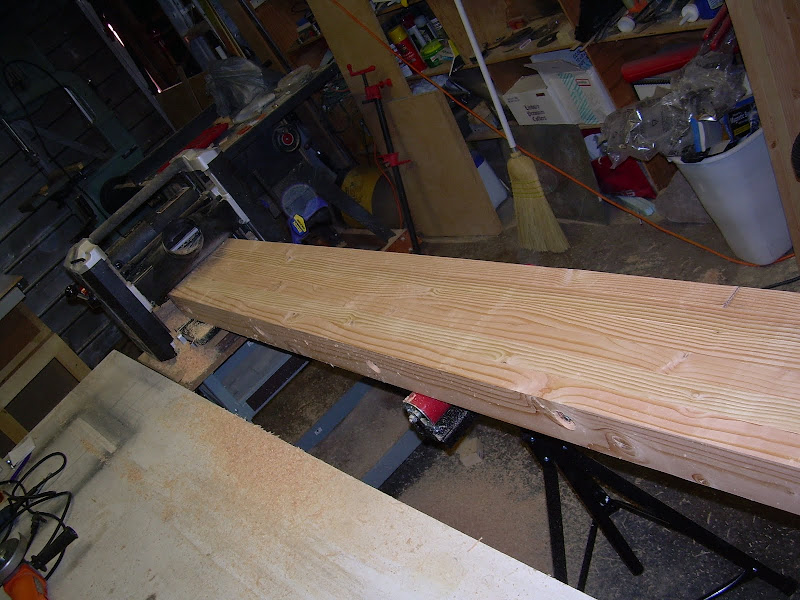
Running the beam through the planer
Image

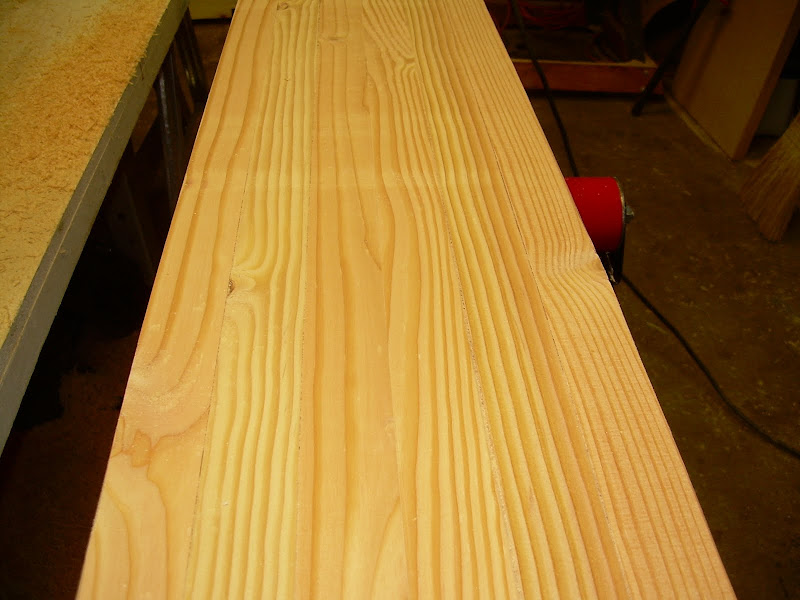
Some sniping, but good enough
Image

Skinned the beam with some of that highly compressed water resistant osb
Image

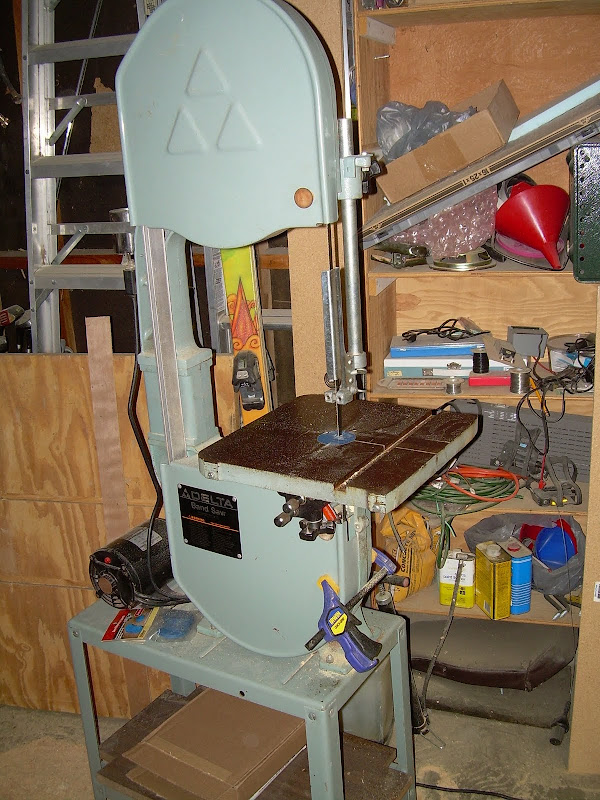
Completed beams (sweet dust collection system in view :D )
Image

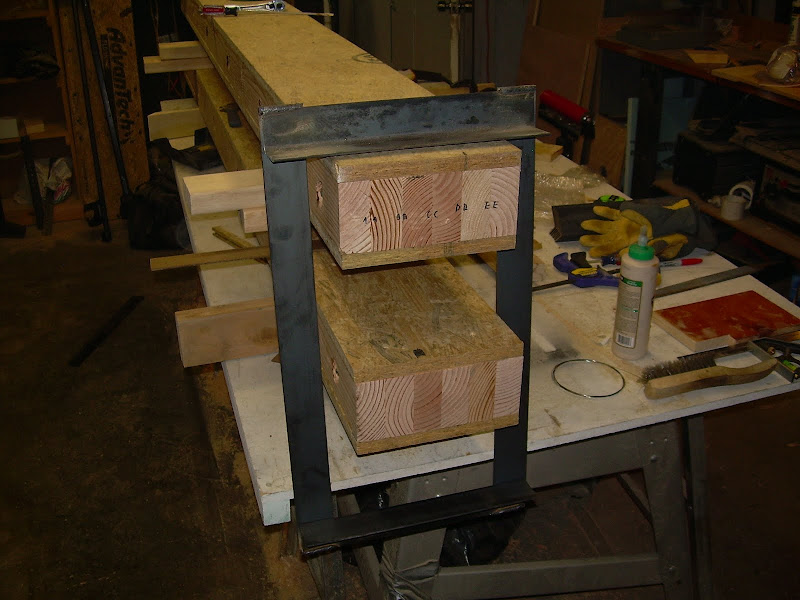
2 of the ribs; they're composed of 4 2"x2"x1/8" angle and 2 2"x3/16" flat bars. Note that the welding is not complete on these.
Image

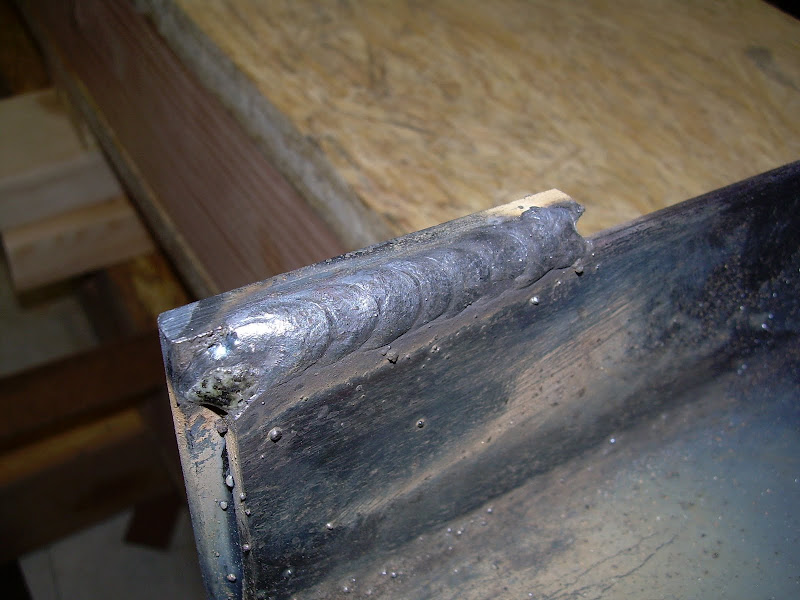
Quintessential weld shot. My bother-in-law is a pro weldor/machinist and he spent some time last week showing me how to get the most out of my dinky flux core welder :) Still not perfect by any means but they are passing my destructive tests now...
Image

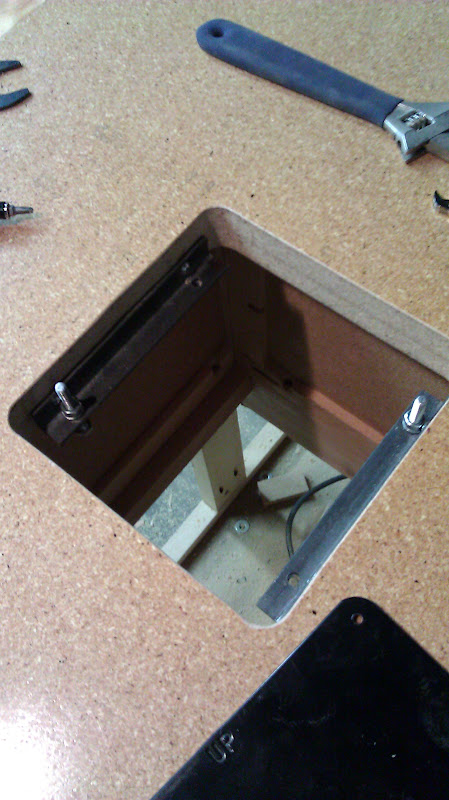
General look of how things will go together

Image
User avatar
EricW
Posts: 225
Joined: Mon Oct 04, 2010 2:50 pm
Location: Eau Claire, Wisconsin

Post by EricW »

I'd be curious to know how much the wood deflects when everything is inflated. The sandwich construction looks pretty strong.
skidesmond
Posts: 2337
Joined: Tue Apr 07, 2009 3:26 pm
Location: Western Mass, USA
Contact:

Post by skidesmond »

Yeah me too. My gut feel is the amount of metal you have will work to keep the deflection to a minimum. Are you going to end load the ski layup or make the metal ribs movable and load from the front?
leboeuf
Posts: 76
Joined: Tue Jun 08, 2010 2:32 pm
Location: New Mexico, US

Post by leboeuf »

The plan is to space the metal ribs ~14" apart.

So the longest span will be 14"
The beams came out burly... ~100lbs a piece!

I pretty much copied the structure from Falls's press....

Not that I've made any skis yet, but the plan is to use the press exactly like shopvac/plywood have. Just that instead of using cloth bags I'm using steel braces.

Skidesmond, my jointer profiling experiments will have to wait until tomorrow.... had to work late tonight :evil:
leboeuf
Posts: 76
Joined: Tue Jun 08, 2010 2:32 pm
Location: New Mexico, US

Post by leboeuf »

Not much of an update, but the metal supports are finally finished.
I now technically have a press :)

I went for overkill so there's 12" of bead per corner.
Image
COsurfer
Posts: 357
Joined: Sun Jul 11, 2010 1:42 pm
Location: Evergreen, CO

Post by COsurfer »

Looks great! one piece of advice, cover the particle board or paint it. When epoxy drips on the particle board it bonds tightly and rips the plywood chunks apart as you pull it off.
leboeuf
Posts: 76
Joined: Tue Jun 08, 2010 2:32 pm
Location: New Mexico, US

Post by leboeuf »

Thanks for the tip; I definitely haven't worked out how to keep the press/ski/mold from becoming one mass...

I was thinking of covering everything in some kind of masking item and then bag the layup (no heat yet) for a belt and suspenders kind of thing.
User avatar
vinman
Posts: 1388
Joined: Fri Nov 09, 2007 4:16 pm
Location: The tin foil isle
Contact:

Post by vinman »

wouldn't a coat of hot wax seal everything out? Or would the wax cause some kind of degradation of the OSB?
Fighting gravity on a daily basis
www.Whiteroomcustomskis.com
User avatar
EricW
Posts: 225
Joined: Mon Oct 04, 2010 2:50 pm
Location: Eau Claire, Wisconsin

Post by EricW »

They guy I was going to get I beams from flaked out. I like your press design so I think I'll try it.

I have an old Crapsman table saw as well. Where did you get the fence and measuring guide? Is your extension MDF?
leboeuf
Posts: 76
Joined: Tue Jun 08, 2010 2:32 pm
Location: New Mexico, US

Post by leboeuf »

The fence is the delta t2, got it from tools plus (online store)
The extension is made of particle board, edged in doug fir, and coated many times in poly
It is temporary though, as I plan on making a metal extension eventually.

I may have a line on some super cheap formica, so I may just cover the bottom beam with that.
leboeuf
Posts: 76
Joined: Tue Jun 08, 2010 2:32 pm
Location: New Mexico, US

Post by leboeuf »

Finally finished my router table. Hopefully my next post will actually involve making skis ;)

Router plate mount
Image

Completed!
Image

Image

Underside view of my scrap material leveling mounts
Image
twizzstyle
Posts: 2204
Joined: Tue Mar 07, 2006 8:25 pm
Location: Kenmore, Wa USA

Post by twizzstyle »

Nice job on the router table, that looks fantastic! Perfect fit.
skidesmond
Posts: 2337
Joined: Tue Apr 07, 2009 3:26 pm
Location: Western Mass, USA
Contact:

Post by skidesmond »

Yeah great job!
Post Reply