Hi everyone!
I built my first snowboard in 1989. The first snowboard were made of 3 layers of plywood coated with epoxy paint and was actually a pretty good ride. The steel edges were the old type that were attached with screws. Today its not that easy...
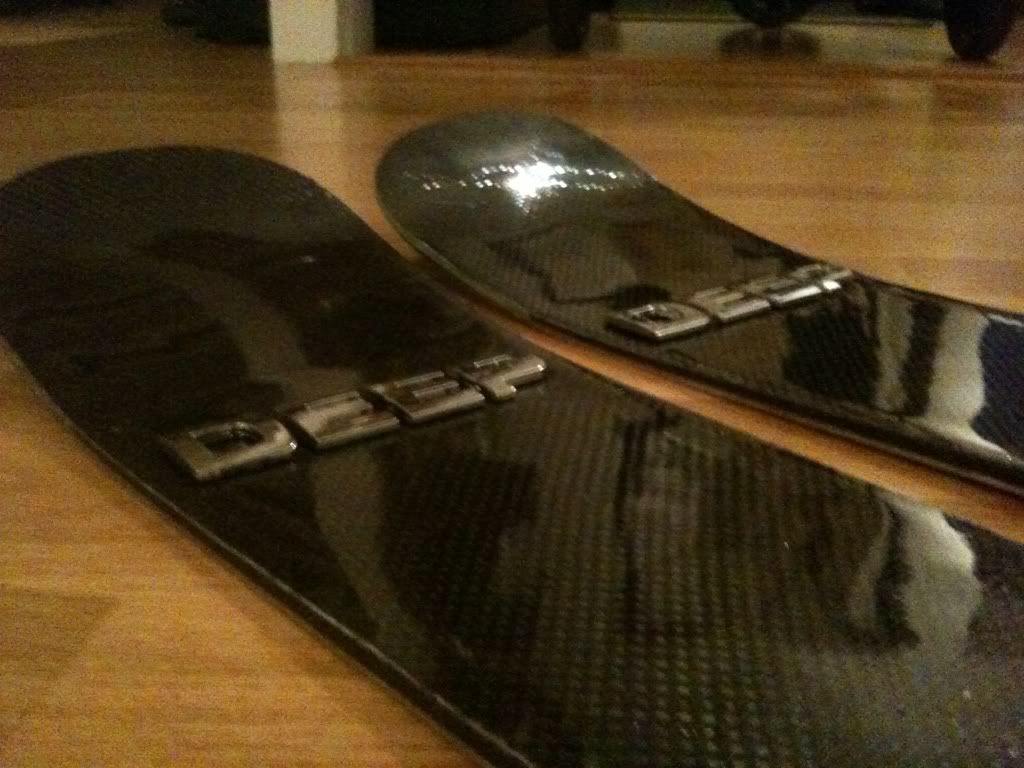
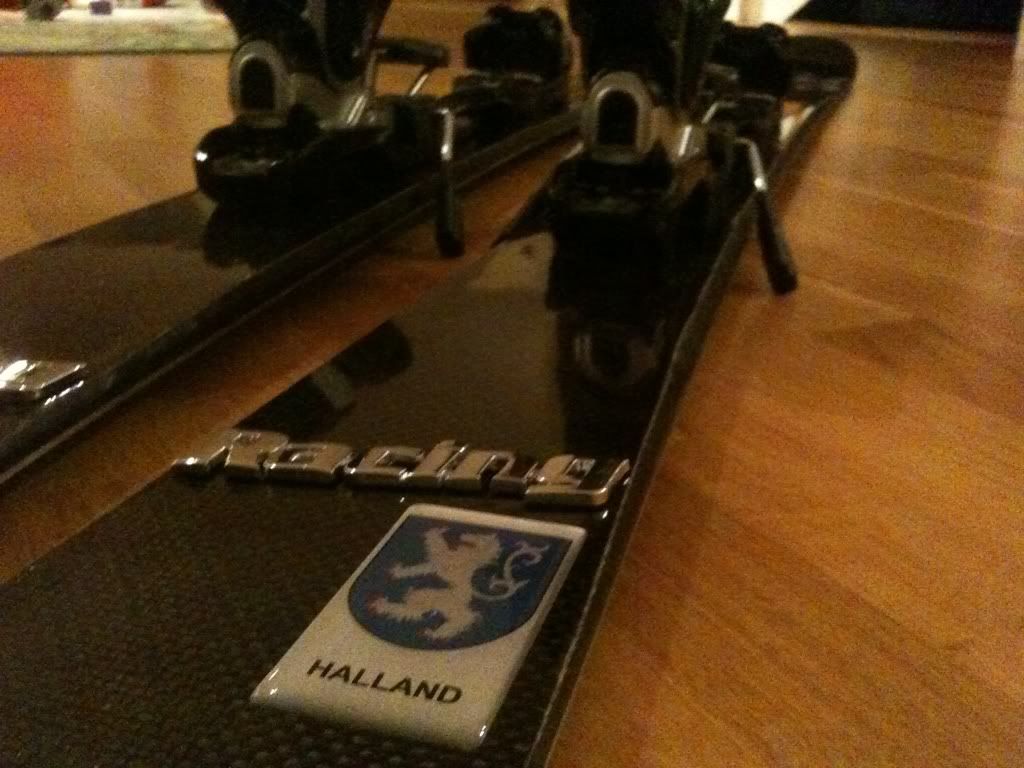
Pictures from my latest build
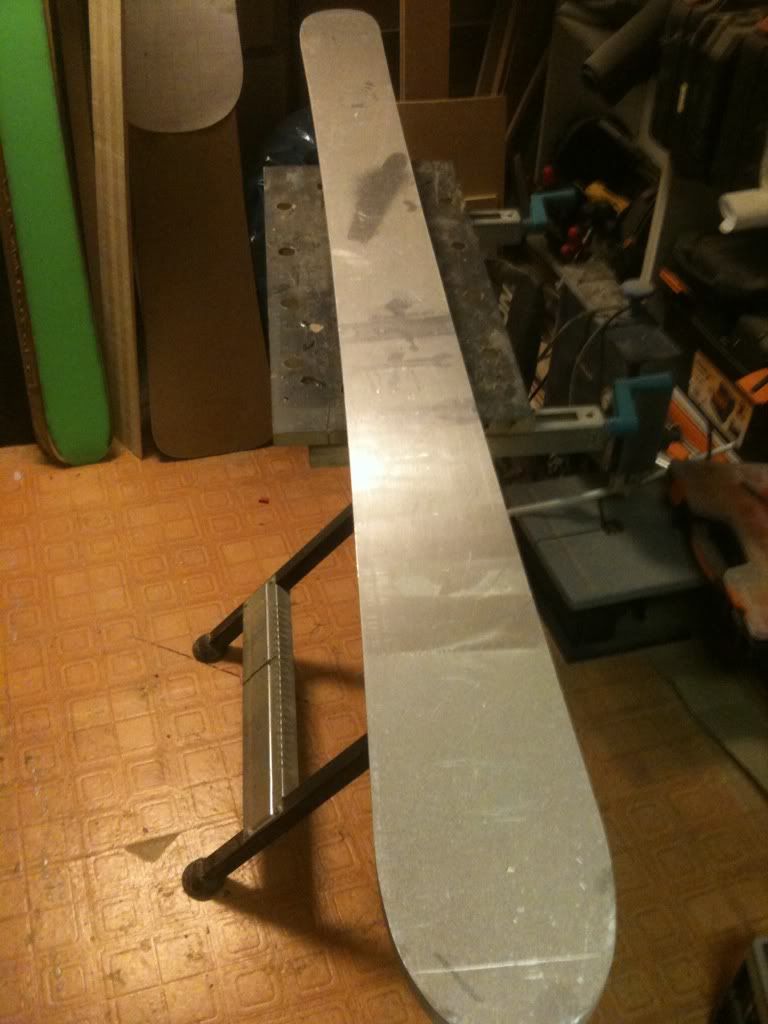
My new template
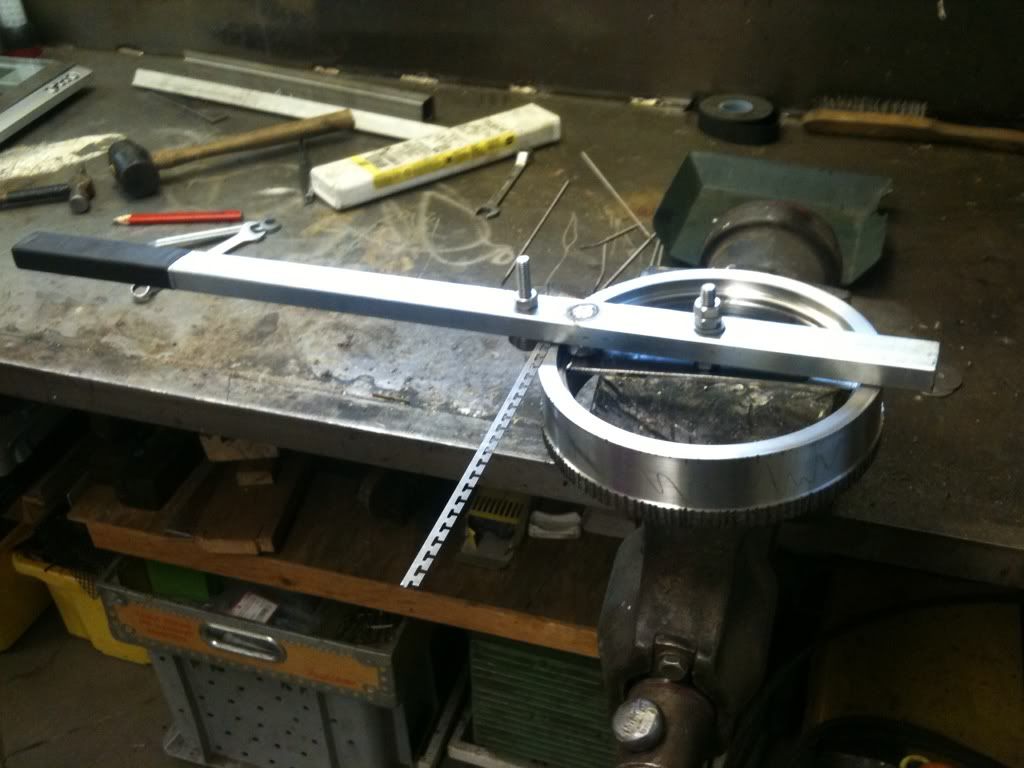
My edge bender
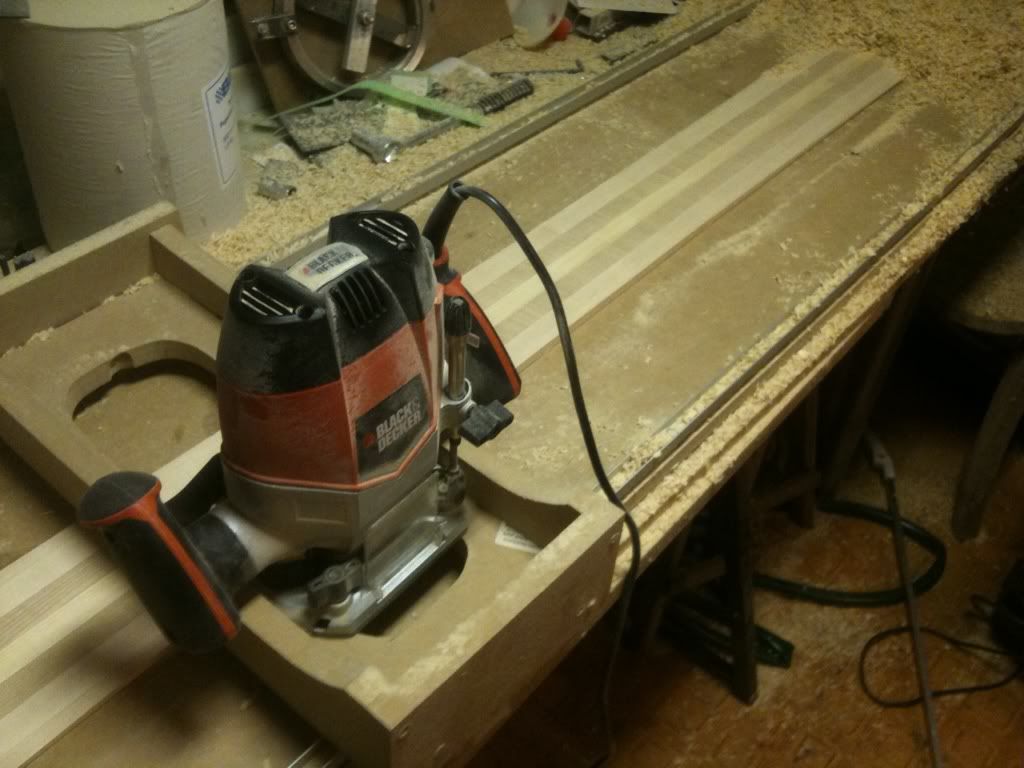
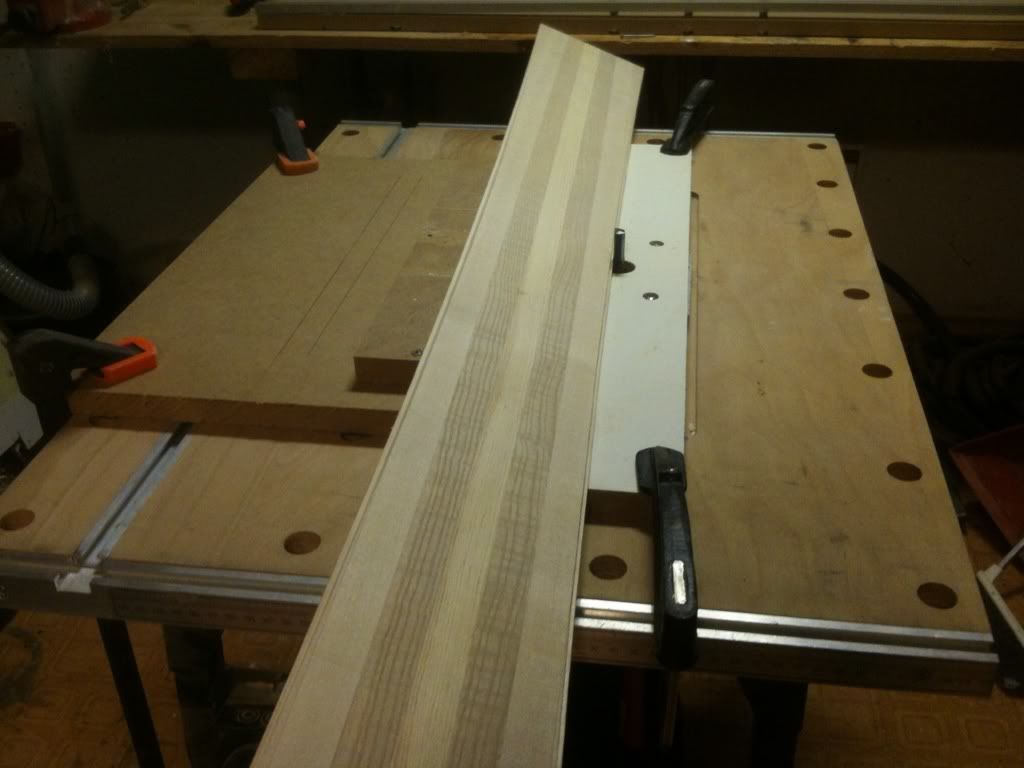
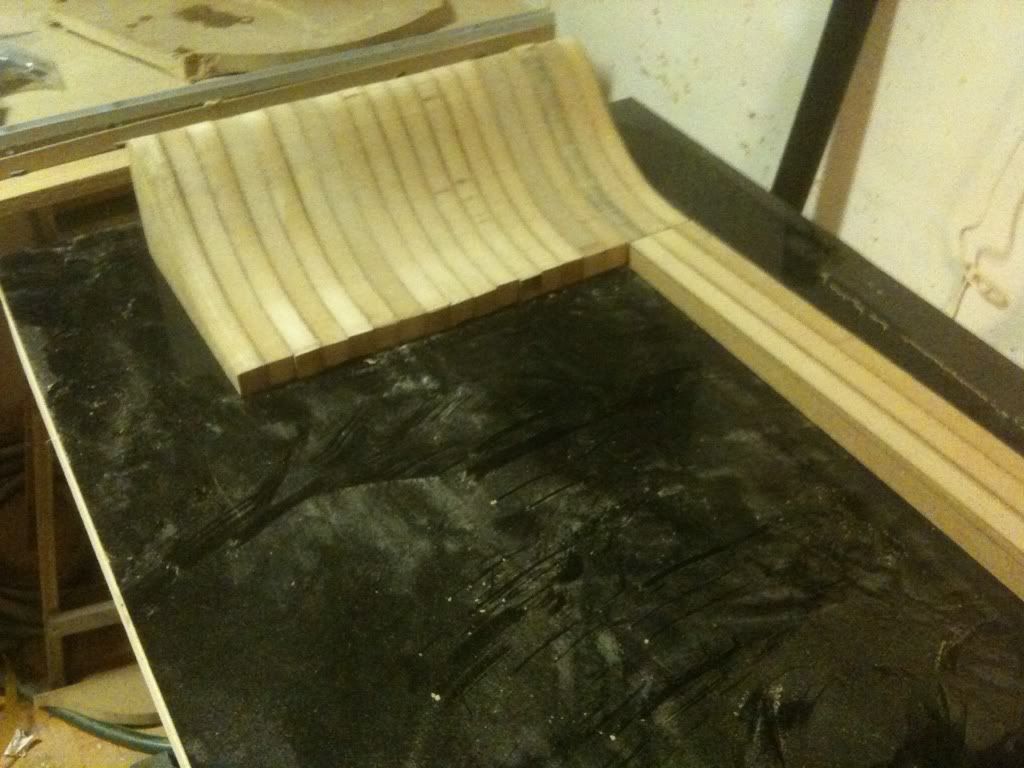
Core profiling
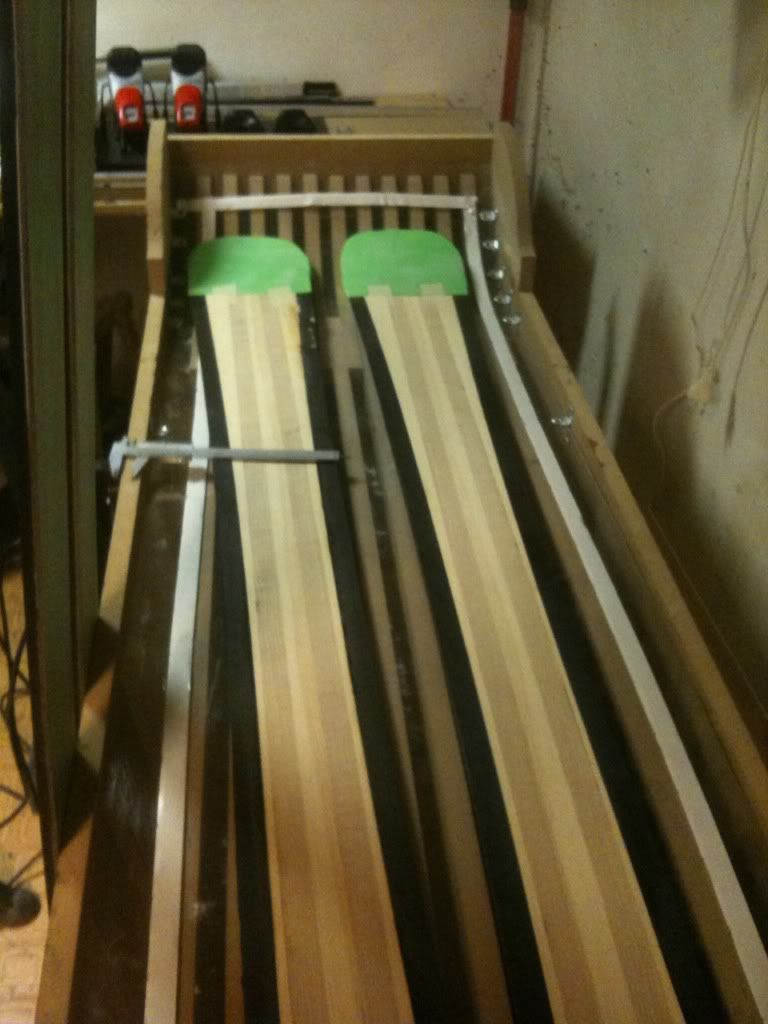
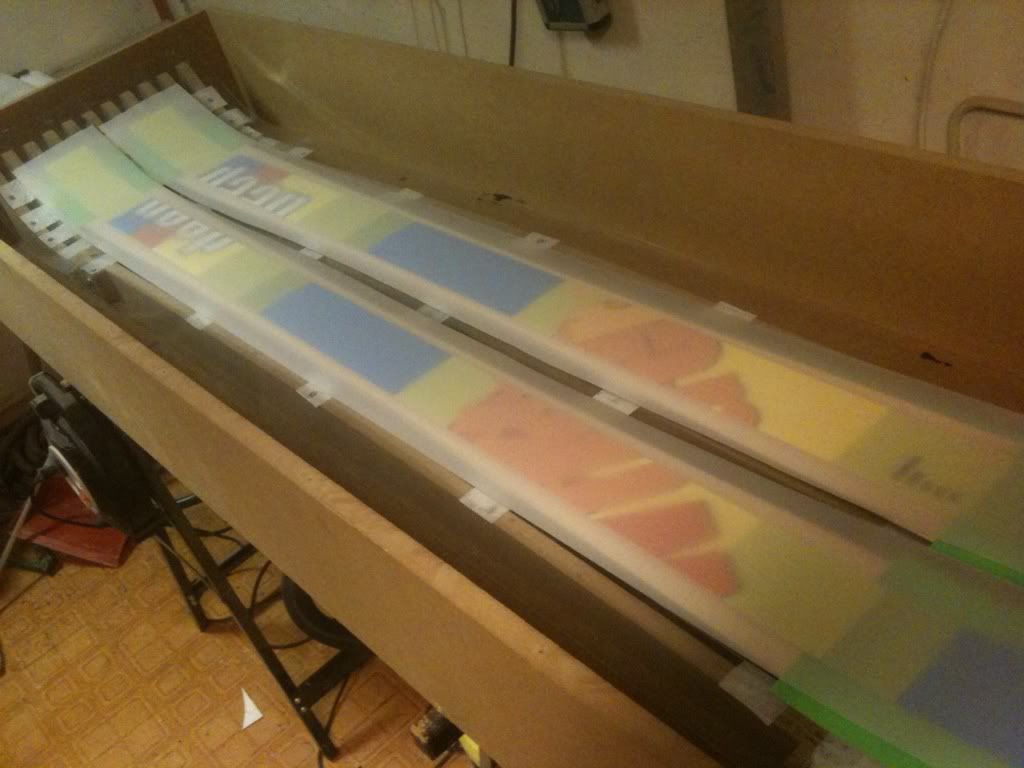
Test layup
The result
Next pair coming up...
143-112-133 camber 10 mm
2-12-2 Finger joint Ash core
2x600 g triax
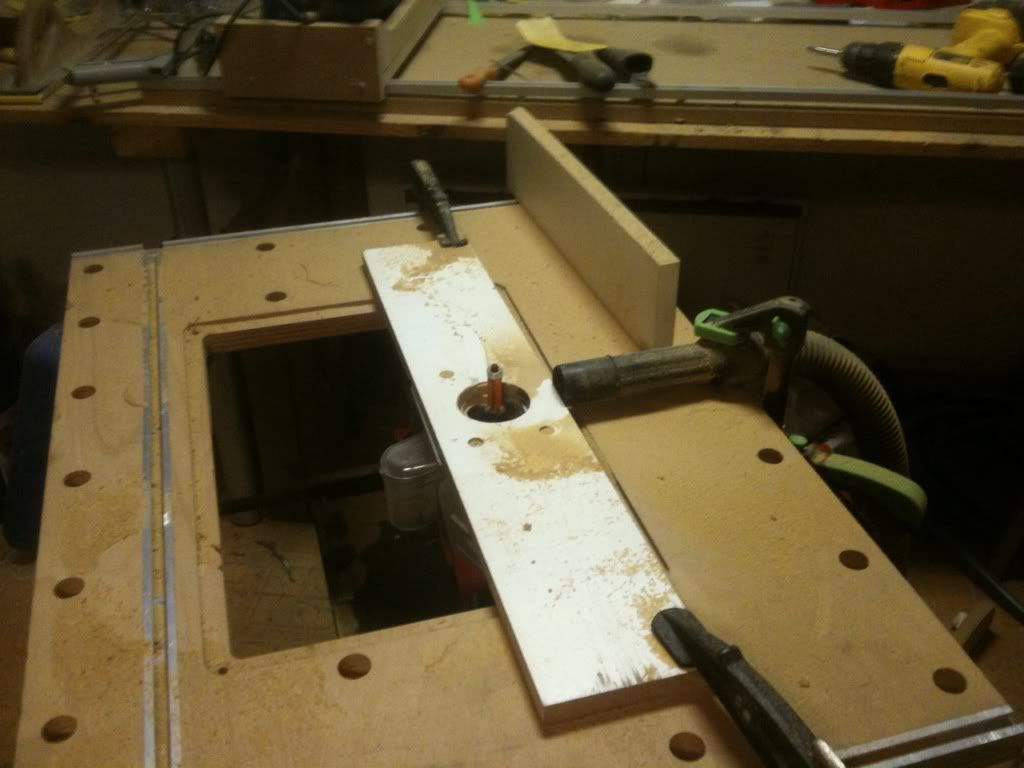
I was referring to the black sidewalls you have attached to your wood core, and how you cut them to match your core. In your router bridge picture there is only the wood core, no sidewalls. I'm always curious how people profile they're plastic sidewalls cause I've never had good luck with it.
twizzstyle wrote:I was referring to the black sidewalls you have attached to your wood core, and how you cut them to match your core. In your router bridge picture there is only the wood core, no sidewalls. I'm always curious how people profile they're plastic sidewalls cause I've never had good luck with it.
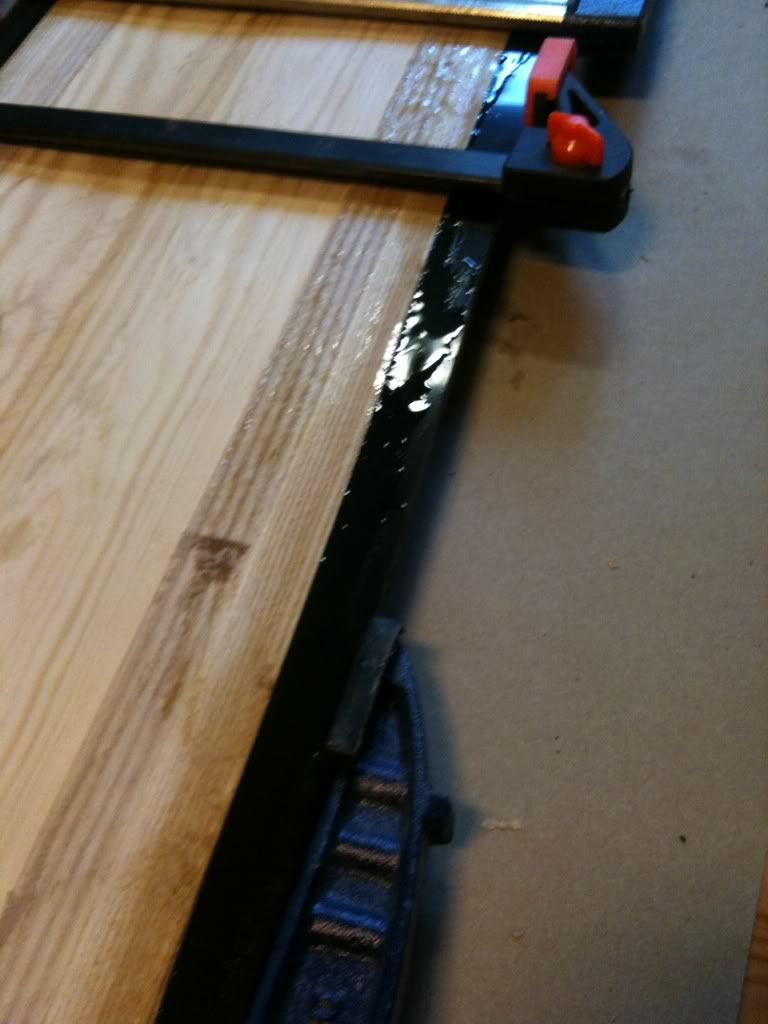
This picture was just to show you the router table. I will show some more pics later. I cut them about 2 cm wide and the same height as the wood core. Then I attach them to the core using loctite super glue after some sanding and flame treating. After that I use a router to make the profile. The cores on the last pics I used for a cap construction.
On this pic I use epoxy so attach the sidewalls
When the ski is pressed I just cut it out and then I use the router table to get the nice angle on the sidewalls.
I am still having trouble with keeping my plastic sidewalls to stay on when on am profiling my cores. (using the planer method) What grit sand paper are you using to sand the wood core sides before you glue on the plastic? Just looking for any tips to make it work.
Also, are you routing down the wood core and then gluing on the sidewalls? If so this seems hard for to make the clamps hold at the 2mm thickness.
neatturns wrote:I am still having trouble with keeping my plastic sidewalls to stay on when on am profiling my cores. (using the planer method) What grit sand paper are you using to sand the wood core sides before you glue on the plastic? Just looking for any tips to make it work.
Also, are you routing down the wood core and then gluing on the sidewalls? If so this seems hard for to make the clamps hold at the 2mm thickness.
Thanks
Hi Neatturns!
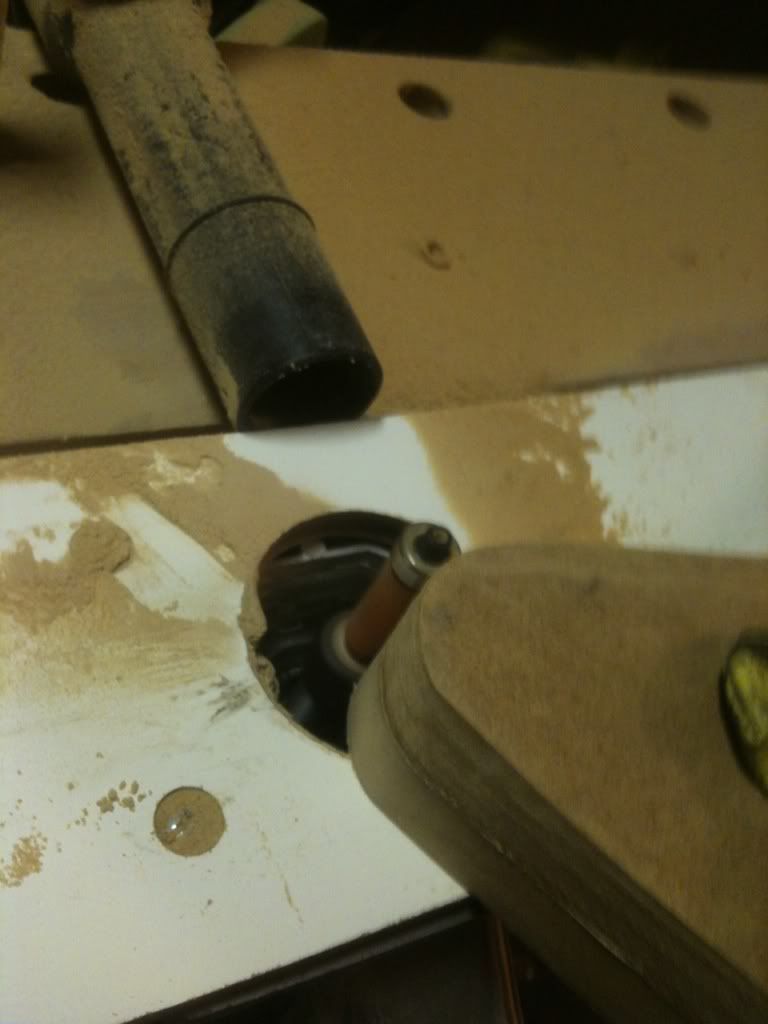
The sidewall material has to be sanded and flame treated before you glue it to the sidewalls. Use grit 80. I know some guys also glue one string of wood outside the sidewall to keep it together when they use the planer method. I use a router bridge and as long as its nice and clean when attaching the double sided tape it works just fine. If the core moves its ruined.
First sidewalls, then profiling.
I have also noticed that some skis have really thin sidewalls. like 5-6mm or so. Its like a semi cap construction. Maby I will try that nex time...
Hey Deep... looks pretty sick! We're just getting started in this madness (ok, it's been a year!) and actually just pressed our first real board on Saturday. We had some serious issues with core profiling. We built a planer crib and ran it through there a million times. We were within 1 mm and almost finished when the planer gobbled up some core and ripped off the sidewall. UHHHHHHH! Just wondering how your profiling works with the router bridge. I think that might be the direction we'll take, but thought I'd ask how you like it and success/failures with it first. Anyway, your stuff looks great. Keep it up and thanks for the pics/ideas.
boardergirl wrote:Hey Deep... looks pretty sick! We're just getting started in this madness (ok, it's been a year!) and actually just pressed our first real board on Saturday. We had some serious issues with core profiling. We built a planer crib and ran it through there a million times. We were within 1 mm and almost finished when the planer gobbled up some core and ripped off the sidewall. UHHHHHHH! Just wondering how your profiling works with the router bridge. I think that might be the direction we'll take, but thought I'd ask how you like it and success/failures with it first. Anyway, your stuff looks great. Keep it up and thanks for the pics/ideas.
Hi Boardergirl!
I am thinking about buying a planer but it will probably only be used to prepair the core for profiling with the router method. The router table is easy to build and easy to use. As long as you are not building for a living its ok.
Make sure the core is absolutly flat. Use really good double sided tape to attach it to the router table. Make sure it sits like a rock. You just need tape were you will run the router. Use a large router bit and work you way clockwise until it looks good.