Page 1 of 1
new skis
Posted: Tue Jan 03, 2012 9:37 pm
by rockaukum
So, I got caught up with making other's boards and skis and It was time to press a new one for me.
Layup went good. Still not very fast at it. Seems the most time is taken with getting the epoxy into the teeth of the edges. any suggestions to make it quicker? I try to avoid using too much epoxy as I am afraid that it will get under the base. Currently not an issue, but time consuming.
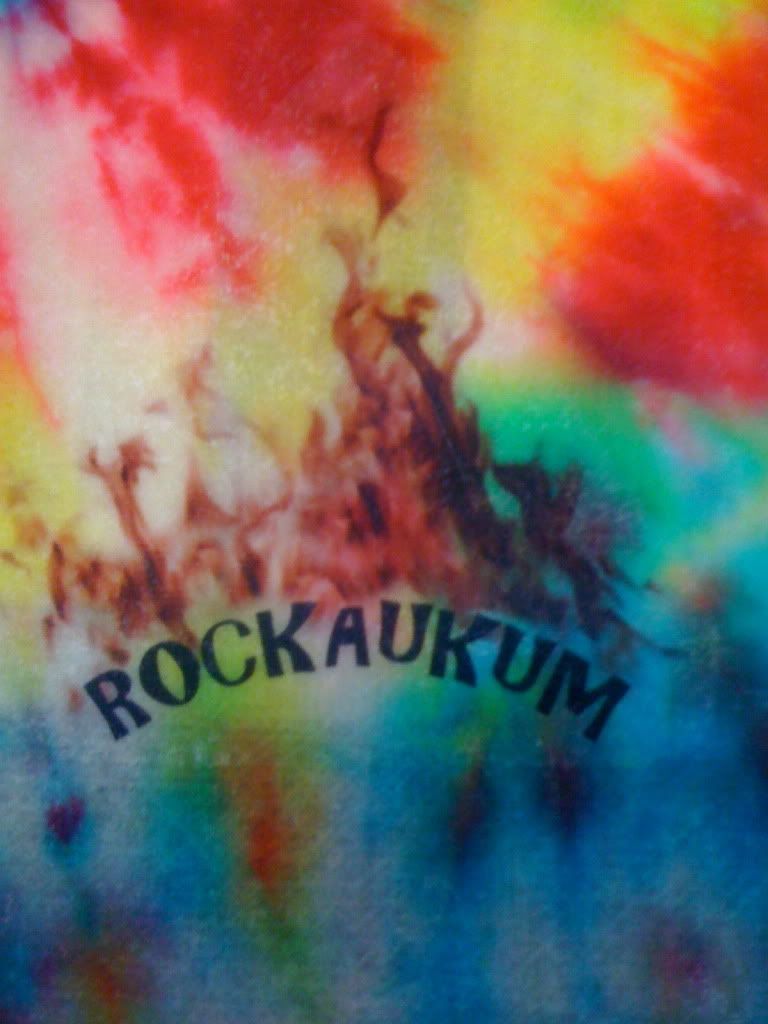
Standard construction: base, vds, glass, core, glass, and hand crafted cotton top sheet. I use inserts set up for tele.
These skis have camber underfoot with a very slight early rise at the tip and a small amount of tail. the press has a flat mold and no heat. All camber and early rise done with shims. Press is a welded flange ibeam.
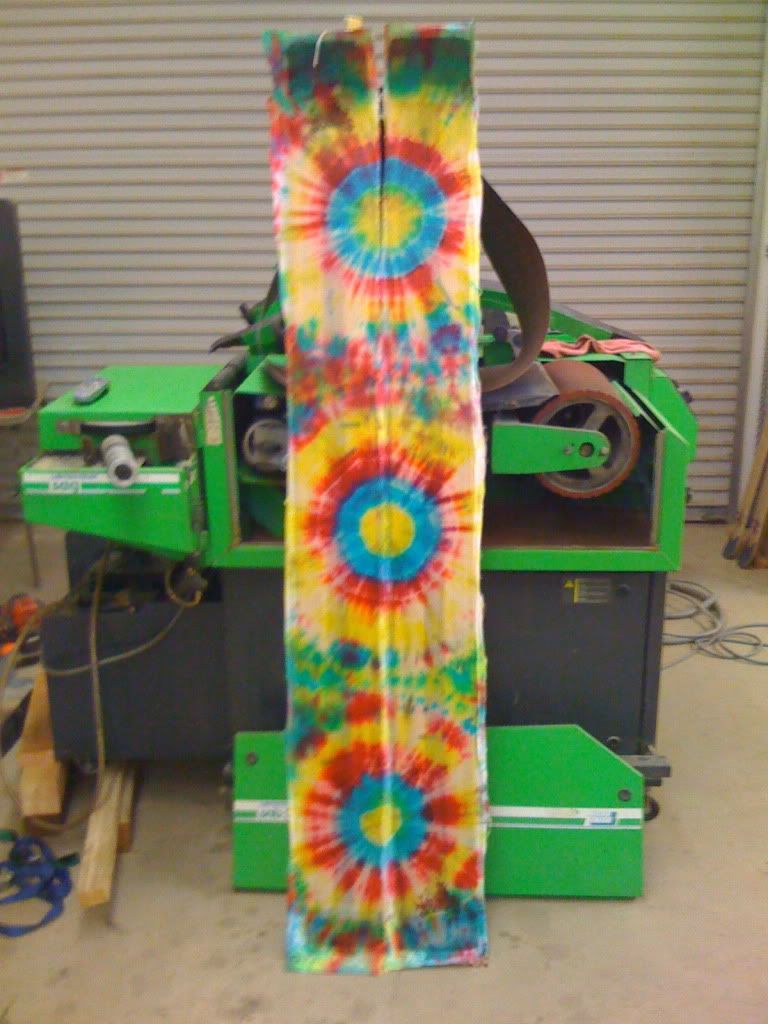
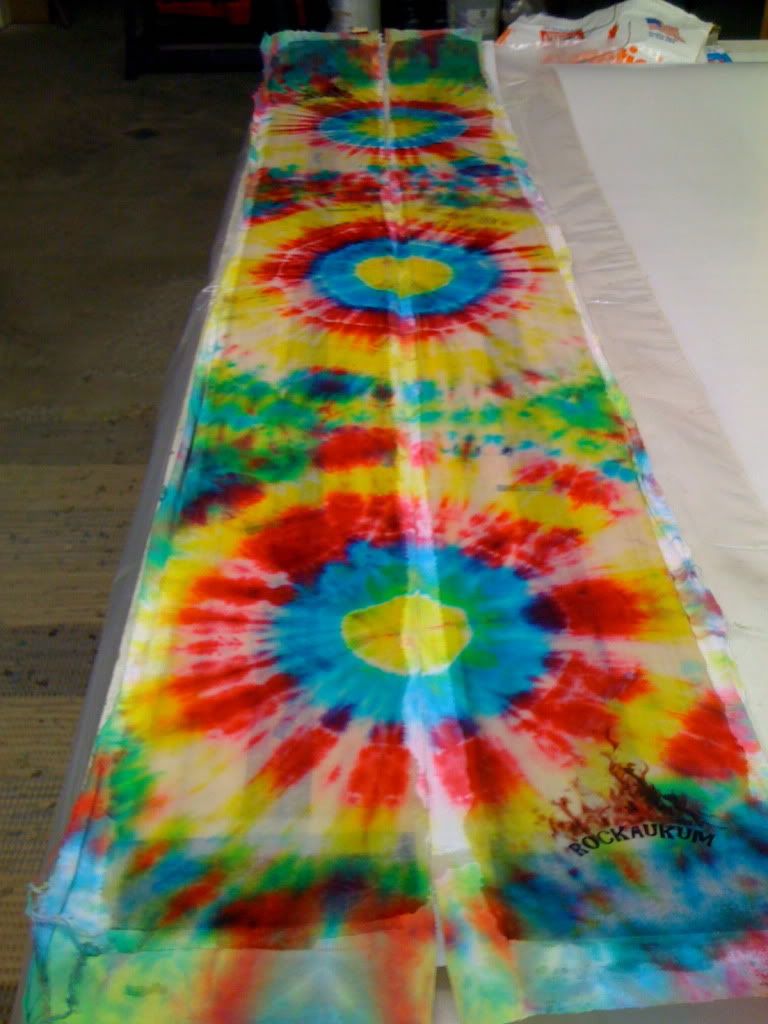
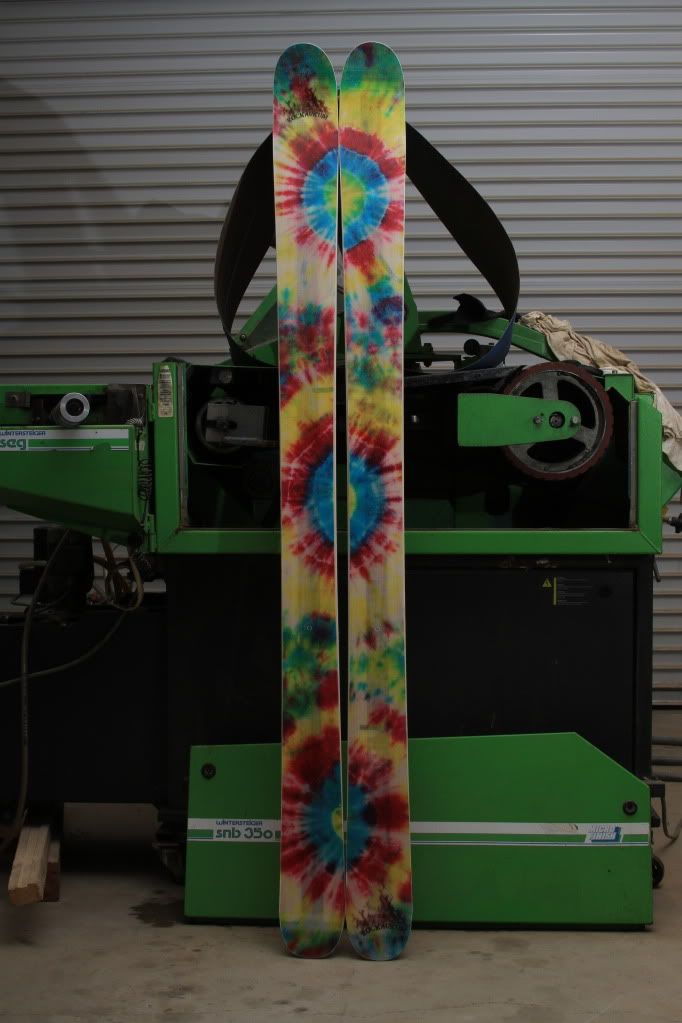
Here are a couple pics of the skis as they came out of the press:
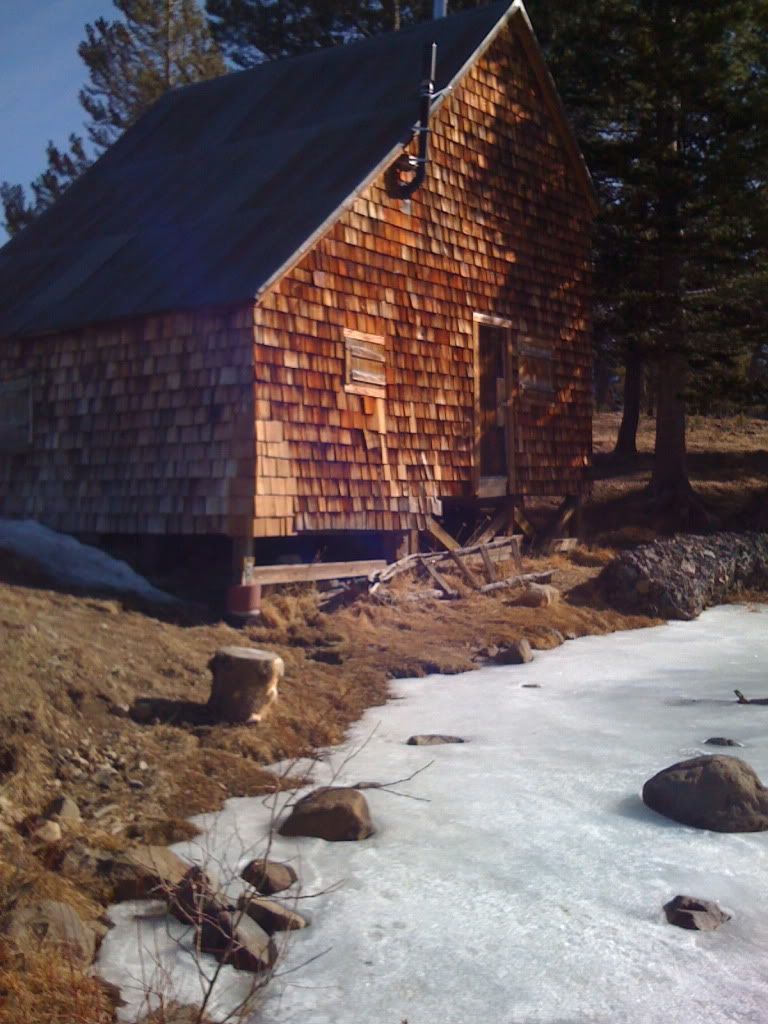
Went on a hike today. Normally I would have had skis on with at least six or more feet of snow. Sadly this is not the case, Yet! this is The Meiss Cabin and in front is the headwaters of the Truckee river (so I'm told)
ra
Posted: Tue Jan 03, 2012 9:47 pm
by bigKam
Wow, there's no snow at the Meiss Cabin! I was there last spring and laid on my back to enjoy lunch on the roof, just where the pipe is coming out of the wall! I can't believe it's so dry here!!
Posted: Thu Jan 05, 2012 11:04 am
by rockaukum
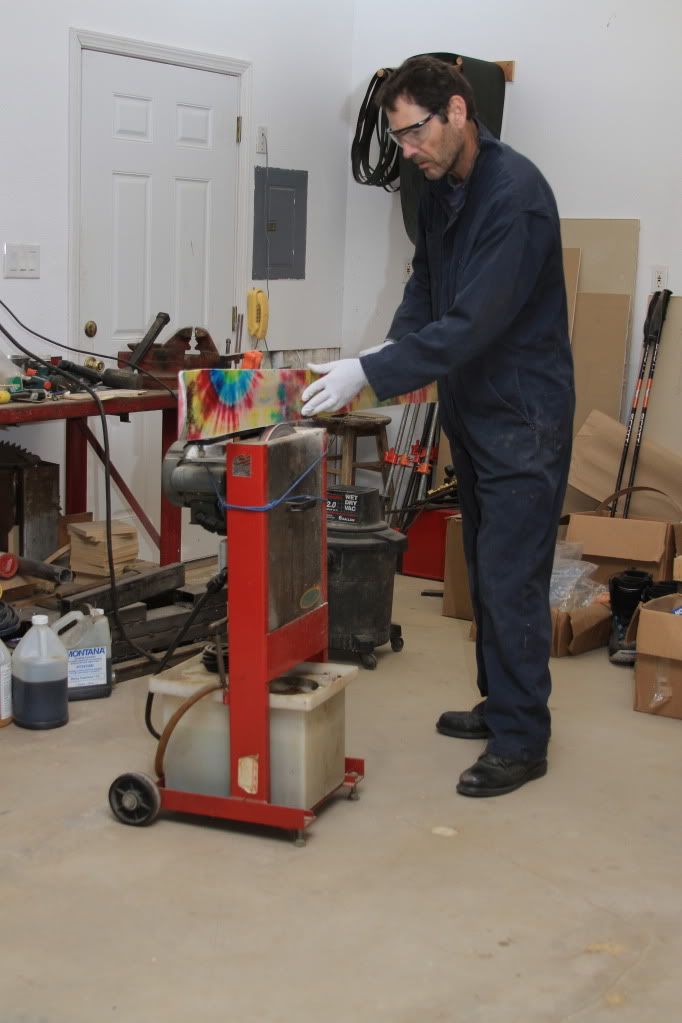
So Yesterday I spent a bit of time in the shop working on the skis. Here are a few pics of the process I follow. Our weather is kind of a double edge sword, Bad for skiing but good for working outside.
Start out by cutting the flash off

Clean up the remaining material on the edges (not putting an edge on yet)
Shaping the tip and tail sections
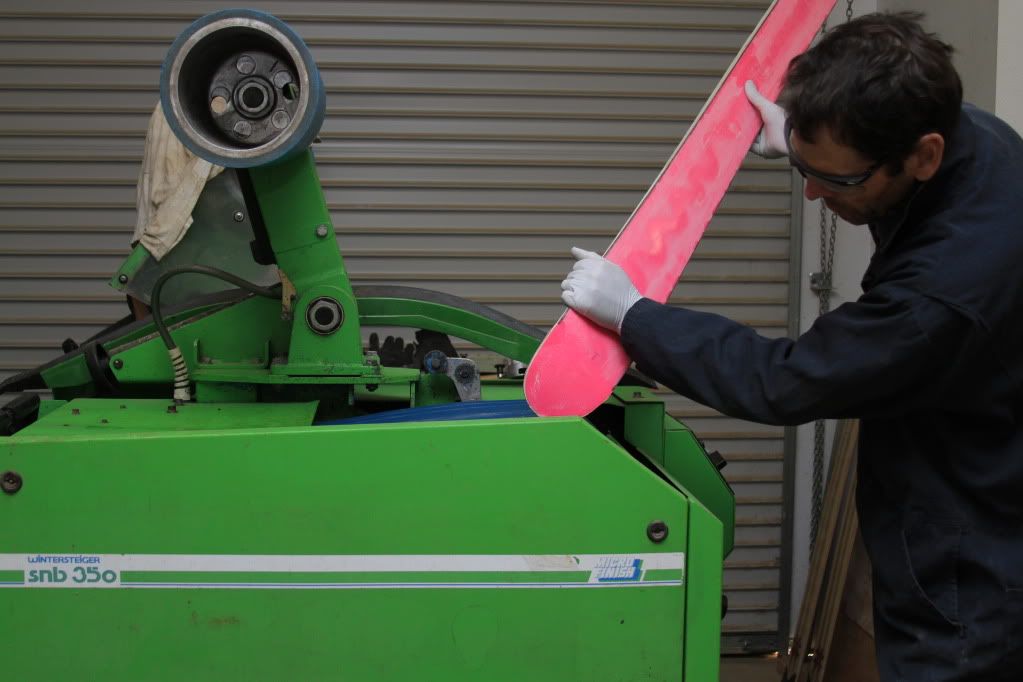
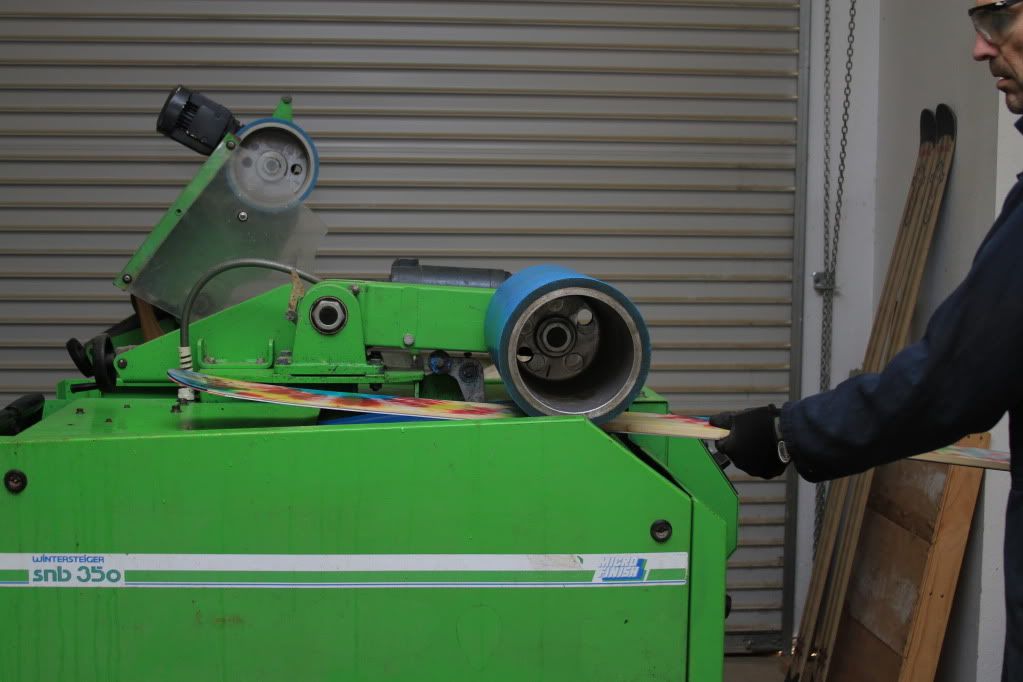
Sanding the base to get it flat. Skis came out pretty flat from the press which is always nice.
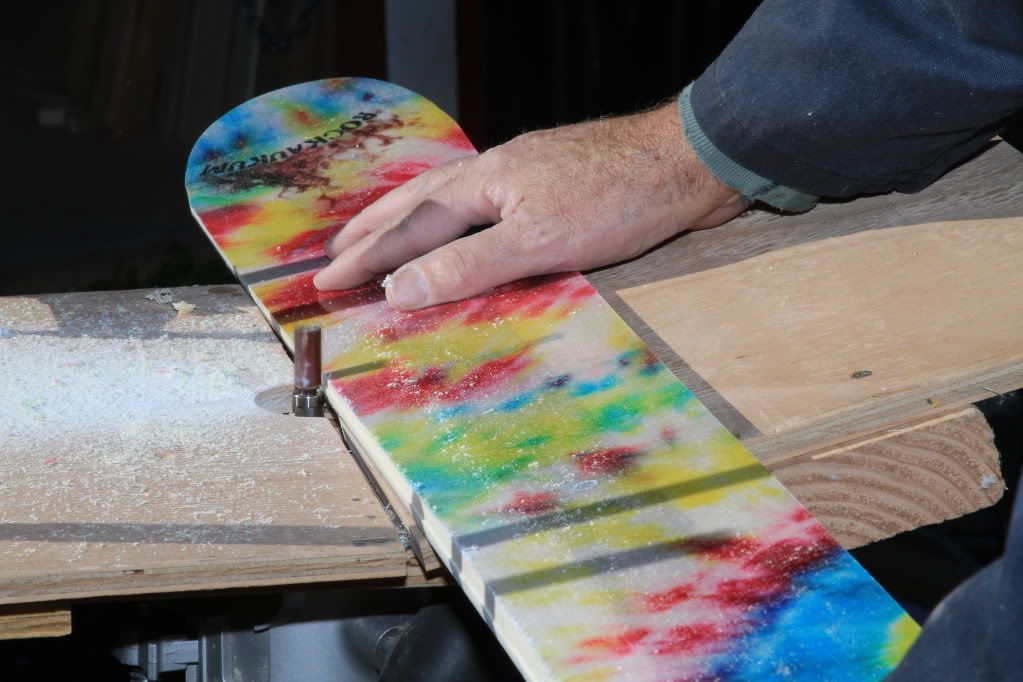
Putting a sidewall bevel on. Time for a new bit.
Skis all trimmed out. The have a base grind on them now.
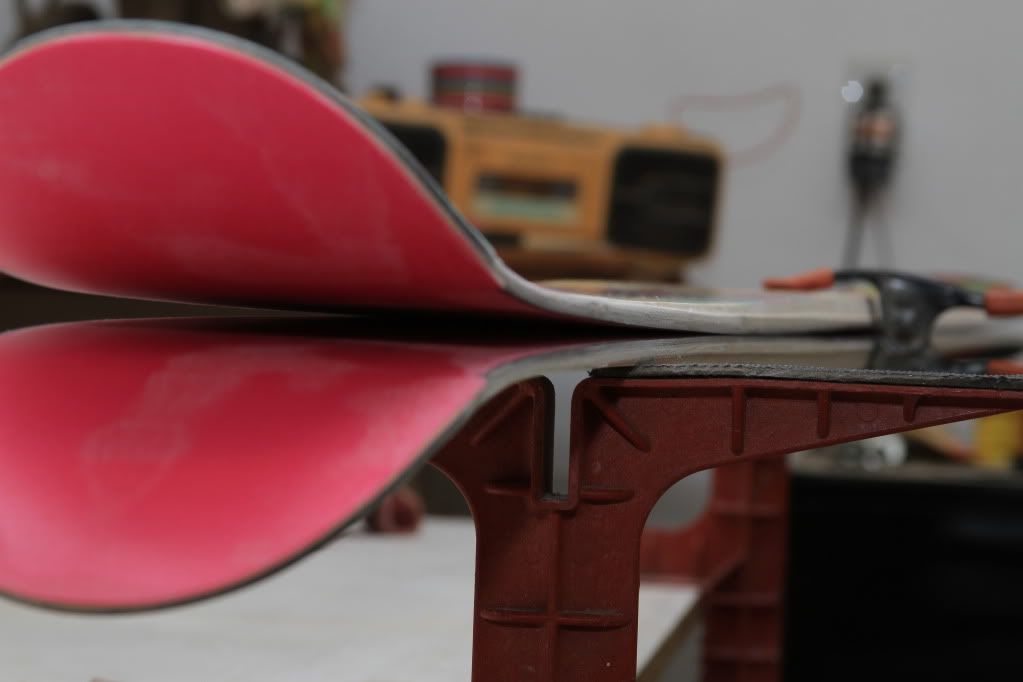
Here are two shots of the side profile. This is unloaded to show camber and the small amount of rise.
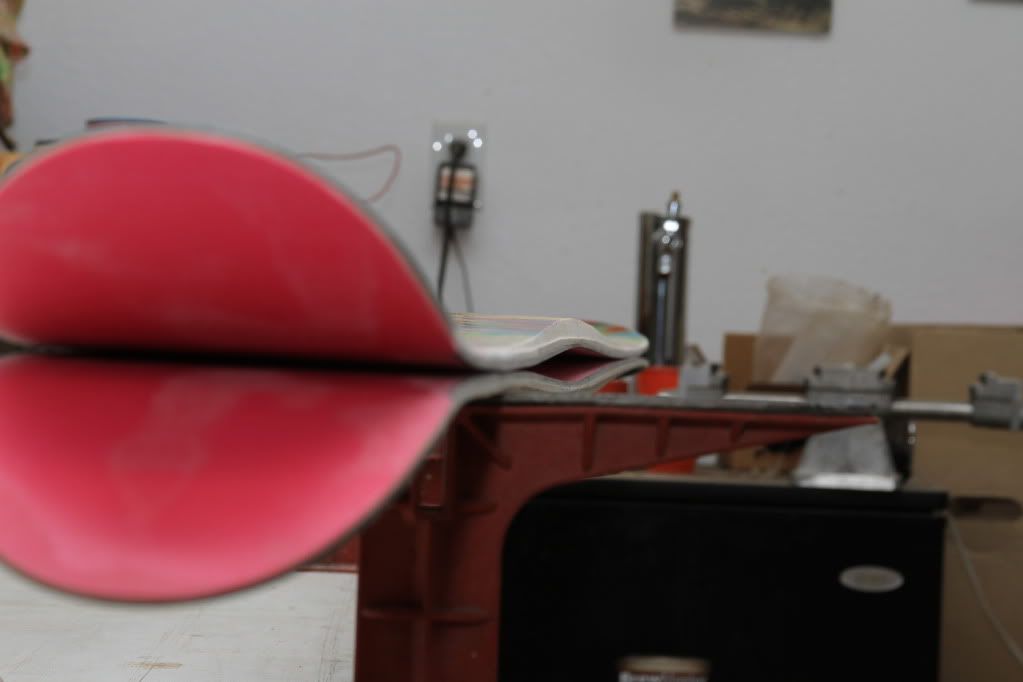
Here I put a clamp on the skis to mimic loading them. You can see how the rise shows up.
Now I need to drill out the inserts, Hot wax, and figure out what type of protection to put on the tops. Then its wait for snow.....
ra
Posted: Thu Jan 05, 2012 11:16 am
by OAC
Sweet skis! Looks like my mom's T-shirt from the sixties!

(Not the skis, the top design!)
Very "aggressive" camber or short...
Good to see someone showing a picture when doing the bevel with table router method!
I haven't dare...
Posted: Thu Jan 05, 2012 2:45 pm
by rockaukum
Thanks OAC, I must be showing my age.... The last several skis I have done for myself have been tye-dye. You don't see to much of that out there today.
The secs for the skis are 186 cm. 138-140-112-128. The camber is 9mm per ski. I have not flexed them yet, so I expect them to relax just a bit. Usually I make soft skis but this time I thought I would try something a bit stiffer. The thought is that it will handle the powder then chopped up stuff too. Sanded the tops today and put one coat of PU. Waiting for it to dry then one more coat after a light sanding. Don't know the correct way to do the finish as I usually skip it all together. Its a lot of work.
ra
Posted: Thu Jan 05, 2012 8:23 pm
by WhitePine
It sounds like you'll be fine with a few coats of PU from what I've read on here. I gave my old splitboard a facelift a few years ago using Spar Urethane over my paint job and parts of it chipped off after just a few tours. Its really not looking very good.
Do your fabric topsheets hold up pretty good without coating them?
Posted: Fri Jan 06, 2012 2:22 am
by ggardner90
have you ever had a delam problem with the cotton graphic layer
Posted: Fri Jan 06, 2012 6:05 pm
by Brazen
Awesome tie-dye! So cool...I could hear "Ridin' that Train" while I was looking at 'em. You are going to be holding up a stump though with that sidewall routing setup...and I have machine envy, nice wintersteiger!
Posted: Fri Jan 06, 2012 10:06 pm
by sammer
ra, are you doing your own tiedye?
I've been thinking about doing it for a while. even before the boys skis
sam
Posted: Sat Jan 07, 2012 12:17 pm
by rockaukum
WhitePine: Yeah the finish stuff is beyond me. I have used the SB topsheet for protection before and that was a pain to get the air out and added weight and more importantly $. So I have gone without it. On my first tye-dye attempt, I used some pretty weak dye and it faded right away. Love the skis though. Once i figured out what to use they seem to hold up pretty well. I'll post a pic of them after I head to the shop.
ggardner90: No problems with the cotton. I wash it without fabric softner then tye-dye (or not). I try to iron it so it rolls out better then its ready to go.
Brazen: I hear you. I need to replace the bit as it had a trailing piece that did catch my finger. Scared the ( ) out of me. My son was taking the pic at the time and he kinda looked at me with an expression of what was that? Yes the snb350 is nice. even nicer is having the Micro s1 to flatten and pattern the skis. They are nice to have when it it time to clean up the skis!
Sammer: Yes, I do my own tye-dye. I got the stuff from Michaels which is a craft store. I am having a hard time going with paying for a sub graphic. Mind you I think it is a great price from coda but it is still $ that can be used for other more important things.... Skibuilding materials that effect the actual ride and my other habit (hobby) making beer!
ra