Page 1 of 1
Frontier Skis
Posted: Sat Feb 04, 2012 3:02 pm
by FrontierSkis
It all started out as joke email. I had received a link to Skibuilders from backcountry dot com and forwarded it on "lets build skis". It was Fall 2009, we began gathering as much information as we could, spent many hours reading/watching. Our first order of base material and edges arrived by Christmas. We began building that spring and our first layup was tried in april. We built the first pair with only a belt sander and a jig saw, cores took along painful time.It was too cold for the epoxy in the unheated garage and our vacuum pump had a leak...they didnt turn out.
We saved up, bought more tools, built a new vacuum pump and started turning out some nice skis, this year we have added some minor graphics using rice paper.
I just want to thank all of you here on ski builders, the community of people on this form is amazing!
Posted: Sat Feb 04, 2012 3:12 pm
by FrontierSkis
Time to show off the Process, finally figured out how to add images
Thanks,
Frontier Skis
Posted: Sat Feb 04, 2012 3:55 pm
by FrontierSkis
Making the Template
Routering the template
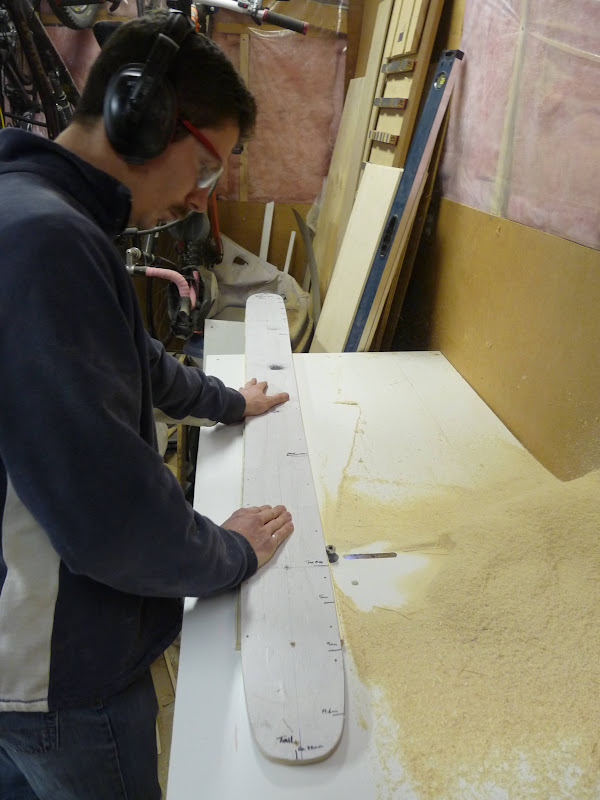
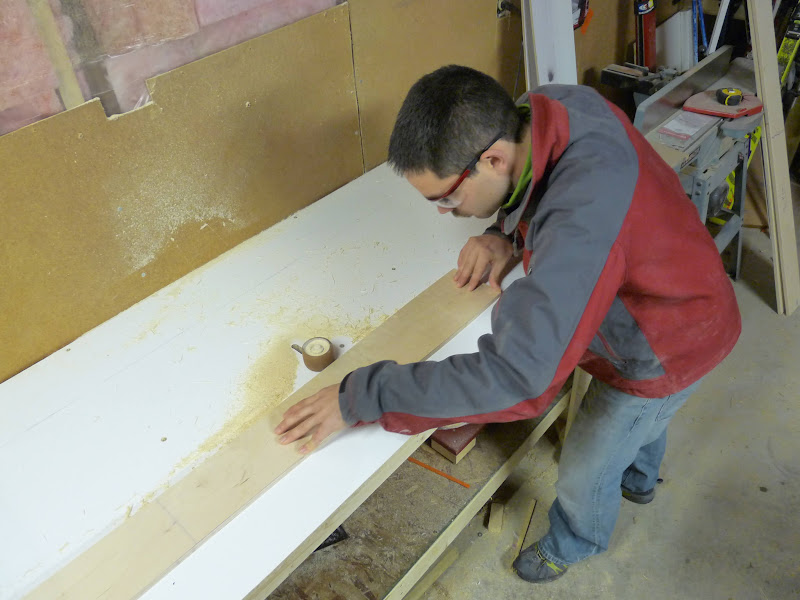
Cutting out the Core (yes its Baltic birch plywood)
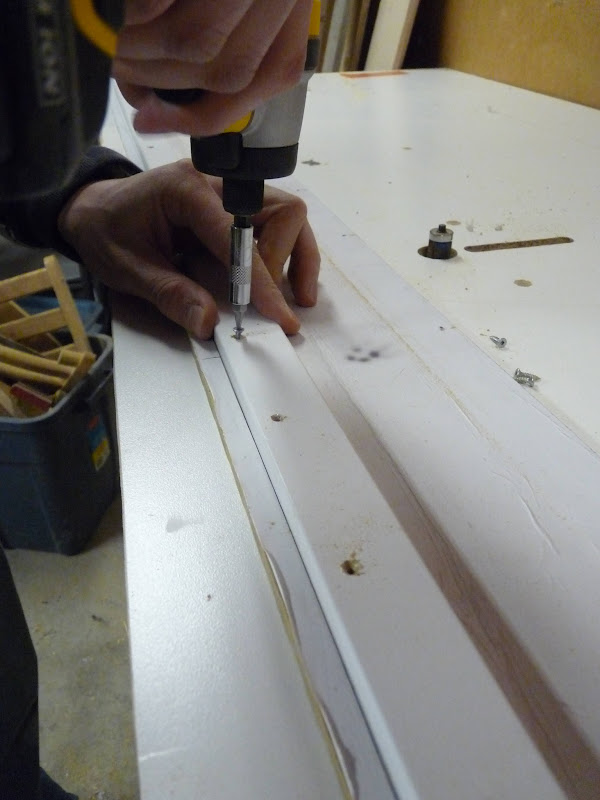
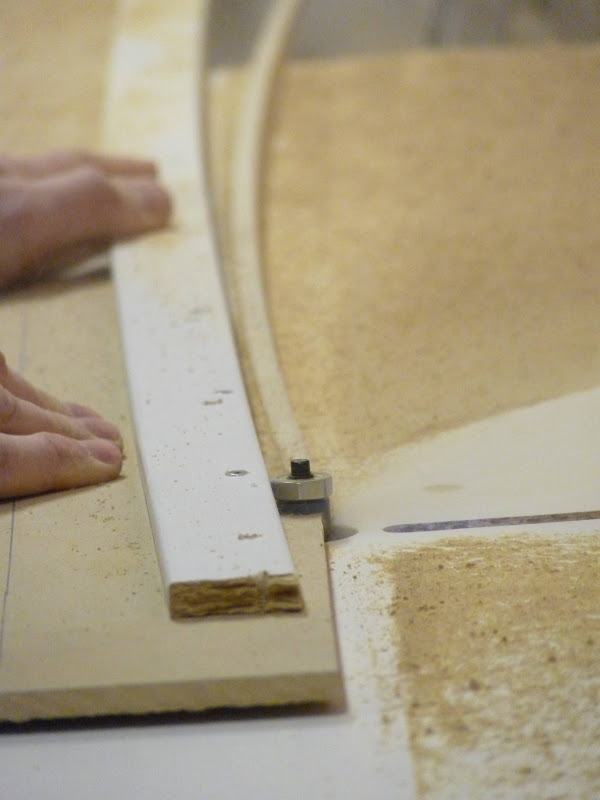
Using an old Skateboard Wheel as a guide to cut out space for the edges to fit into.
Two Cores lined up on the planer bridge ready to get some shape.

The state of the art plastic risers that make the planer bridge so effective (kids Crazy Carpet)

Planer Bridge in Action - notice the high tech shaving deflection tool

Gotta have a ski movie playing during layup!

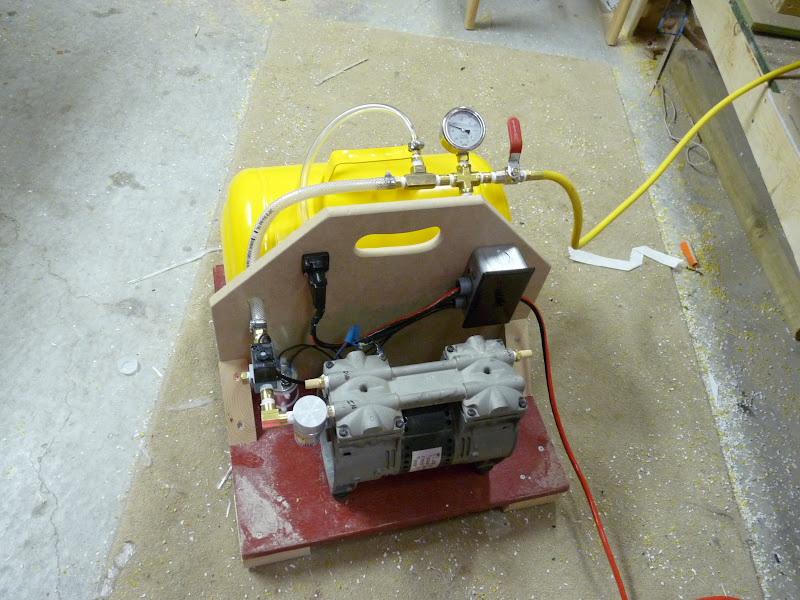
New Custom built Vacuum pump pulling correct vacuum and waiting to start.
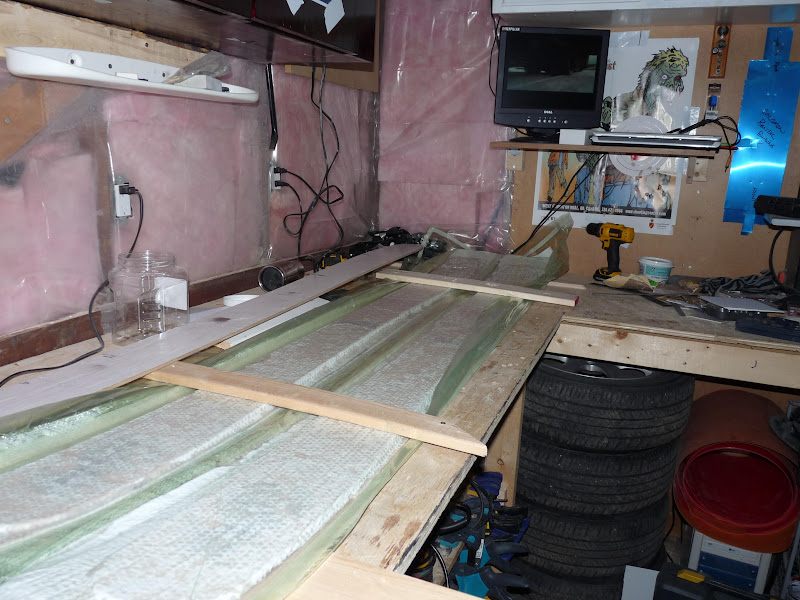
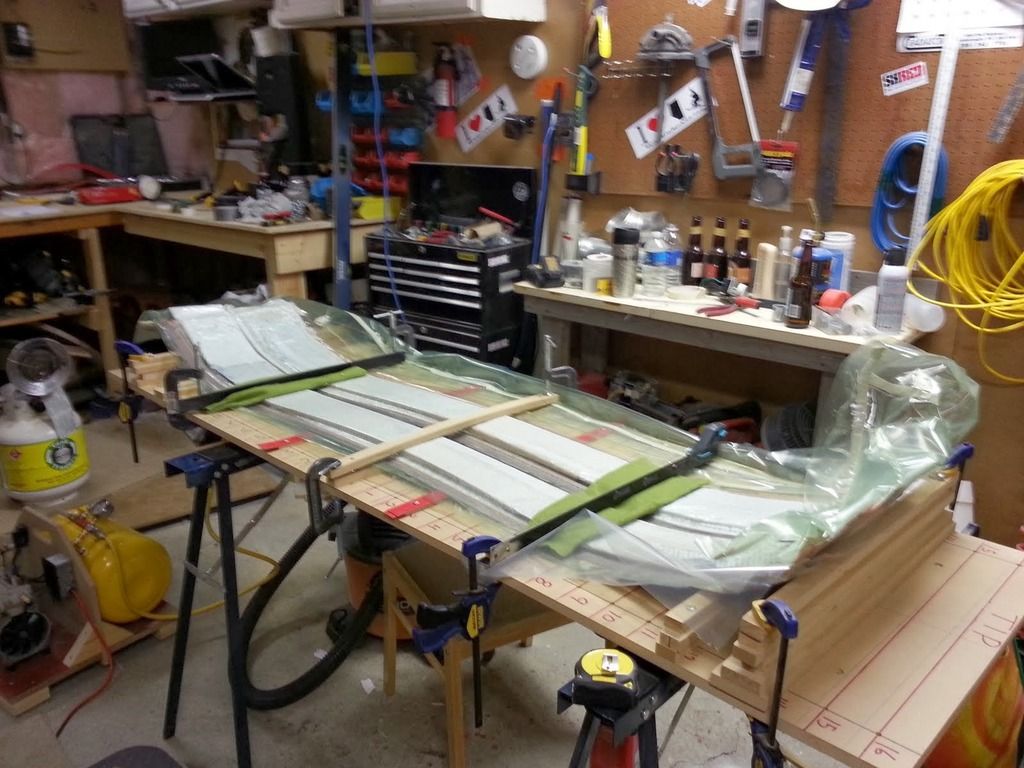
Layup Complete, Skis are in the Vacuum Bag, Vacuum pump is doing its job and the Rocker / Camber Blocks have been added...
Removing the excess material and doing final finishing

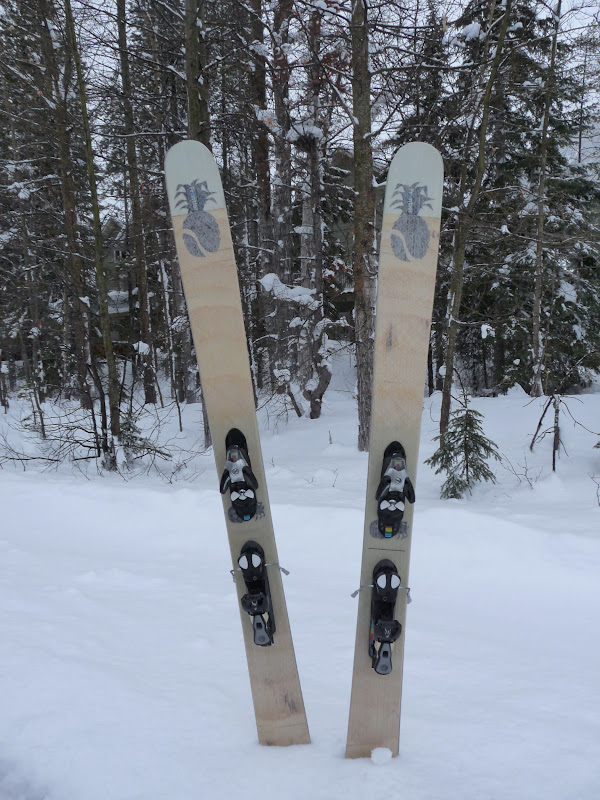
Mounted and Ready to TEST!
Here are the skis built to date, 2nd, 3rd, 4th...
and another set will be pressed and done by end of this week.
Where is the first....we dont talk about it.

Will try and get more skiing photos soon to add to the journal.
Posted: Sat Feb 04, 2012 5:08 pm
by skidesmond
Nice journal! I keep my first pair for posterity sake. Never skied on the first pair but now that I look back at them, they came out ok for the first pair despite some problems.
Keep up the great work!
Posted: Sat Feb 04, 2012 5:12 pm
by SkiTheNortheast
That topsheet material looks good with the bare wood, what did you use?
and how did they feel after you tested them?
Posted: Sat Feb 04, 2012 5:13 pm
by falls
Nice work!
I'm pretty sure that same email you got from backcountry was the one that started me on this narrow windy road as well!
Posted: Sat Feb 04, 2012 7:18 pm
by FrontierSkis
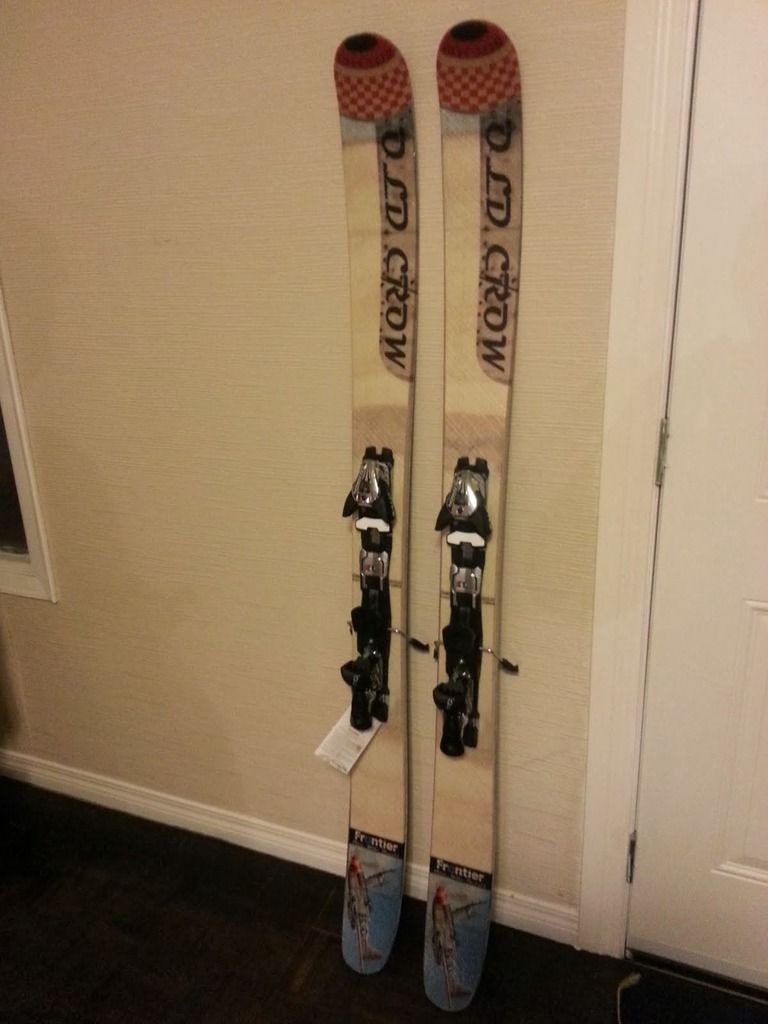
How they Ski:
2nd pair - very soft, but i have over 20 days on them. Skied them hard and have had no issues.
3rd pair - same ski as the 2nd but we changed out the glass from 12oz biax to 22oz triax...made a very nice ski, have just switched them out to my touring skis... one of the top skis in my quiver. (136-101-124) Traditional camber underfoot. (10 days so far)
4th Pair - went a little too stiff, they handle well in the chop, but are a heavy ski, just over 5lbs + bindings. They have had 4 days of solid riding and no issues, our next pair will be the same shape just more rocker and a little softer.
(141-121-128) Rocker tip and tail, with slight camber underfoot.
Since we are using a vacuum press we have no top sheet, all you see there is the glass. We put the graphics under the top layer of glass, but the next pair it will be placed directly on the top.
Must keep practicing to get our process better. It sure is fun to stand in the lift line and watch people stare at your skis, but they never say a peep.
Love skiing my own skis!
Posted: Sat Feb 04, 2012 7:23 pm
by FrontierSkis
nice to hear someone else got sucked in on that email from backcountry, took a look for the old email, looks like it was deleted.
Thanks to BC i now have a hobby!
Long over due update
Posted: Wed Oct 26, 2016 6:34 pm
by FrontierSkis
Progression of our builds since my last post in 2012
We built a camber/rocker jig that allows us to modify for our different lengths and shapes. Seems to work really well, can line up 2 sets of identical skis and they match camber and rocker.
Our 5th Pair was done for A Pilot Friend.
Using the ink jet to print on rice paper we have started to get the graphics down.
6th pair for the Ladies

Our 7th Pair my wife wanted to try painting the cores before layup. They looked great before,, but didnt wet out as clear as we had hoped.
After pressing the skis - they ski have skied great and have been toured on many days.
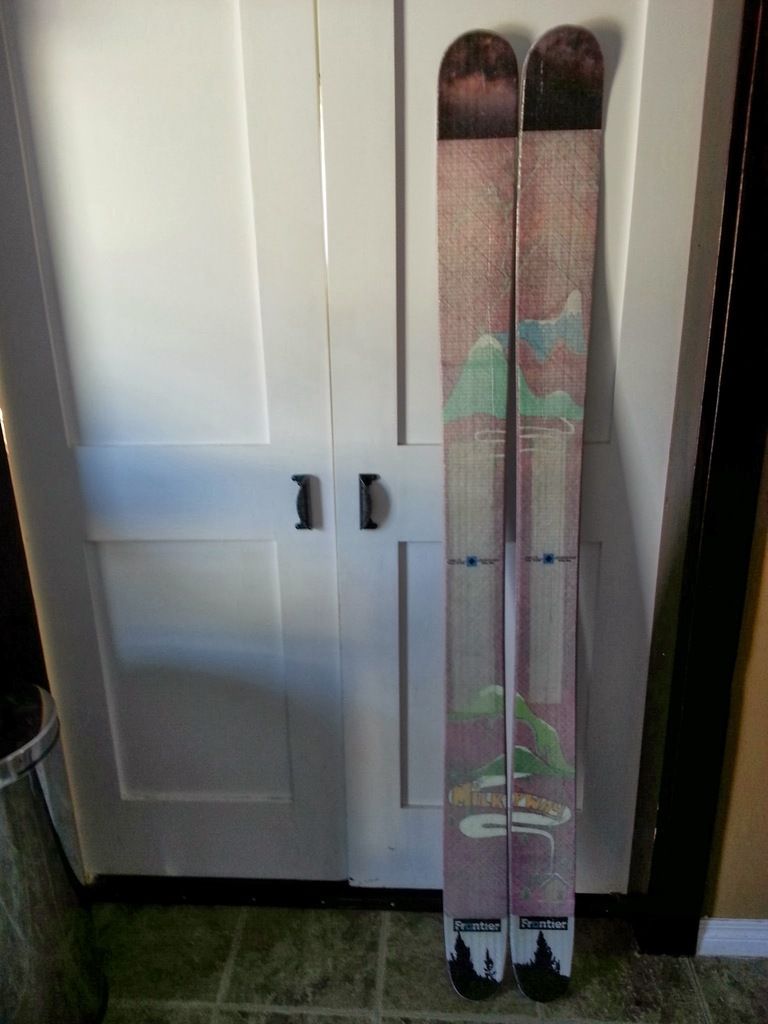
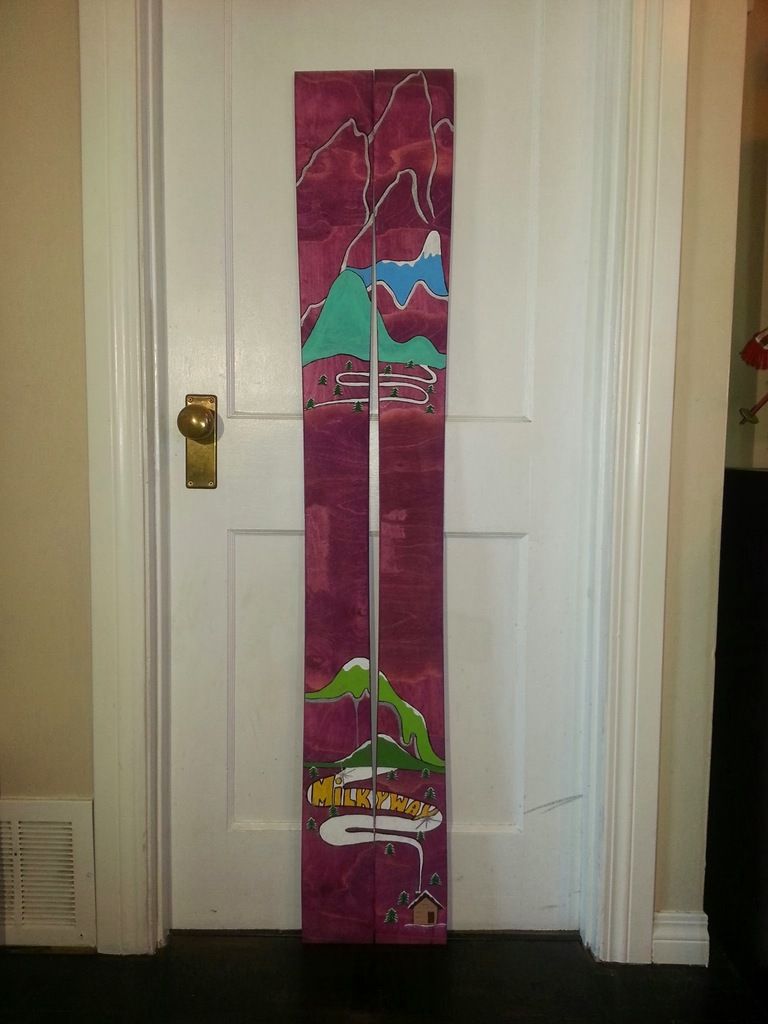
Now it was time to get serious with our graphics and make something awesome!

Next we went with a big profile ski that we felt needed to be pay tribute to the legend Shane McConkey - a retro water ski throwback - 2 pairs of these had to be made
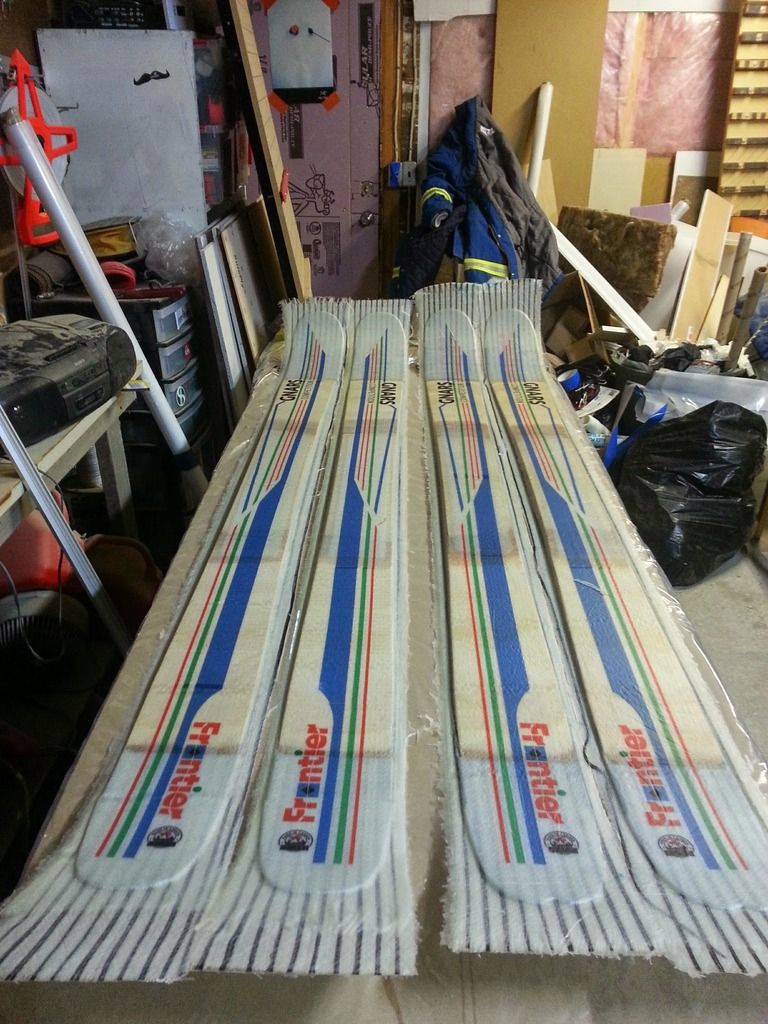
Our tips got a little aggressive, which makes these skis look even more like water skis. We have since relaxed our jig.
Then came the greatest invention of all time - we call these the MUGSHOTS
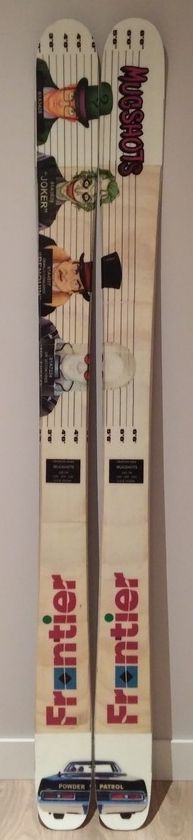
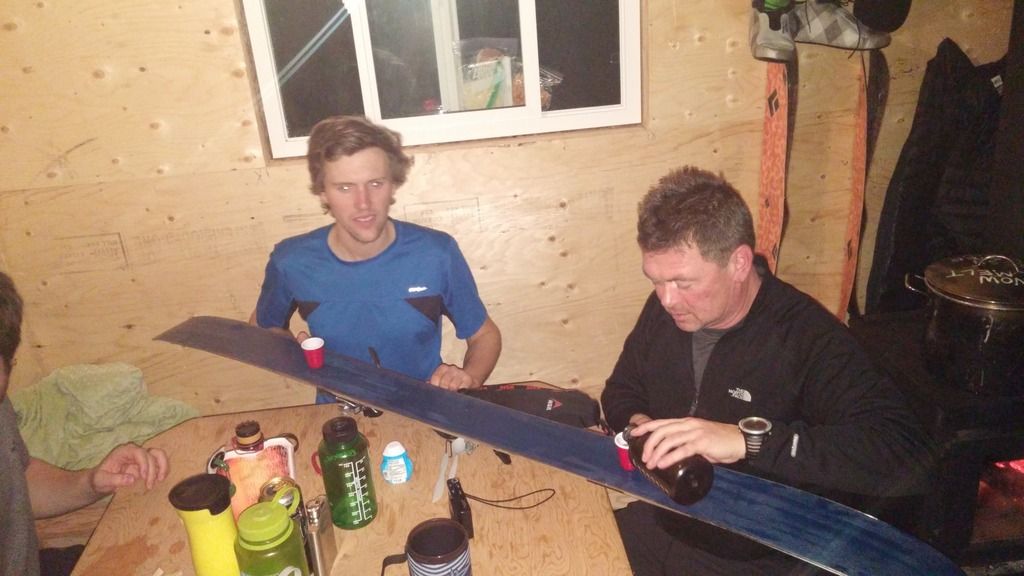
These are every day skis that love to float in powder, love to skin back to the ridge and most importantly when you reach the hut they love to join in on the celebration
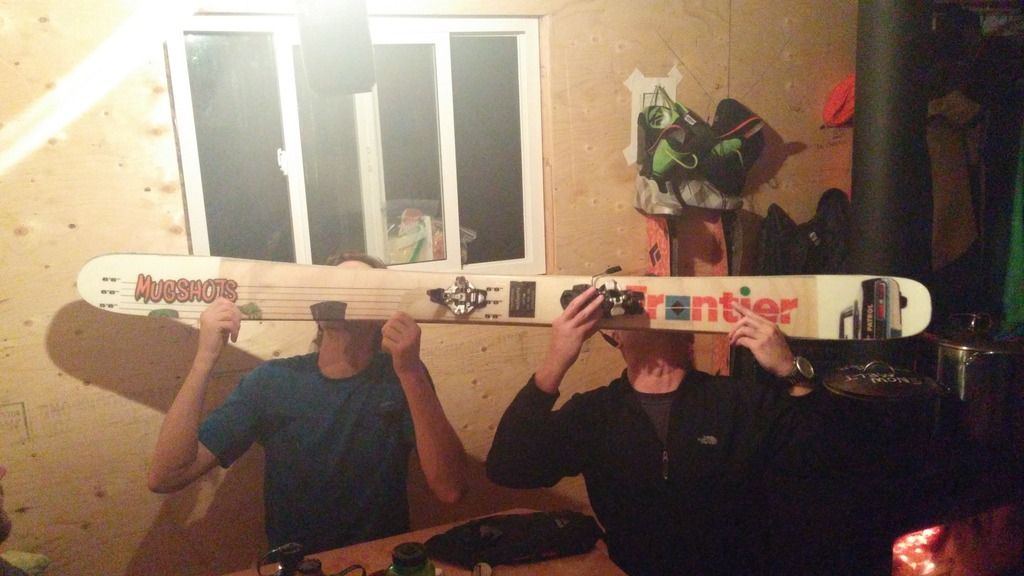
This new enhanced feature has become standard issue for all FrontierSkis going forward... More to come in the 2017 season build!
Posted: Thu Oct 27, 2016 8:11 am
by Dtrain
Gettin things done right up in Canada.
Good job boys