
Hi guys,
how do you finish the tip/tail on the skis.
I dont have the edge fully wrapped, it stops 60mm before the tip/tail, and when cutting the finished ski with the jigg saw it is easy to make a small mistake that once I sand it and round it a bit still is visible to the eye.
It is the only details that is not so nice on my skis. how do you guys do it?
thx
Finishing tip/tail
Moderators: Head Monkey, kelvin, bigKam, skidesmond, chrismp
-
twizzstyle
- Posts: 2204
- Joined: Tue Mar 07, 2006 8:25 pm
- Location: Kenmore, Wa USA
I have my base sheet cut to the final shape I want (I do 3/4 wrap edges, which depending on the ski width leaves about 3-4 inches on the tip with no edge).
I rough cut it with the band saw close to the base, and then sand it down on the belt sander right up to the base material. If it's slightly off, it doesn't matter I just try to make the skis match as best as possible.
I rough cut it with the band saw close to the base, and then sand it down on the belt sander right up to the base material. If it's slightly off, it doesn't matter I just try to make the skis match as best as possible.

I also cut my base to final shape and use a jig saw to cut as close as possible. I then use a panzer file in a file guide to take off any obvious bumps of epoxy. Usually this is only one spot where I start and finish the cut at the tip. Then I'll use my router with a drum sander attachment. I find that I can keep the angle more consistent this way as opposed to using a belt sander. It comes out looking factory.
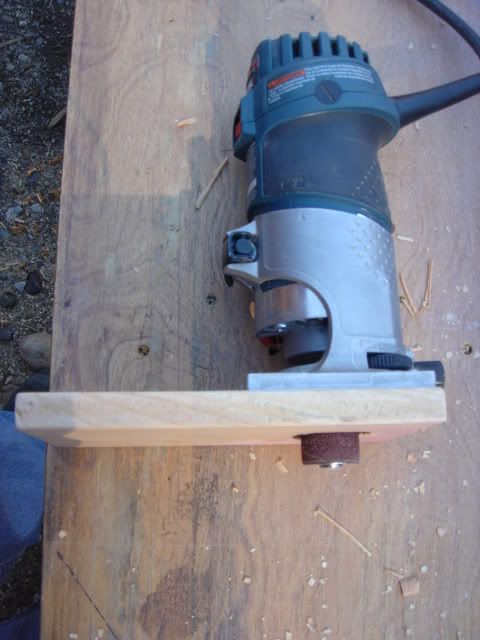
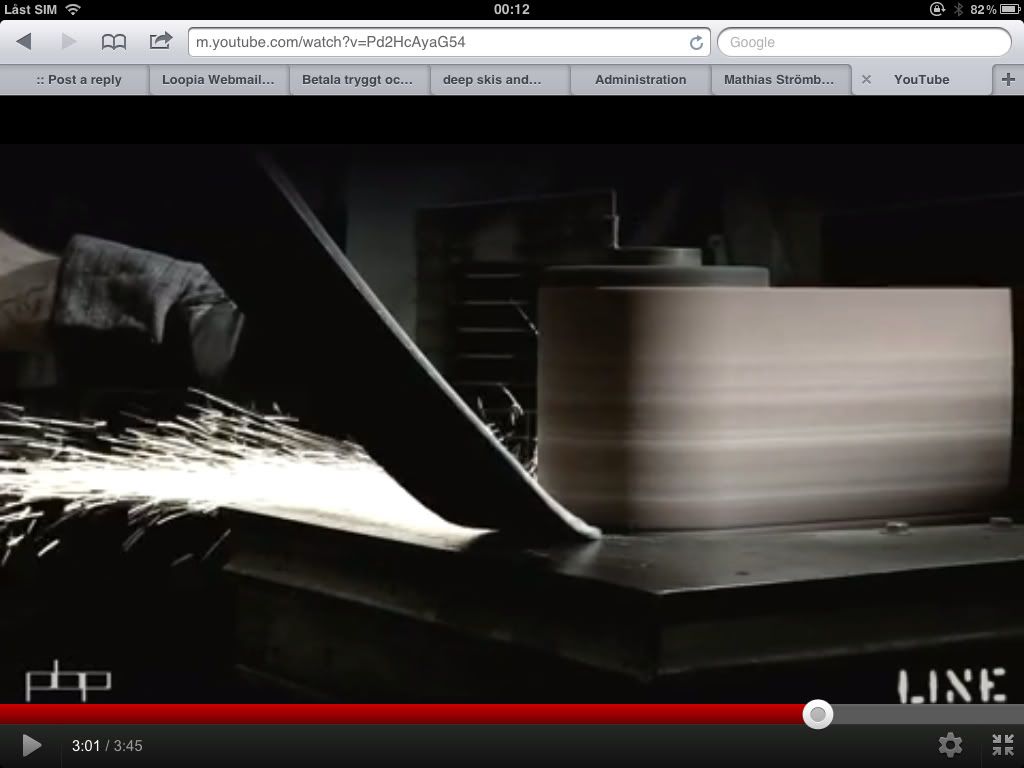

I use a jigsaw and cut as close as possible to the base material around the tip then use a sanding drum in my drill press to sand back any excess. It works similar to deep's picture just without the long length of sanding paper so it clogs up relatively quickly. But I have a table set up like in that picture to rest the ski on and I think it works pretty well. That belt sander would be the ultimate (especially if it was a wet belt) but they are about $1000 where I live.
Don't wait up, I'm off to kill Summer....
-
ProbsMagobs
- Posts: 73
- Joined: Mon Sep 10, 2012 6:22 pm
- Location: South Eastern Pennsylvania
hey falls, what about something like this?
http://www.homedepot.com/h_d1/N-5yc1v/R ... O3a_m81lcQ
its not a wet one and its not super powerful but it looks like it could get the job done
http://www.homedepot.com/h_d1/N-5yc1v/R ... O3a_m81lcQ
its not a wet one and its not super powerful but it looks like it could get the job done
I used this back in my garage build in tacoma. Definitely does the job. We moved to a larger edge sander our first year (also dry) before moving on to a modified fontaine and then now our newest custom build one.ProbsMagobs wrote:hey falls, what about something like this?
http://www.homedepot.com/h_d1/N-5yc1v/R ... O3a_m81lcQ
its not a wet one and its not super powerful but it looks like it could get the job done
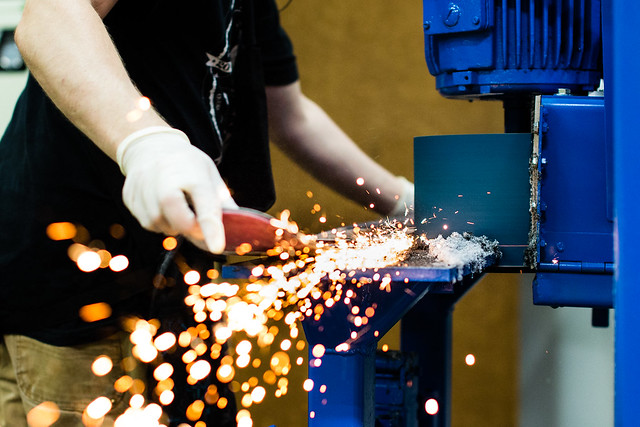
Personally, I feel you have much more control holding the ski than you do holding the tool you are sharping with.
I definitely prefer the power of our new wet sander.
I have the oscillating belt/drum sander made by Ridgid. It's a great tool. I use a bandsaw to cut close to the edge and then use the sander to take it right up to the edge. A 36 grit belt to get the sidewalls close, then 50, and maybe 80 to take it right up to the edge. Bevel the sidewalls on with a dovetail bit and you are done. A quick final 120 and 150 grit pass on the edges and they are ready to hit the bench and set the angles with a file guide.
Something to think about with the sander. I have done this on several pairs and it works great. After you get the sidewalls sanded at 90* up to the edges, Tip the table and continue sanding. You can get nice results and do not need to router the sidewalls. Just keep an eye on it so you don't take it all the way down to the edge material. I use a Grindrite edge sander to do this and it works great. Quick too!
RA
RA