Page 1 of 1
Marshall Custom Skis
Posted: Sun Jun 22, 2014 8:03 pm
by mgmarshall
Ok, first off, Thank You EVERYBODY in this forum for contributing your knowledge and experience. With out it, I dont know where I would have even started !
I really appreciate all that this forum can be used for and look forward to sharing some cool stuff. And who knows, maybe inspire someone else to do the same thing!
post #2
Posted: Sun Jun 22, 2014 8:05 pm
by mgmarshall
And here is a second post so I can upload some photos!
Posted: Mon Jun 23, 2014 8:30 pm
by mgmarshall
Alright!
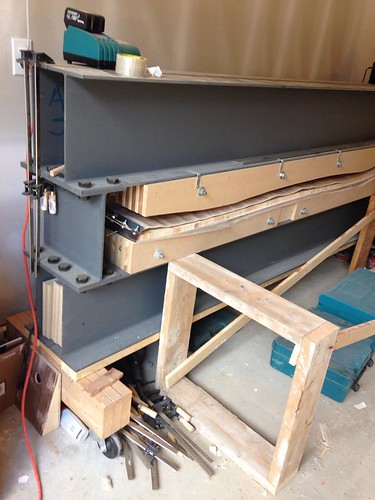
So I decided to use W12x26 for my steel and grade 8 bolts.
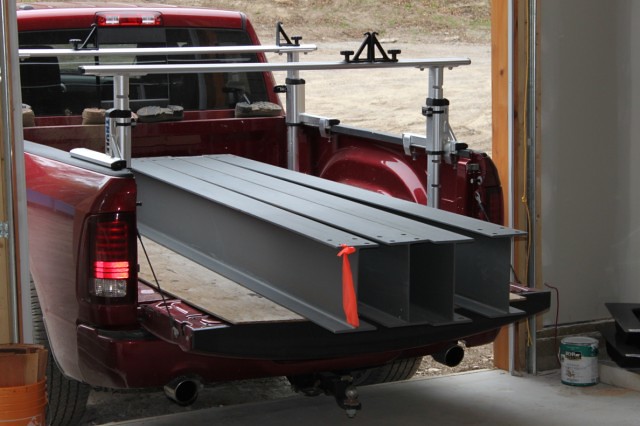
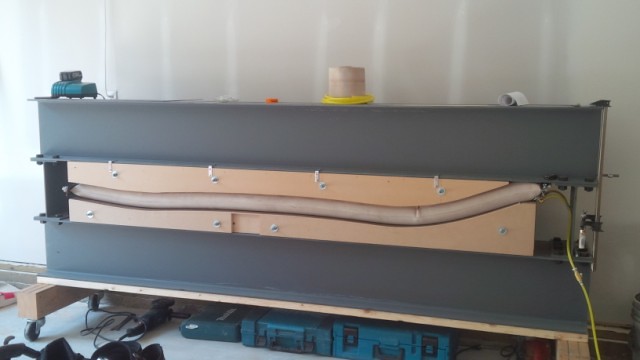
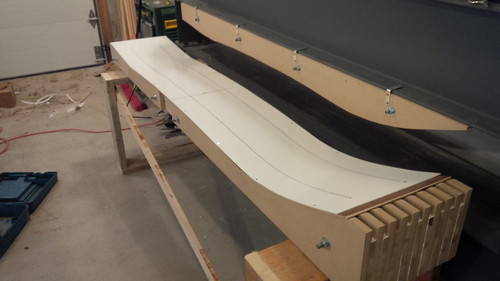
And a bottom mold made of mdf & other scraps that I could find. You cant see the other holes in the middle pieces, but I have made this mould semi adjustable. Set for 185's and able to go down to 165 for my gf.


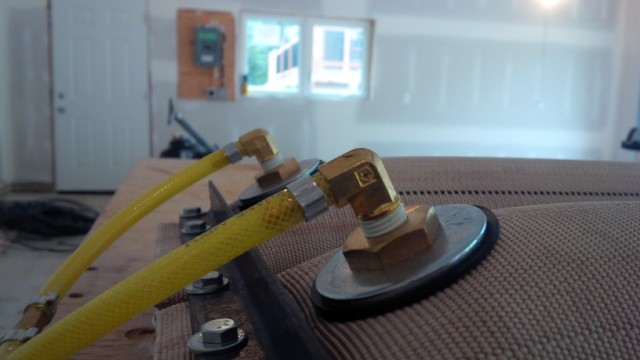
My bladder - maybe I should have been more patient, but I could only find 4.5" hose.
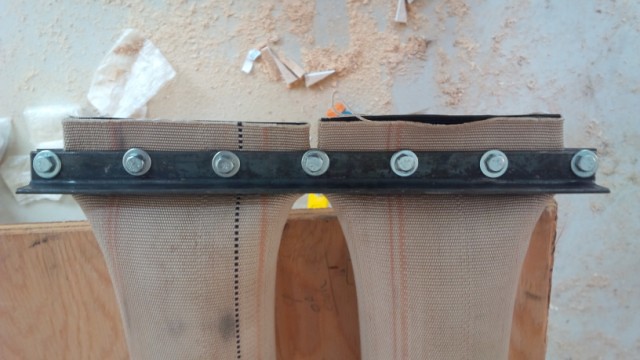
I used a through coupling, metal and rubber washers, teflon tape. Barely any leaks with no sealant. Thanks for the idea Happy Monkey!
And... the press inflated to 60psi without cat track.
Posted: Mon Jun 23, 2014 11:34 pm
by chrismp
mgmarshall wrote:

I recommend you put some spacer between the hose brackets where the bolts that don't go through the hose are located. In your pic I can already see that your steel bar gets bent slightly from the clamping force of the bolts. This can lead to leaks in the bladder. On my set up I just used some scrap piece of hose and put it in between the bars.
Posted: Tue Jul 01, 2014 6:16 am
by mgmarshall
I recommend you put some spacer between the hose brackets where the bolts that don't go through the hose are located. In your pic I can already see that your steel bar gets bent slightly from the clamping force of the bolts. This can lead to leaks in the bladder.
Chrismp: If I am not experiencing any leaks, why would you recommend that I change things? Or is this something that you think will happen overtime?
Posted: Tue Jul 01, 2014 6:32 am
by chrismp
You wrote "barely any leaks" which lead me to think that there are some smaller ones. That's why I recommended it. And like you said, it might happen over time.
Late photo's from 2014
Posted: Wed Feb 25, 2015 9:54 pm
by mgmarshall
Ok, so it has taken me forever to get some more pictures on this thing but since the snowpack has been less than stellar .. i've found time to post pictures from the summer.
Overall, the process went fairly well. On the plus side, construction methods really seem to hold up (practically skied a luge track in December and the edges held very well). One thing I would change... would be the sidecut. They ski kinda weird. Trial and error, i guess!
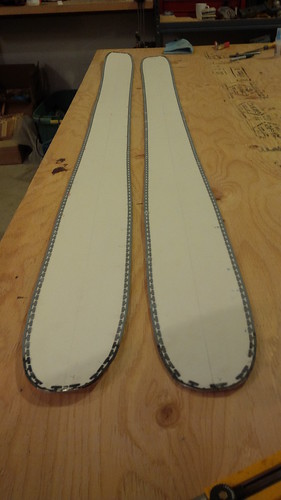
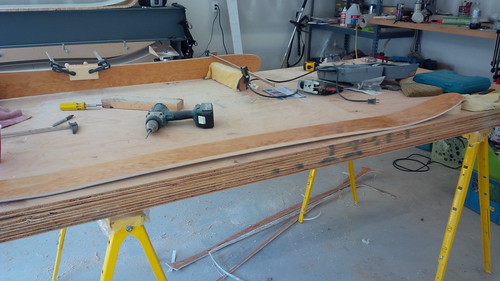
Super glue and clamps ( I think I can get another clamp in there?!?) holding bent edges to template. Bending the edges with blow torch and pliers = hardest thing ever. Thank God I am not a blacksmith for a living!

Bases ready fro some pressing
Some good 'ol canadian hockey board material for a nice smooth finish. 1/8".
Plastic down with double sided tape. Hot glue to hold bases/ edges in place. Later found out that this inevitably leaves indents. Guess I'll need to find another method next layup.

Spreading the goop on my cores.

Insertion into press via my fancy bench.
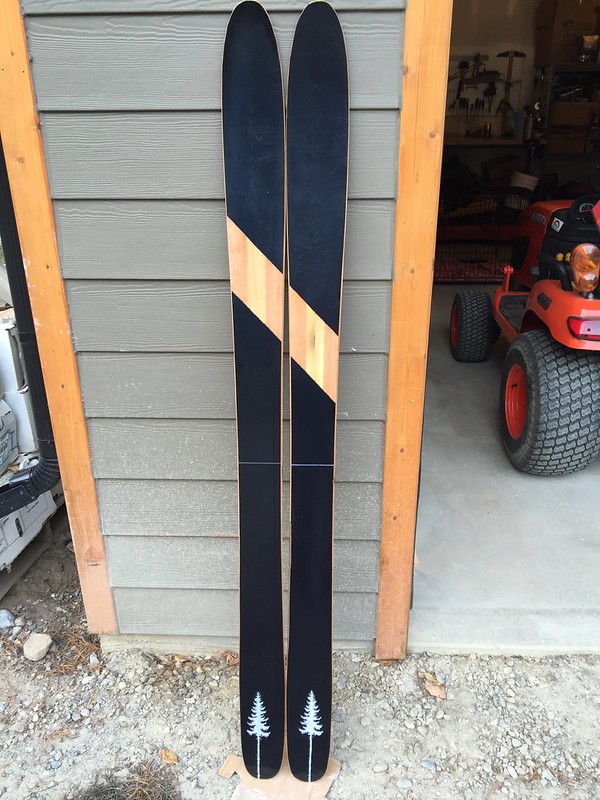
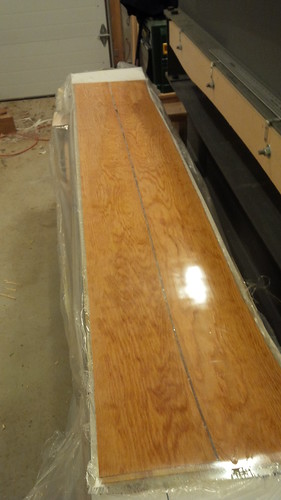
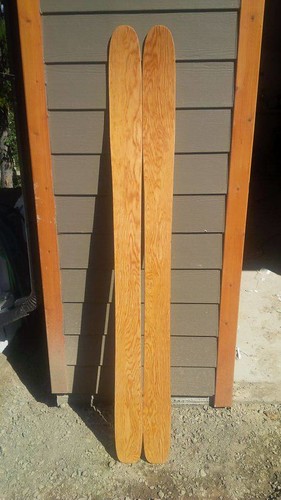
12+ hours & 12+ beers later... Viola! Look at that damn fine epoxy finish!! $5 local species from the local veneer shop... no joke!
Edges bevelled and ready for linseed oil. Don't pay any attention to the epoxy formwork going on in the back. There was a boo boo with the router that i do not wish to discuss :)
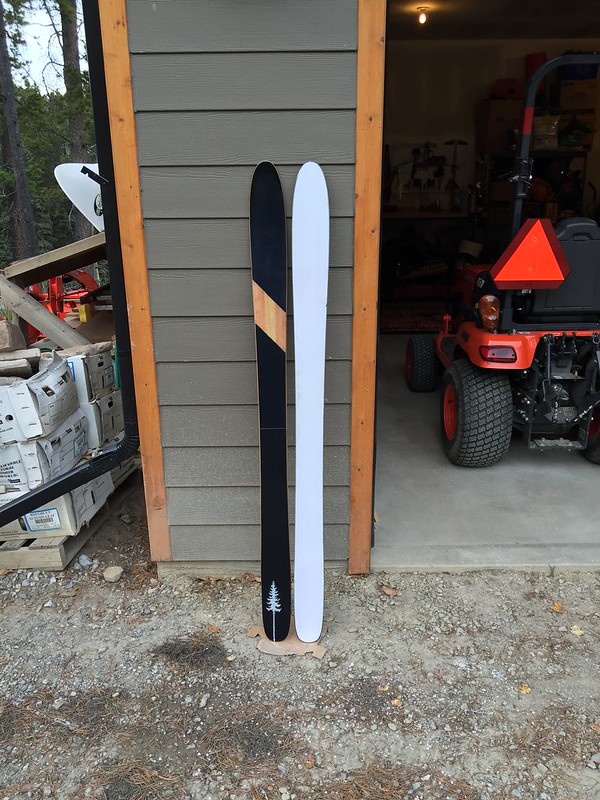
Another view:

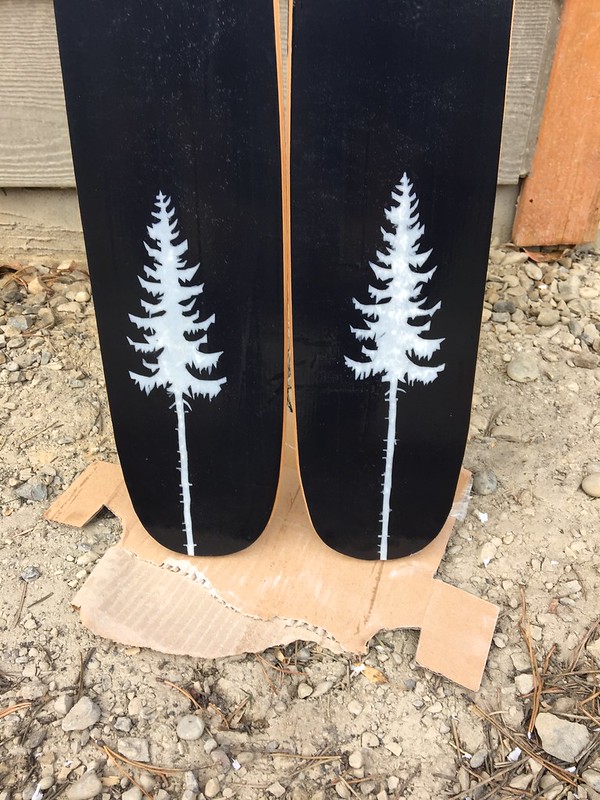
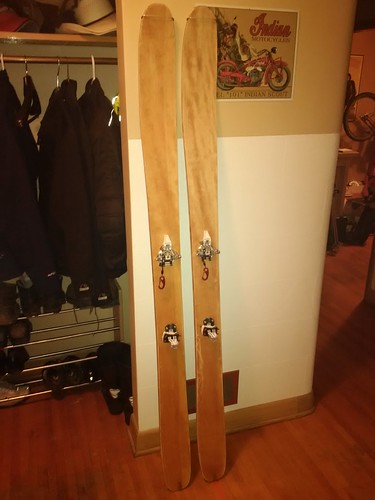
And two more for your enjoyment:
I just so happened to make two pairs at once. These are the ones with pine top sheets.
Posted: Thu Feb 26, 2015 6:39 am
by OAC
Nice work! Router boo boo's sucks!

Posted: Thu Feb 26, 2015 9:18 am
by chrismp
Great looking first build!
Many on this forum use spray adhesive to attach their bases to the mold. The spray glue sticks well enough even to most mold releases.
Thanks!
Posted: Thu Feb 26, 2015 9:19 pm
by mgmarshall
Thanks guys! I appreciate the compliments!
Chrismp: thanks for the tip. Ill be sure to give that a try on my next build.
Posted: Sat Feb 28, 2015 12:00 am
by Dtrain
Ya dude. Nice build. Elmer's spray glue is def. your friend.
Posted: Sun Mar 01, 2015 10:55 am
by Prak
Beautiful.
I like how clean everything looks, from the press to the end product. The right-angle brackets used to attach the top mould to the press is a nice touch, a simple solution to an often over-engineered problem.
Well done.
2015-2016 Skis
Posted: Thu Dec 31, 2015 9:23 am
by mgmarshall
Hey guys,
Its been a while since I have posted but I have finished another pair this year.
After skiing last years pair, I realized there could be a few improvements, both in the lay-up process and in the overall design of the ski. So I did a few things different.
Last years pair was super soft and springy so I changed up the materials to get it stiffer. I added 1mm in overall thickness of the core, added VDS rubber over the edges, used 22oz fiberglass, added a layer of flannel fabric (for asthetics) and finally a true topsheet to protect the materials.
I also experimented with some paper graphics, turned out not too bad in my opinion! Skied these on a beautiful day out at Lake Louise and these performed quite well (mounted with the new dynafit ST). More pictures to follow soon :)