Page 2 of 15
Posted: Fri Oct 23, 2015 12:50 am
by mammuth
The second one works good, u will like to have a longer handle and leverage to avoid blisters. Ask me why i know this

A padded handle is a good idea, my first version was not padded which resultet in blisters.
Posted: Fri Oct 23, 2015 5:00 am
by Hannes
I am just using one of the pliers they sell for a small Euro next to the cashiers desk. Works fine for me.
Posted: Fri Oct 23, 2015 8:54 am
by pmg
Hi,
I use exactly the same Rabitzzange, its definitely the better choice.
Posted: Mon Oct 26, 2015 11:09 pm
by Akiwi
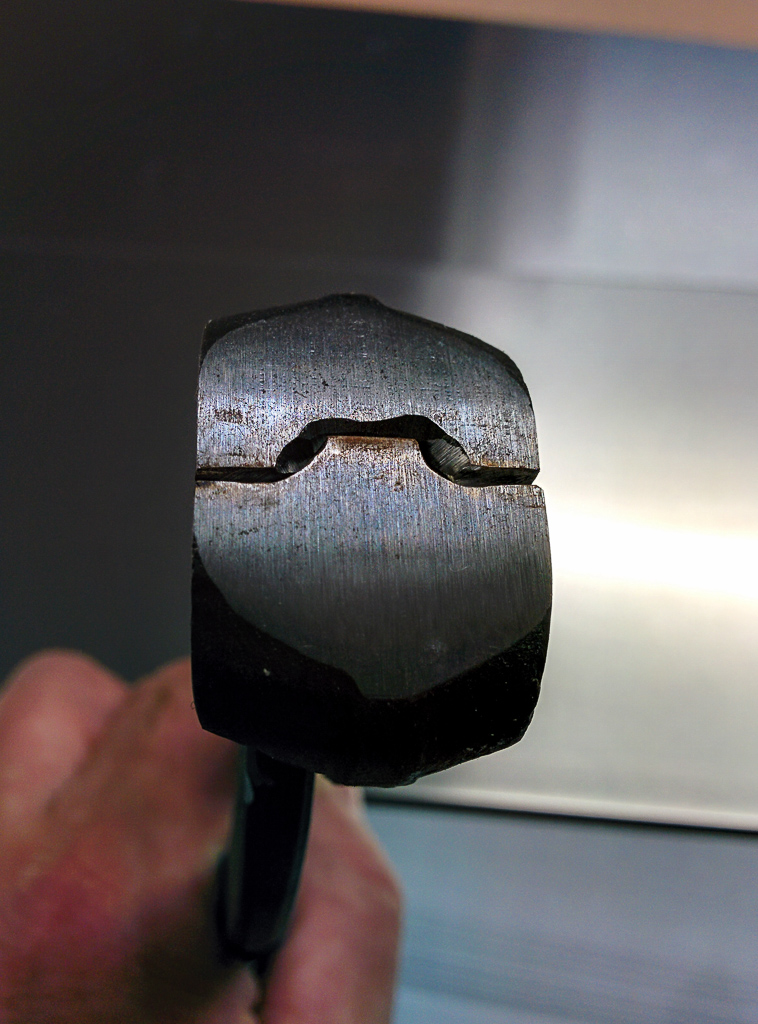
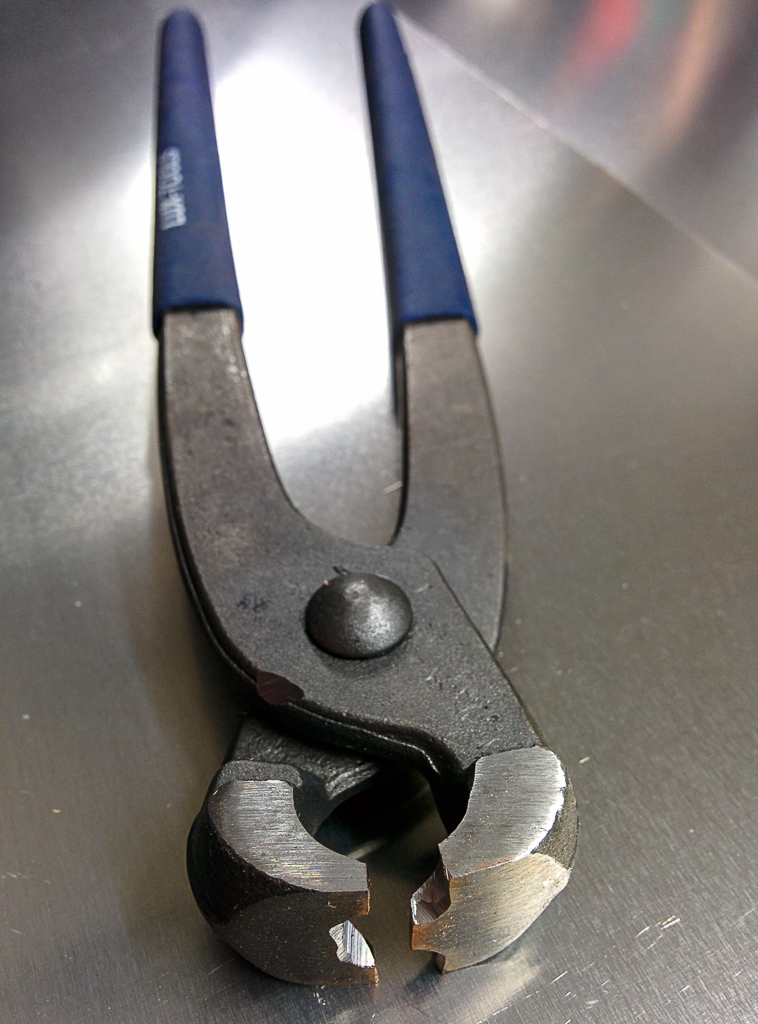
Ok, I bought those plyers, and modified them. Seem to work well.
Further action on my ski building.
I bought the new Bosch router. Then I had to re-build my router bridge, as the new router is bigger than my old one.
Last night I made my first snowboard core. I was impressed with how fast it went. The slowest thing was setting up the table. theoretically something you don't do often.
The routing took about 10 minutes. then sanded with the belt sander and measured.
I was aiming for 3mm and got between 2.8mm and 3.1 mm So I am happy with that.
Posted: Wed Oct 28, 2015 2:00 pm
by Akiwi
Progress is going on.. but slowly.
I am doing a snowboard first, as a little less work and maybe easier than skis.
Tonight my aluminium sheets arrived that I will use for the profile mould.
I need to find a way to bend them how I want.
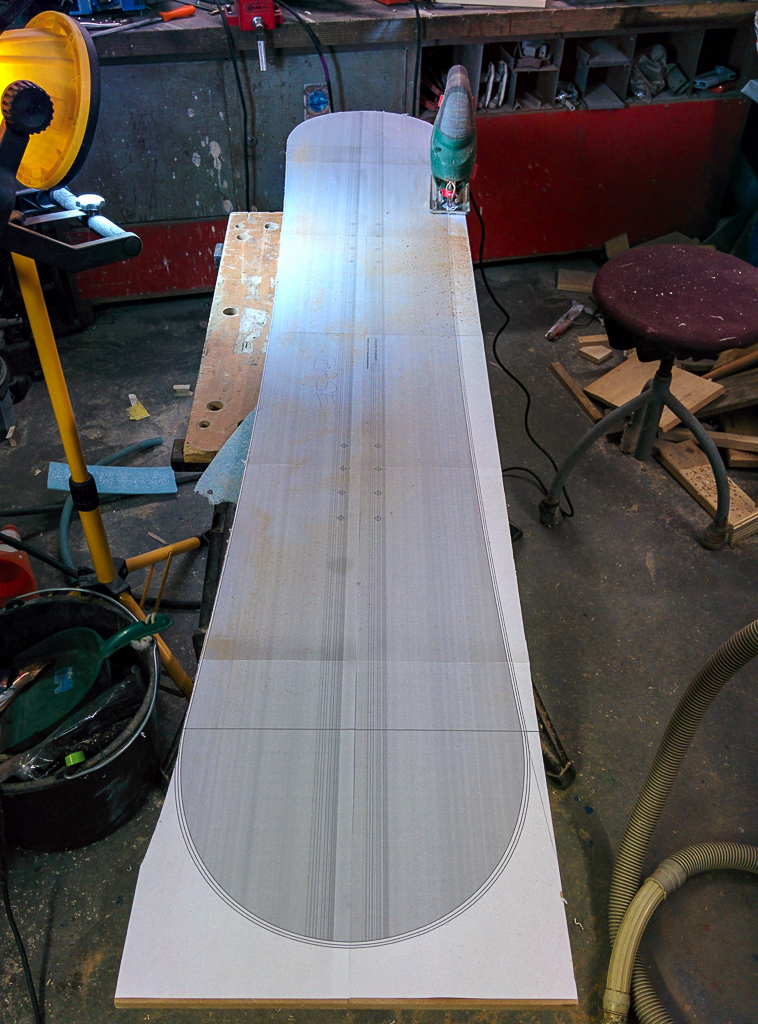
I also cut out the template for cutting the base material and core.
Posted: Fri Oct 30, 2015 1:41 am
by Akiwi
I am so looking forward to my first pressing. If everything goes well it could happen this weekend, though still lots to do.
I need to build a tip bender which is 40cm wide, as I need it to bend my aluminium plate mould. Bought 2 rolling pins for €5.00 at the 1 Euro store last night.
Also started bending edges.. seemed to go ok with my edge bender tool and plyers.
My alu plate is too thin, so I need to think of something to keep the tip / tail curve.. probably bend some steel and stick it to it with double sided tape.
This hobby needs Lots of time!!!
Posted: Fri Oct 30, 2015 2:22 am
by mammuth
Btw which router did you buy. Blue or green?
Posted: Fri Oct 30, 2015 5:18 am
by Akiwi
mammuth wrote:Btw which router did you buy. Blue or green?
Green.
this one for €116.00
https://www.bosch-do-it.de/de/de/bosch- ... 199905.jsp
The full size blue plunge router was just too expensive @ 4 times the price
http://www.bosch-professional.com/de/de ... 292-ocs-p/
Posted: Fri Oct 30, 2015 5:42 am
by Akiwi
I am not happy with the template I made.
Firstly I printed the template using 12 x A4 sheets and gluing them to the mdf. then carefully cutting out with the jig saw, and smoothing with the belt sander.
To check things, I printed a second template on 12 sheets & taped them together.. the result was.. it was a different length, and basically wasn't as accurate as I wanted.
I went to a copy shop and for €3.50 I printed the template again, and will re-do the template more accurately.
I am playing with the idea of making a jig to form the sidewall shape using a strip of 20mm x 3 or 4mm steel and routing along this.
Has anyone made something like that.
along the lines of the one they use at Community Skis?
By the way, a huge thank you to Kristen and Michael at Community skis. They are very friendly and helpfull and generous with advice.
http://www.communityskis.com/
Posted: Fri Oct 30, 2015 5:48 am
by mammuth
For this price its a good machine
Posted: Fri Oct 30, 2015 10:35 am
by pmg
Hi,
I am doing the sidecut quite exactly this way. I bought a 2m long L-shaped aluminium, drilled holes every 10cm, screw it on the template along the sidecut, then rout along and thats it. Have a look in one of my journals, you can see it there.
Posted: Fri Oct 30, 2015 1:08 pm
by mammuth
Sticking sheets together is always a hassle. I print it out 1:1, cut out a half (one side only) master template (4mm board) and use this to route the core template (mdf). So its symetrically. Still no cnc and still a few steps but like this you can do more complicate shapes (if you need to)
Posted: Fri Oct 30, 2015 4:46 pm
by Akiwi
Been busy again tonight.
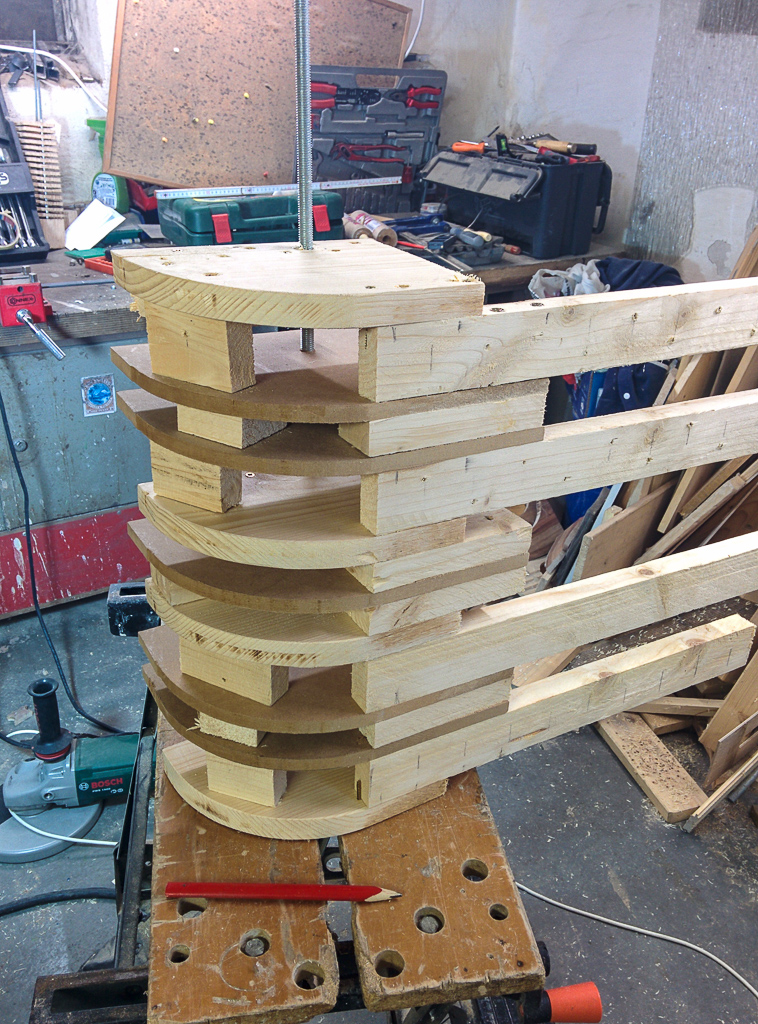
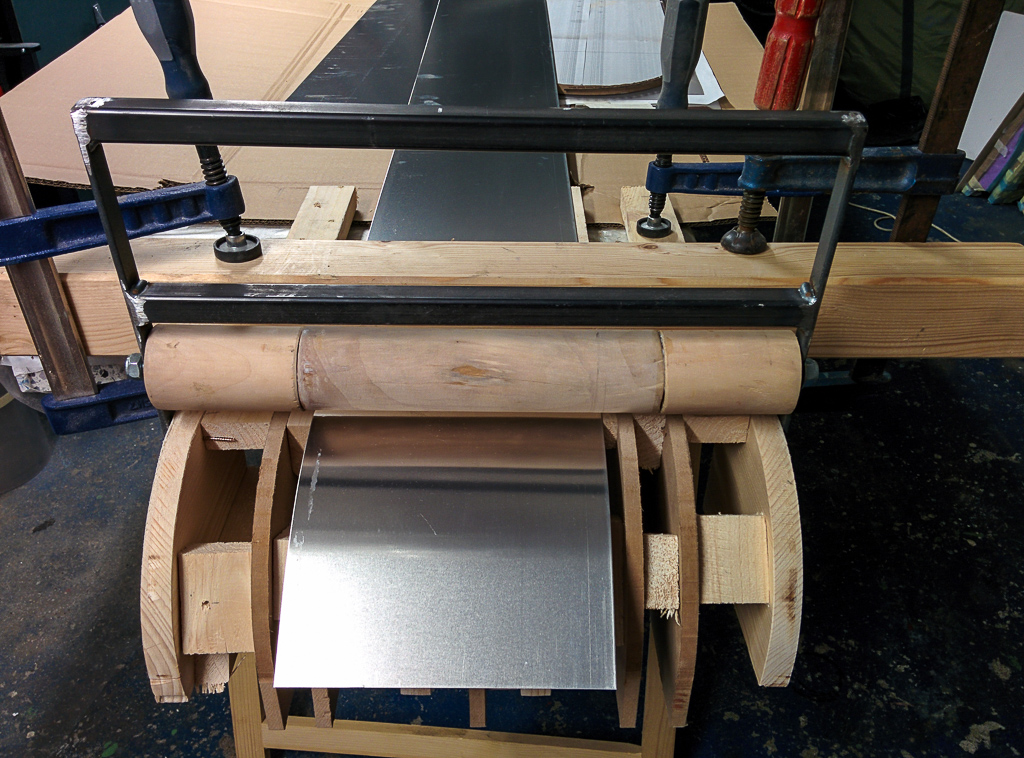
I made a ghetto tip bender.
Used the router to cut some 1/4 circles on scrap wood, then I welded together a handle and mounted my rolling pins. Seems to work. I can still fine tune it a bit.
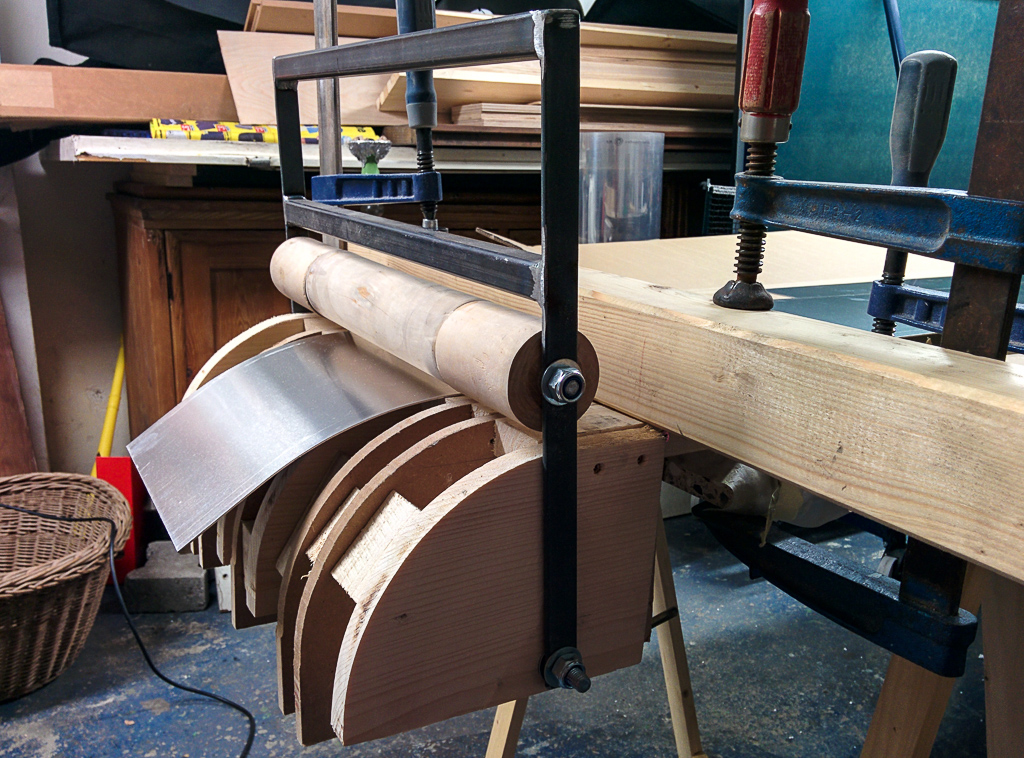
I also took a photo of the edge plyers I made.
Posted: Sat Oct 31, 2015 3:16 am
by Akiwi
Cool method pmg. I will try building something adjustable... But first I will build a snowboard to check the rest of my process.
Posted: Mon Nov 02, 2015 2:25 am
by Akiwi
I had a few hours yesterday to work on this project before friends arrived. In the evening we did the layup for a longboard rather than snowboard ;-)
First off, I used the best side of my template to make a new template which is symetrical.
In future I think I will take the wood and data to a CNC company, then I know it is perfect from the start.
I then used the template to cut out the base.
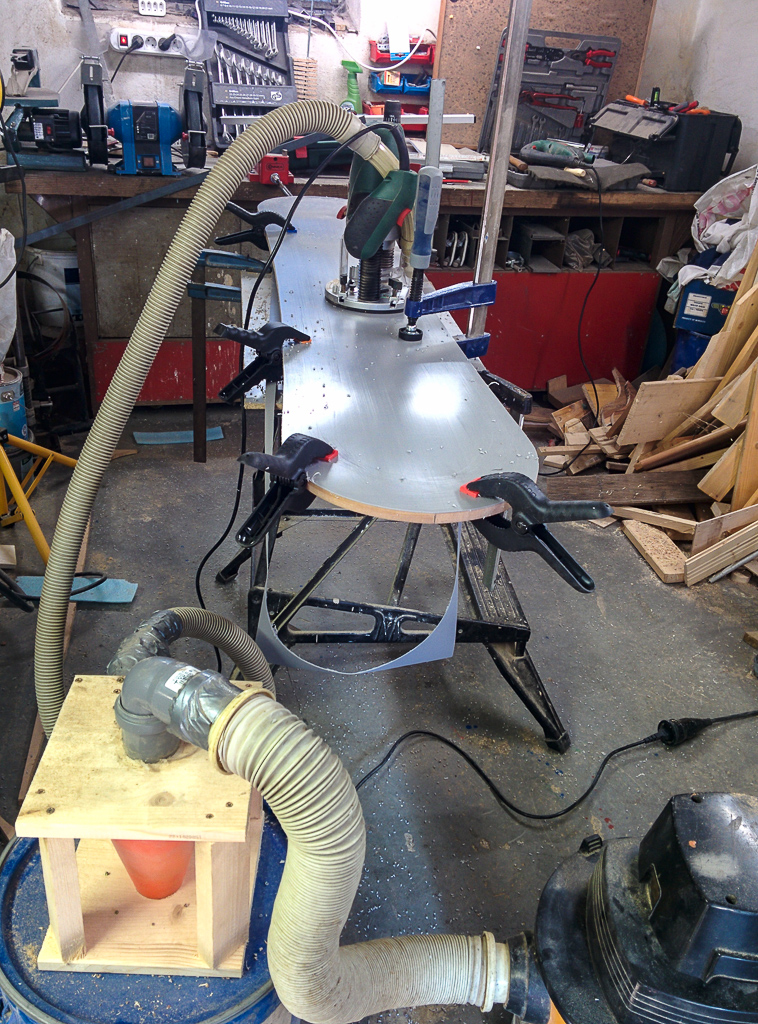
You can see my high tech dust collector there that I built using a road marker cone. Works perfectly.


