
haha now it's got "infinite ride" tune!!!
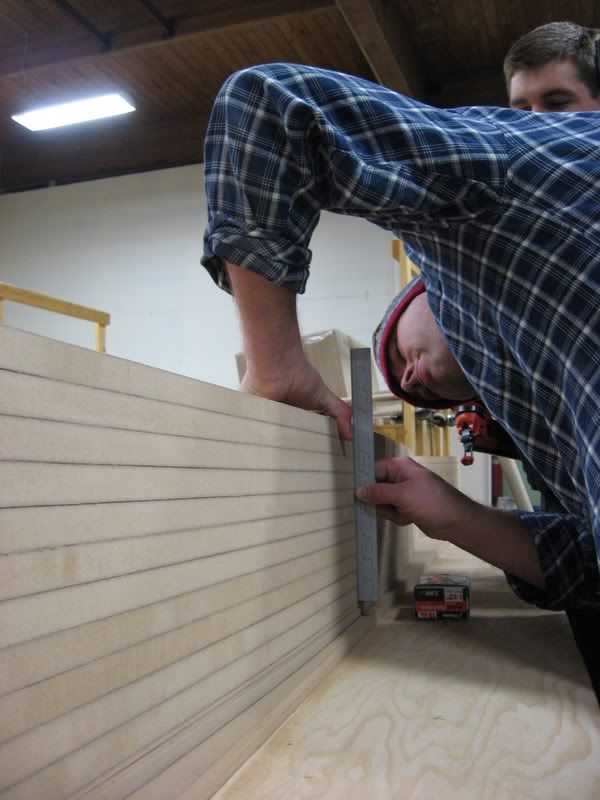
sick looking board. are you going to treat the wood sidewall at all?
is it wood or did i just get confused?
All Mountain Snowboard for Hard Boots
Moderators: Head Monkey, kelvin, bigKam, skidesmond, chrismp
-
knightsofnii
- Posts: 1148
- Joined: Tue Jan 08, 2008 6:02 am
- Location: NJ USA
- Contact:
Vacuum bag..
Mark
How do you seal your bag?
How do you seal your bag?
I Don't mind a bit. What's bothering me is that I can't find the notebook I wrote it down in. 
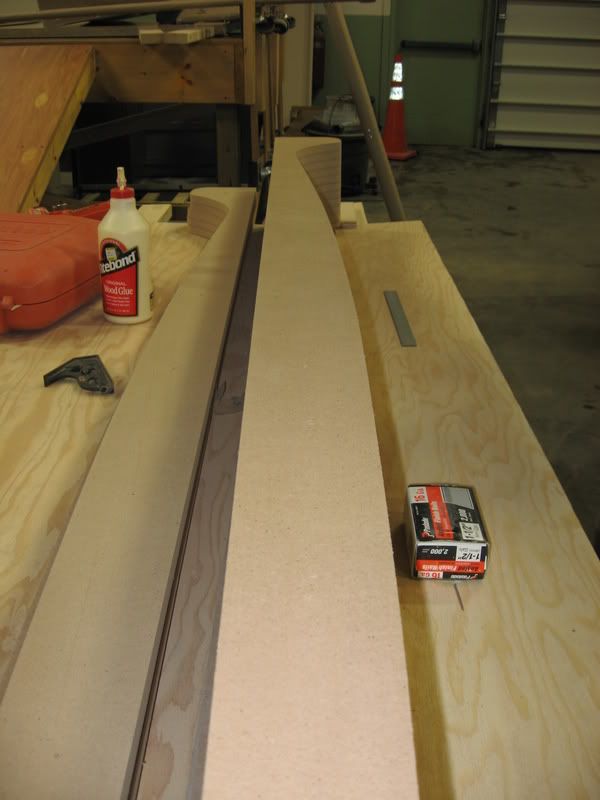
I know it tapers from 2.3mm at the tip to 8.8mm it front of the forward inserts, holds the 8.8 to just behind the rear inserts and tapers down to 2.5mm at the tail.
I've had the board out a couple of days. It rides better than I expected, but not as well as I had hoped. I'll try to get a write-up done in the test and trip report section soon. I'd like to get at least one more good day on it before I do though.
The best thing about the bag I used is it's size. Having all the extra material on the sides allows the bag to fold over the 3-D shape of the mold without bridging anywhere it matters. I think the builder's plastic you plan on using should work great, just make the tube wider than you might first think necessary.stenmark wrote:Ok
I'm building my bag my self (idiotic but hopefully cheap) ou of house building foil.
I need one of those plastic sealers!
You might want to check out the article on custom vacuum bags from Joe Woodworker http://joewoodworker.com/veneering/makingbags.htm. TheWoodWhisperer.com did a video based on the article if you want to see how it's done available at http://thewoodwhisperer.com/episode-17- ... ng-matter/stenmark wrote:Ok
I'm building my bag my self (idiotic but hopefully cheap) out of house building foil.
I need one of those plastic sealers!
Thanks guys
I sealed my bag ,the long side, with a heat gun. Since, as it shows in the video, no glue will help on poly!
It sealed really well! On the short sides I used the technique showed on JoeWoodworker, the one with clamps.
The bag is very sealed! I only run my pump 25 sec/hour. At 23¨hg..whoo ho!
I have difficulties pasting pictures here. But when, I will show you my new invention...;-)
The "mobile heating room".
Cheers
Ding bat, that you?
After seeing your board in hand in person at Stowe, you gave me the jolt I needed to get back to finishing mine that I started two summers ago. I am still working on my skateboards but mostly focused on th alpine deck. What i am wrestling with now is the bonding sequence and material prep. I did a test press about 2"x8" yesterday and here is what happened. I'm not sure if I need to put some fiberglass in there to help with the adhesion between the wood and titanal and the titanal and CF.
My sequence was
CF (Uni)
Titanal (scuffed with sandpaper not chemical etch)
Wood
CF
Titanal (scuffed)
Sorbothane along edges
base material
All put togehter with West system epoxy
Here is what I experienced once it was out of press this afternoon
Super stiff
Base material (unscuffed or untreated with acetone) easily peeled from titanal with sorbothane peeling in certain areas
The rest seemed to hold together fairly well, but with a little manipulation, I was able to peel the CF from the Titanal and the titanal from the wood.
In a good adhesion, like in a finished production ski, would I be able to peel those layers apart if the ski was snapped for instance of should I expect them to be adhere and not come apart no matter what?
I am just trying to figure out what the prep and sequence is for all of the products involved to minimze failure.
Another thing how did you do the core profile so clean? and I like the wood sidewall idea. I also need to figure out how to make my press heated.
-
knightsofnii
- Posts: 1148
- Joined: Tue Jan 08, 2008 6:02 am
- Location: NJ USA
- Contact:
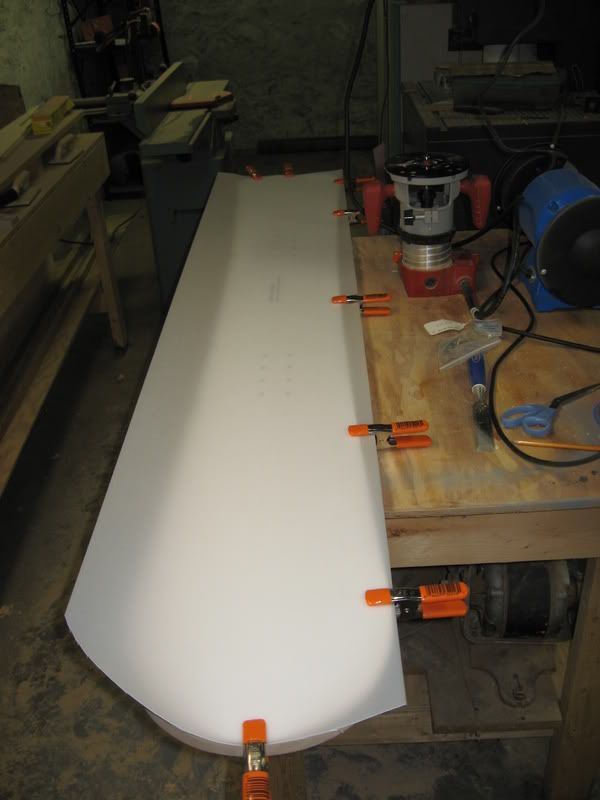
mark wrote:Got a little more done this past week:
Routed the base material
I clamped the material down one side of the mdf template and cut the other side, then clamped the cut side so nothing would shift before cutting the other.
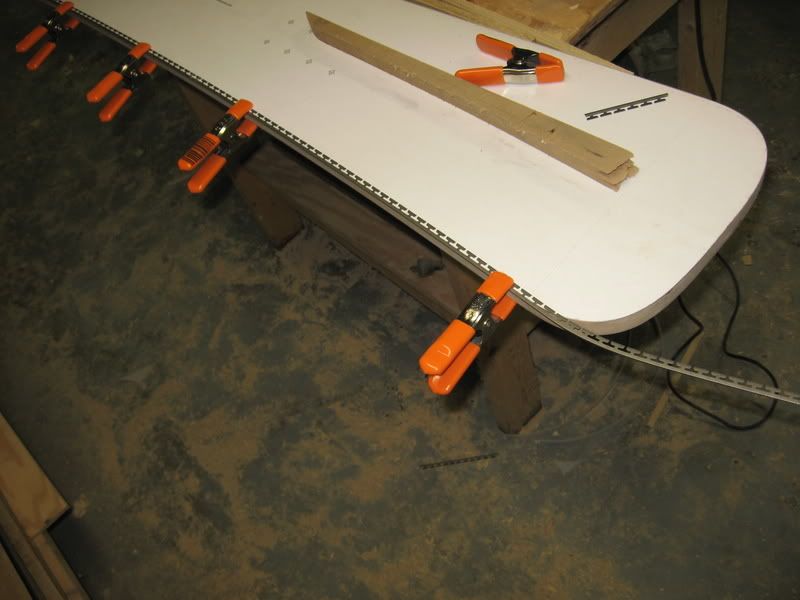
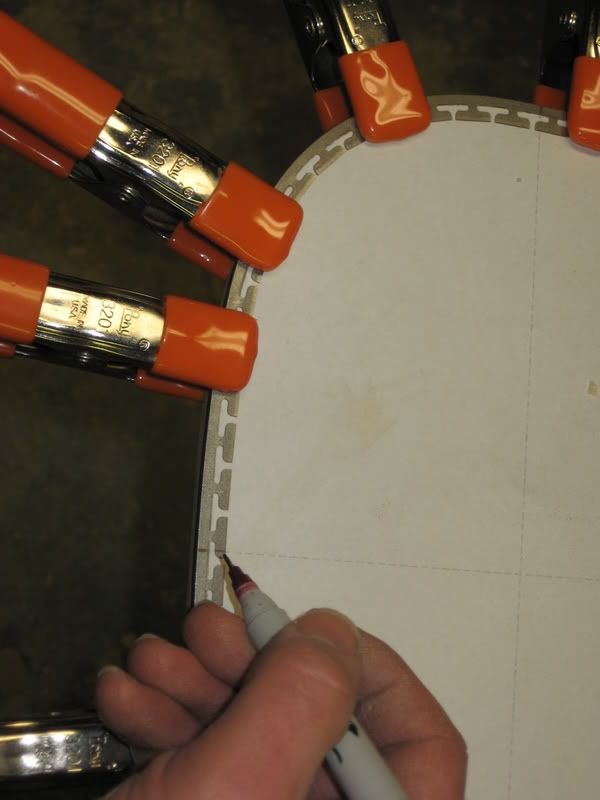
Used the mdf template to pre-bend the edges
Tacking the edges to the base
I glued the running length on both sides before wrapping the tip and tail.
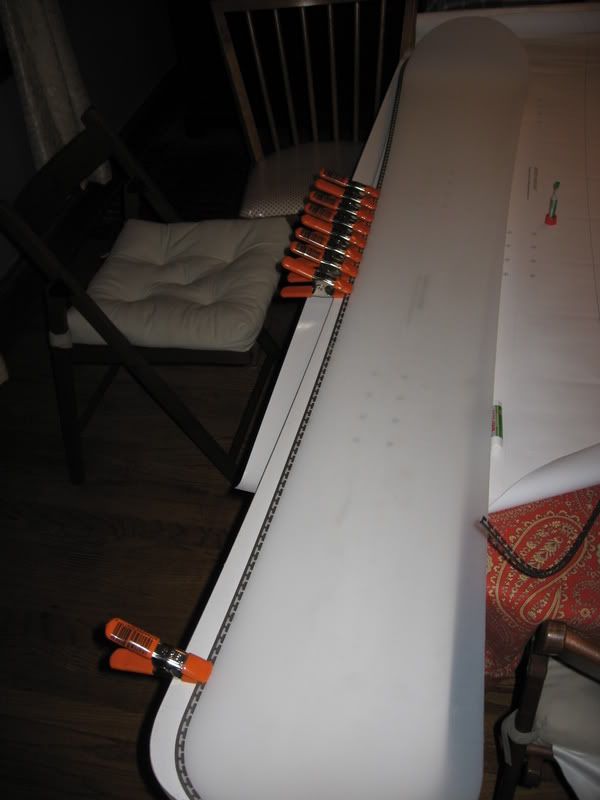
The camber mold
I cut one piece by hand and used it as a pattern to make the rest with the router, then glued and nailed them together. It's wide enough to bag a snowboard on and will probably accomodate two skis as well.
Getting close to the lay-up, but in the mean time, here's a puppy and an alligator.
-Mark
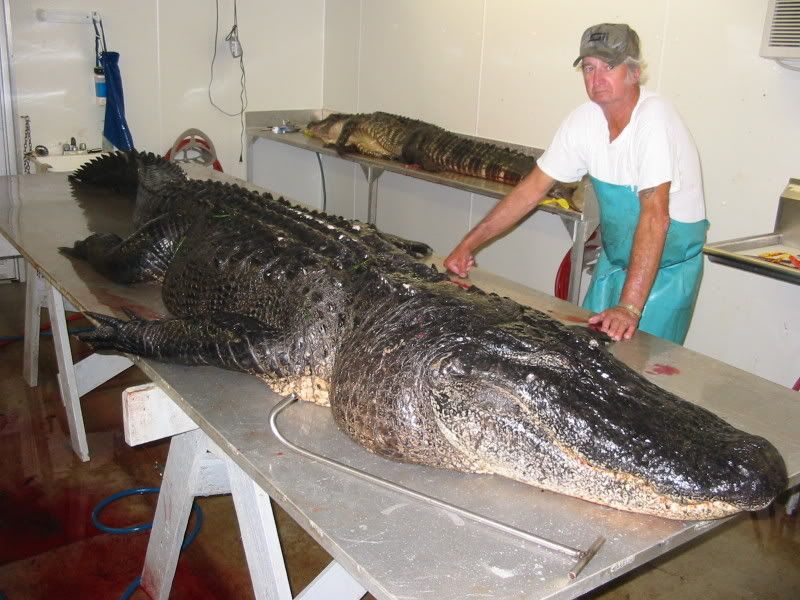
"and then an alligator jumped thru the window and ate everything on my work table! "
haha this should have been a caption contest
Doug