The trough is just some angle iron with abs plastic as the bed. Supports to give the profile are a few scrap peices of base material and paint stir sticks.
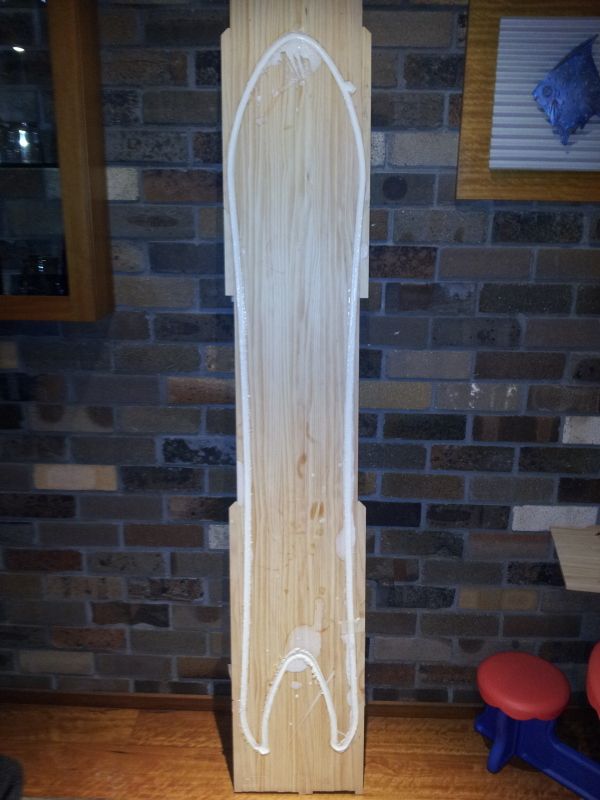
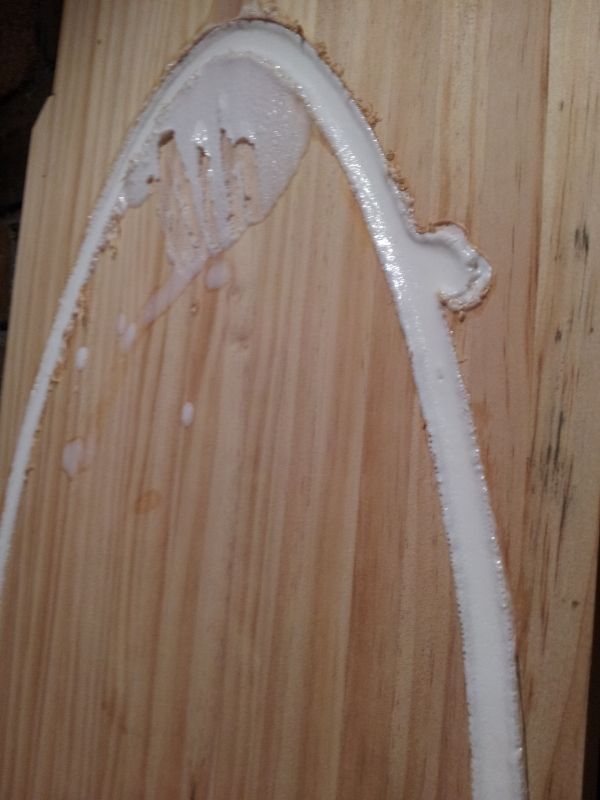
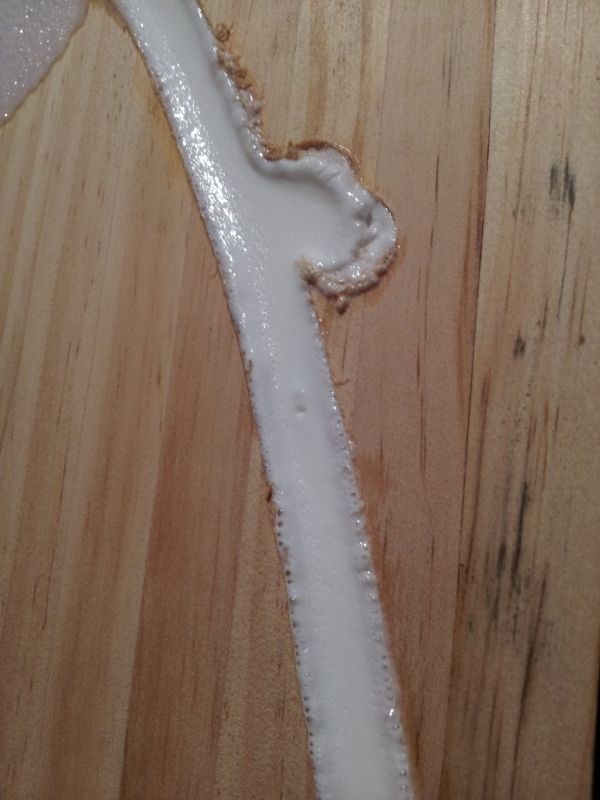
I have the profile pretty close to my core although it needs some small adjustments. The goal here is to make it 5mm in the middle and 1mm on the ends. I found it tough to go that thin on the ends so It really ends up more like 8mm in the middle extended out to 3mm on the ends.
in the pic I have some shrink wrap to create a leak proof basin. You can see there are some wrinkles that transfer into the end product. I've got a couple ideas on what I can do to flatten it out. I'll post later...

The next step is to pour the mix in the trough and let it hang out for a while...


To get the bubbles out takes some work. Careful mixing helps. Warm temps help. After pouring, the flame torch is gold. Do some flame passes over the material to pull the bubbles to the surface.

I then cut out the slabs into strips with at utility knife narrowly avoiding stitches, but plenty of blood. A good sanding and flame treatment make the sidewalls bond well to the core.
At this point I'm sanding down the high spots, which sucks. Once I dial in the depth and get the wrinkles out it should minimize the work.
Some downsides, it isn't really all that cheap. After time and labor, it gets pricey. upside is that this material is seriously durable and bash resistant.
I'll plan to have these available for everyone here. Hit me with a PM at the moment. I'll put them up on the website soon as well...
http://prospectsnowboards.com/the-shop/ ... materials/